When it comes to home improvement, not all projects are created equal. Some renovations can significantly boost your home’s resale value, while others might not offer the same return on investment. Understanding which projects provide the best value can help homeowners make informed decisions. This guide explores various remodeling projects, their costs, and the potential value they add to your home, specifically focusing on the Detroit area based on the latest 2024 data from the Cost vs. Value Report.
Key Takeaways from the 2024 Cost vs. Value Report
The 2024 Cost vs. Value Report provides a comprehensive analysis of the costs and resale values of various home improvement projects across the United States, including specific data for the Detroit area. This report is an invaluable resource for homeowners looking to maximize their investment in home renovations.
Top Projects for Return on Investment in Detroit
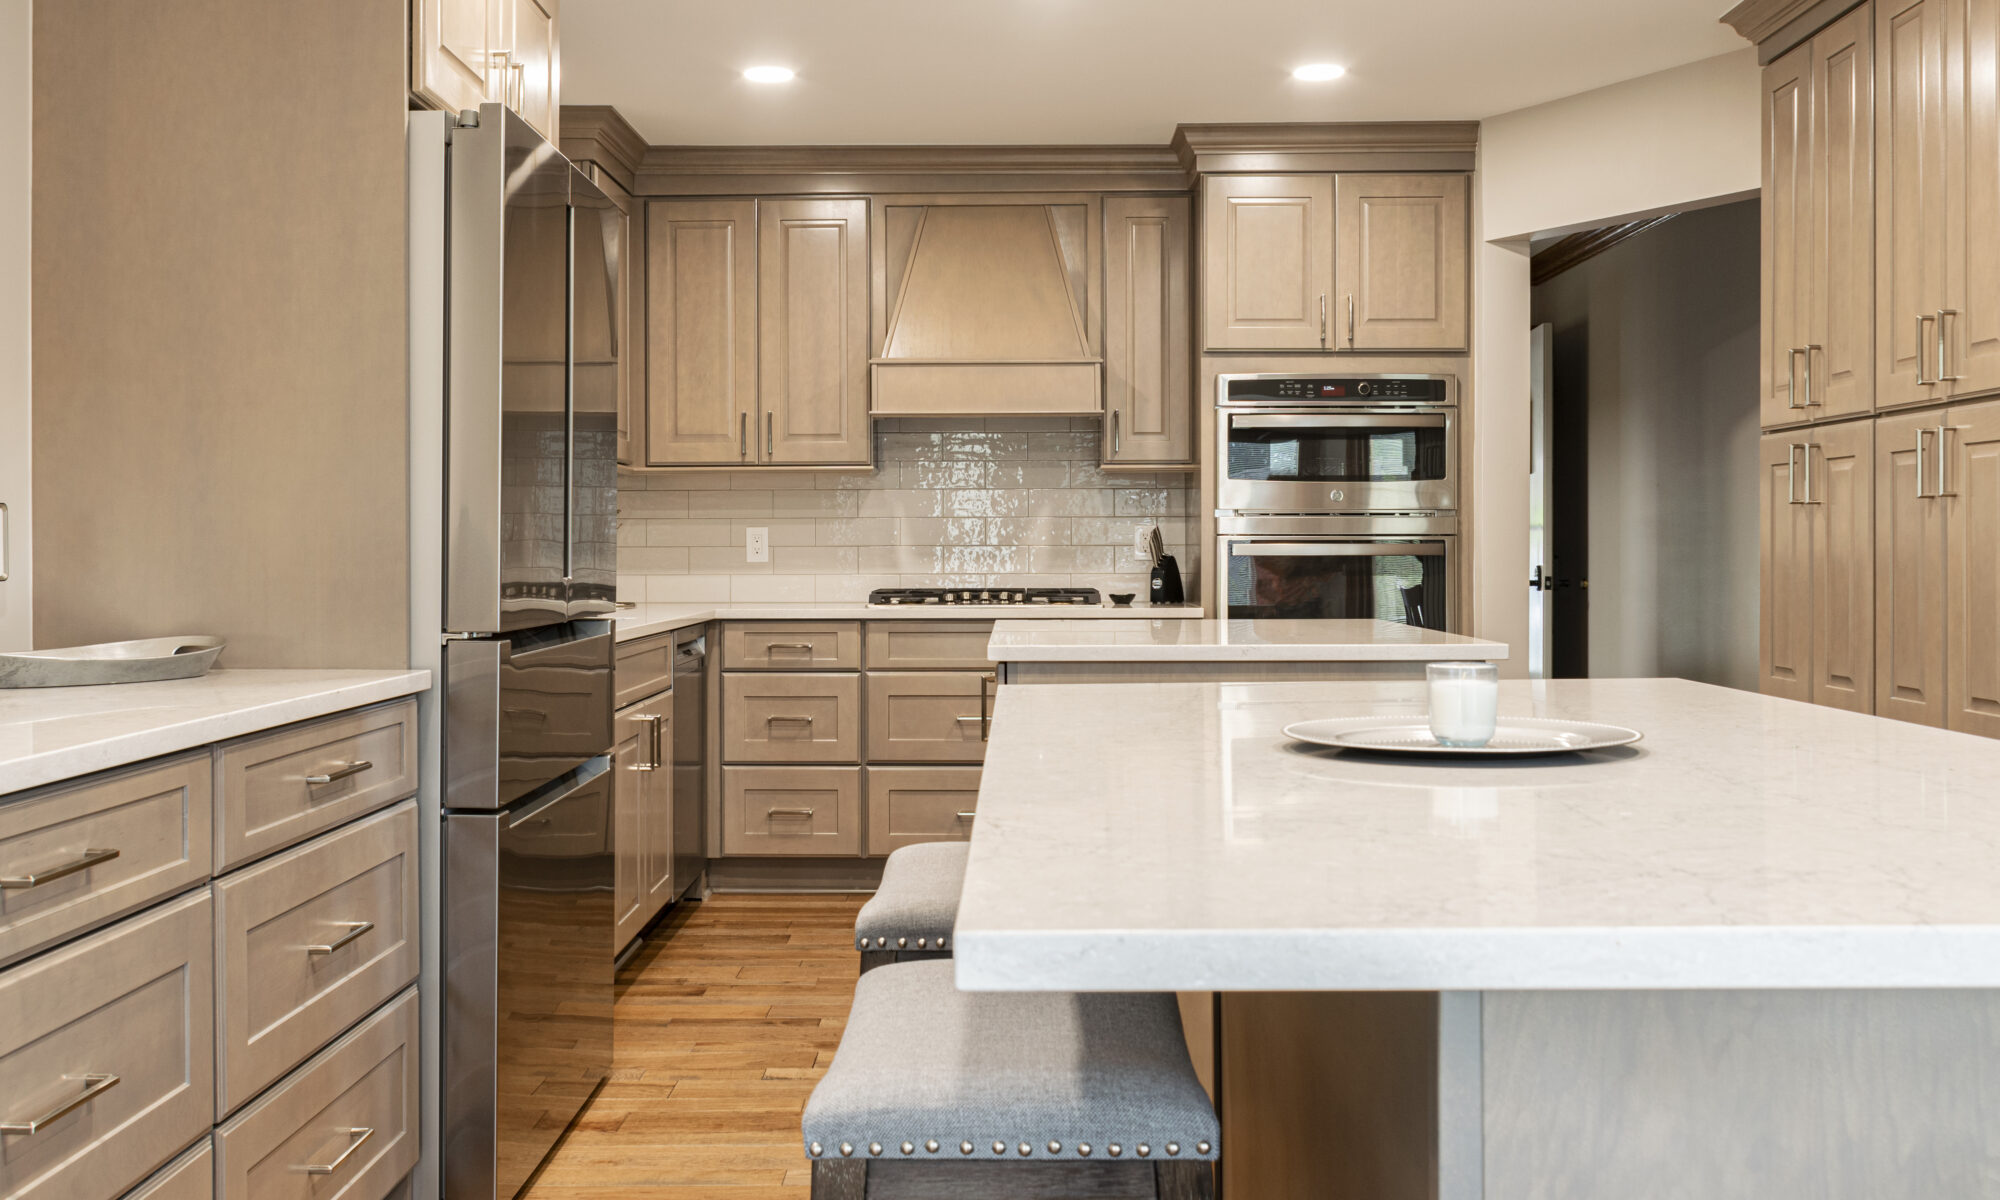
1. Minor Kitchen Remodel (Midrange)
A minor kitchen remodel involves updating cabinet fronts, hardware, and appliances, which can yield a high ROI.
- Job Cost: $27,192 (2023 Detroit average)
- Resale Value: $23,582 (2023 Detroit average)
- Cost Recouped: 86.7% (2023 Detroit average)
2. Major Kitchen Remodel (Midrange)
For those looking to make more substantial changes, a midrange majo kitchen remodel might be the way to go. This involves updating a 200-square-foot kitchen with semi-custom wood cabinets, a 3×5-foot island, laminate countertops, and a standard double-tub stainless-steel sink. Energy-efficient appliances, custom lighting, and new resilient flooring are also part of this remodel.
- Job Cost: $83,743 (2023 Detroit average)
- Resale Value: $36,415 (2023 Detroit average)
- Cost Recouped: 43.5% (2023 Detroit average)
3. Major Kitchen Remodel (Upscale)
An upscale major kitchen remodel takes things to the next level. This project includes custom white cabinets with built-in sliding shelves, stone countertops with a ceramic- or glass-tile backsplash, and an undermount sink with designer faucets. High-end appliances such as a built-in refrigerator, commercial-grade cooktop, and wall oven are also included.
- Job Cost: $162,761 (2023 Detroit average)
- Resale Value: $58,807 (2023 Detroit average)
- Cost Recouped: 36.1% (2023 Detroit average)
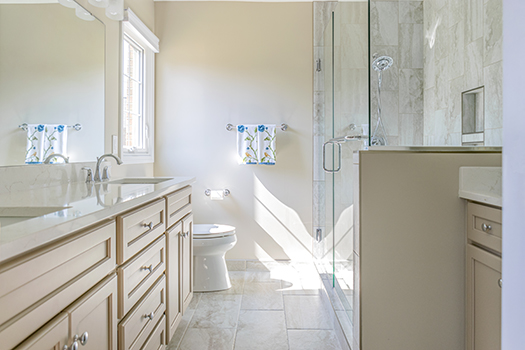
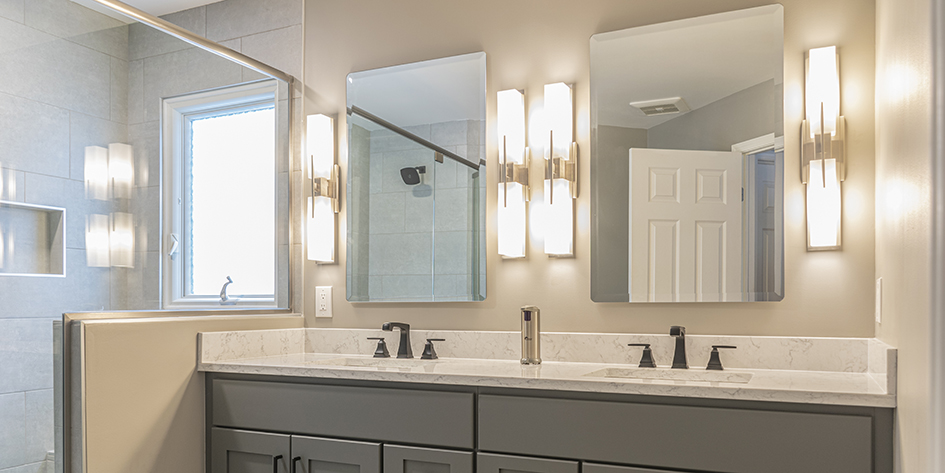
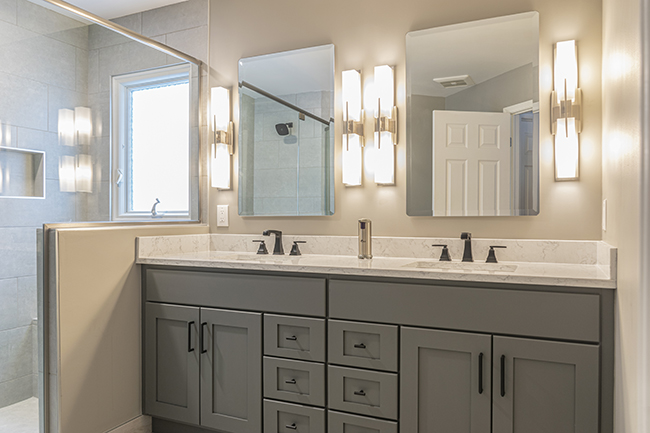
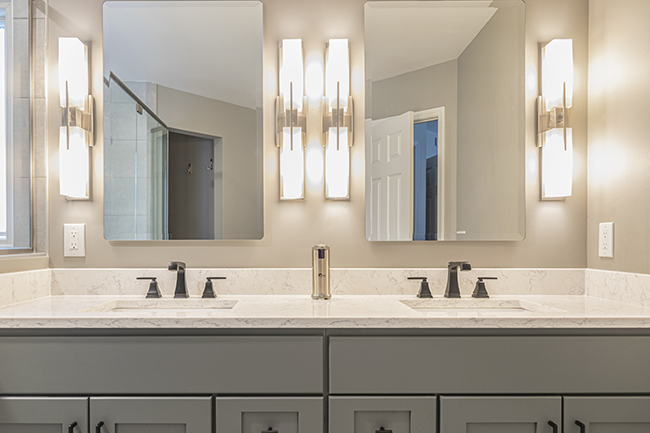
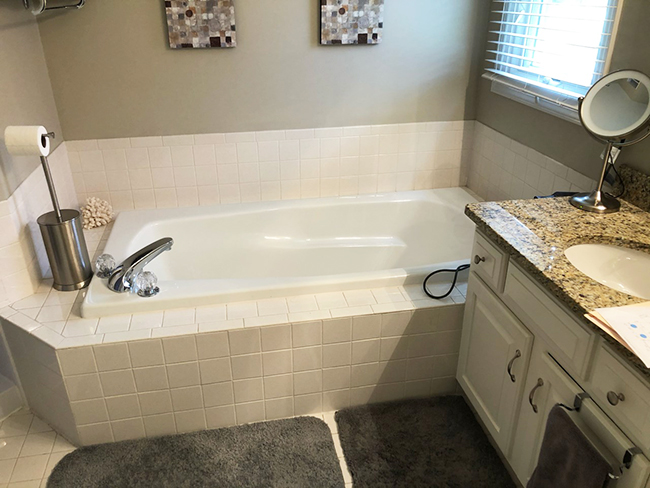
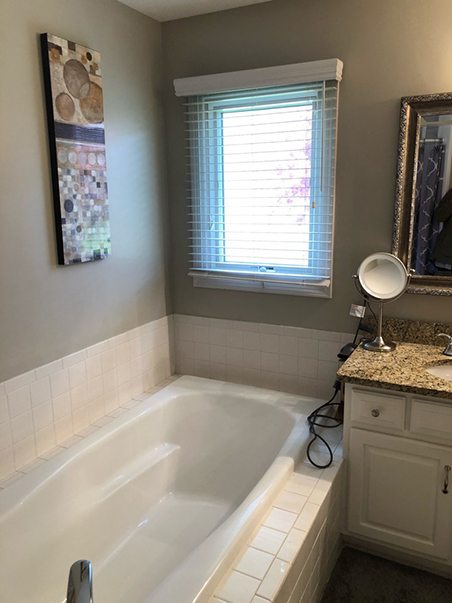
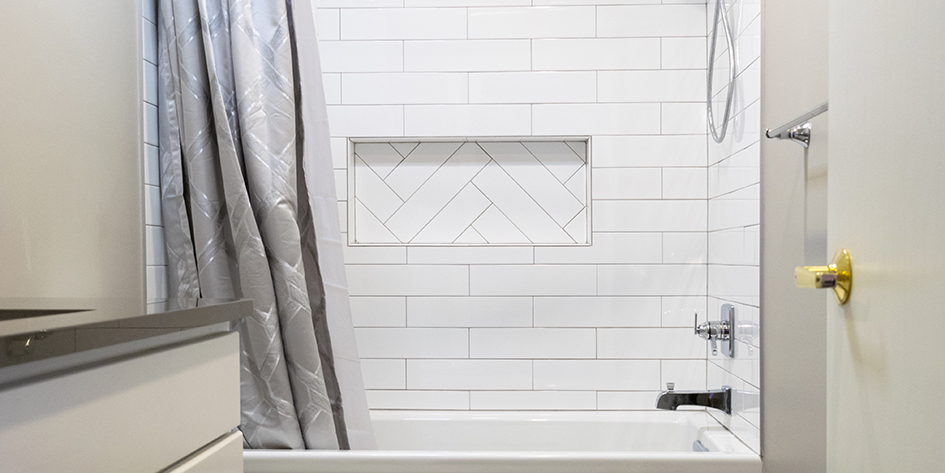
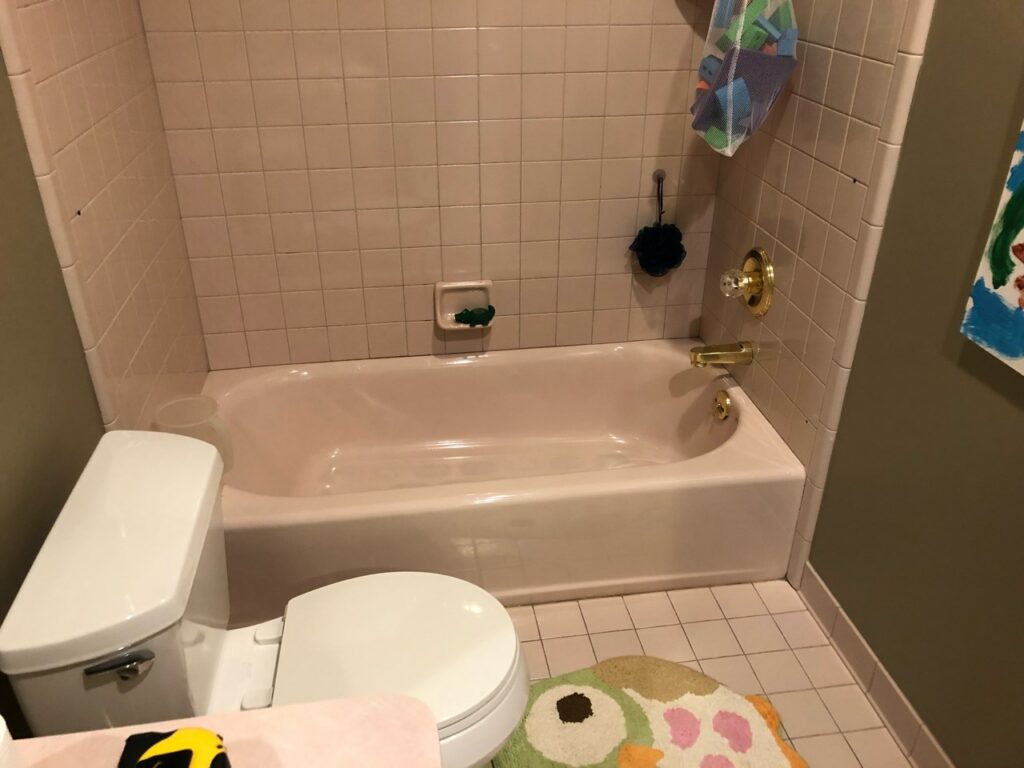
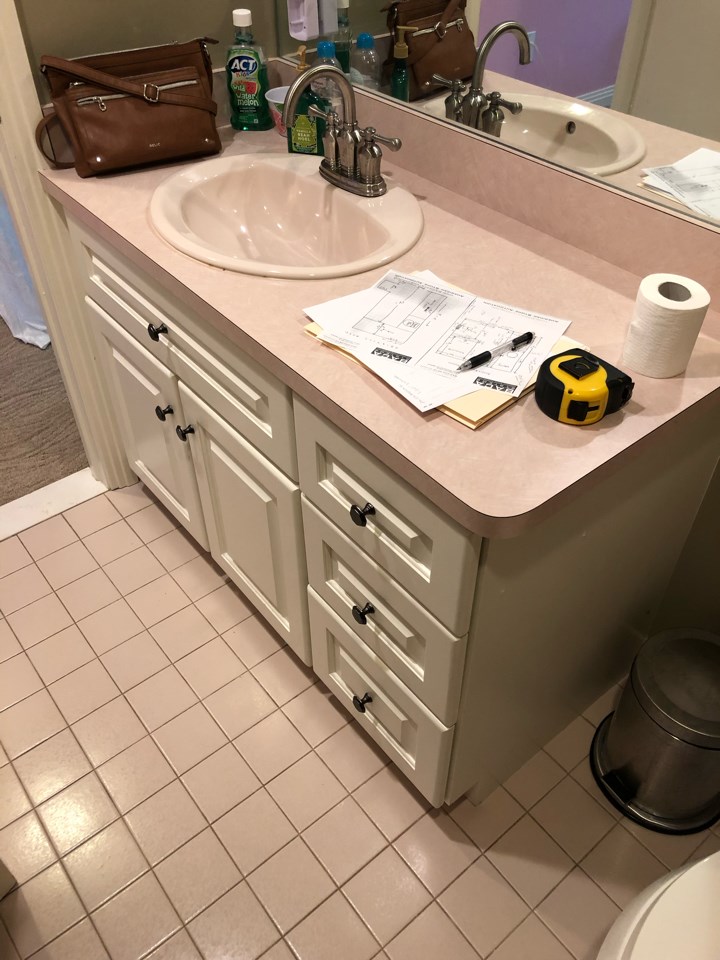
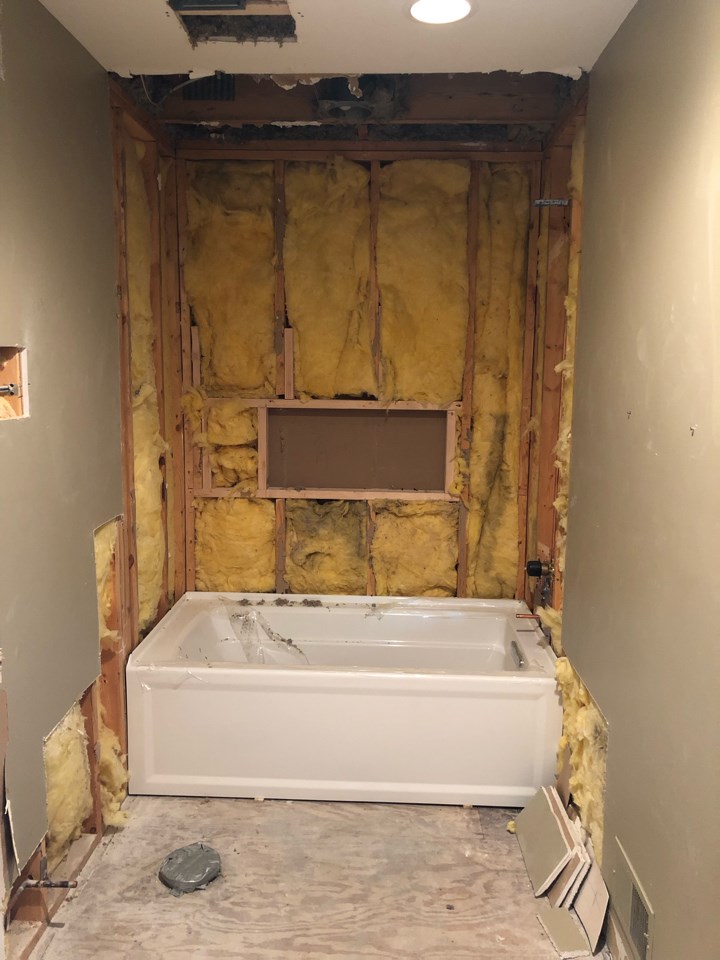
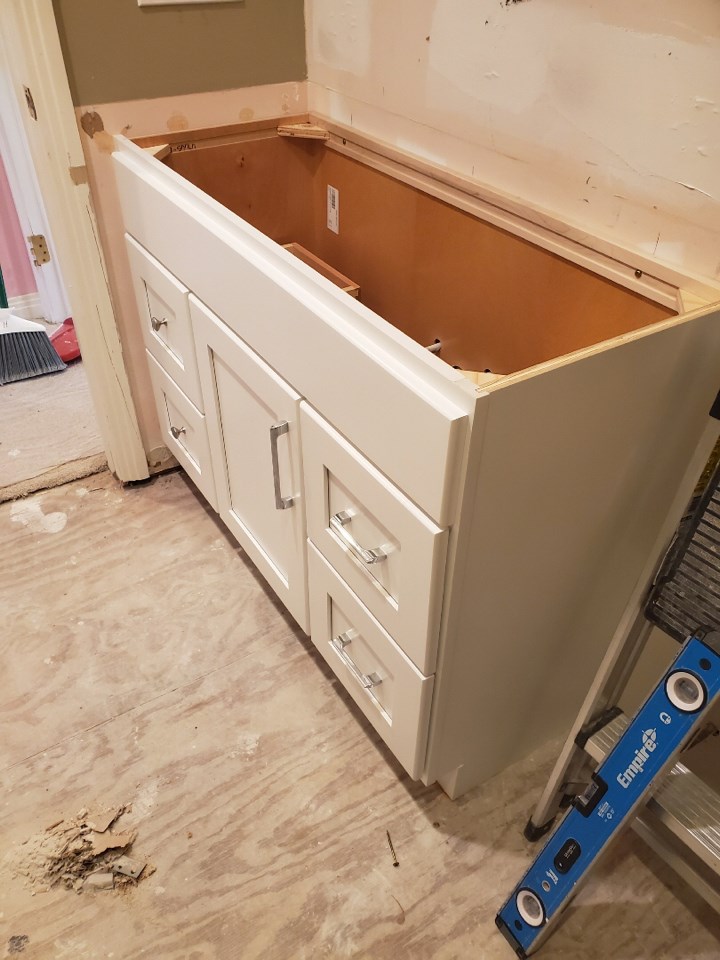
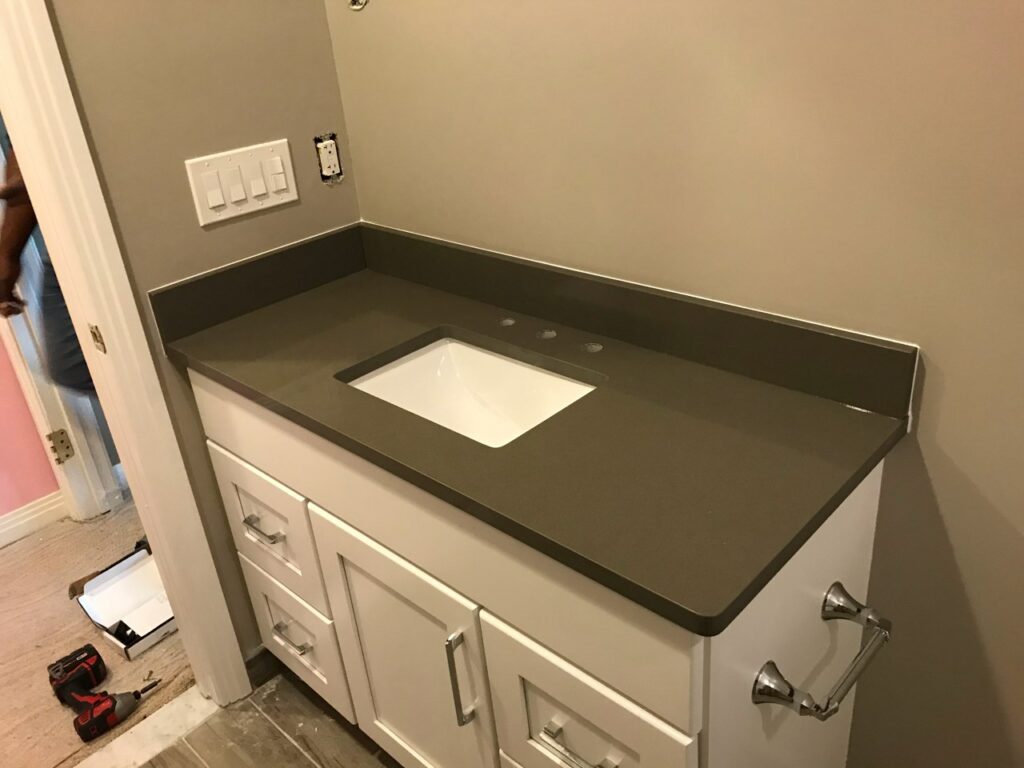
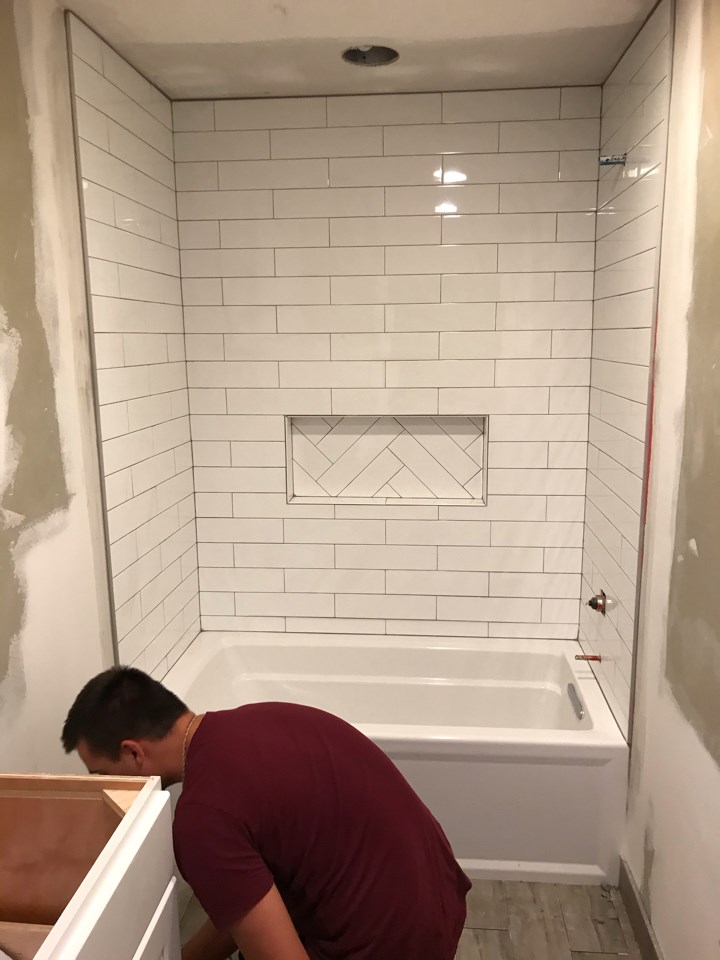
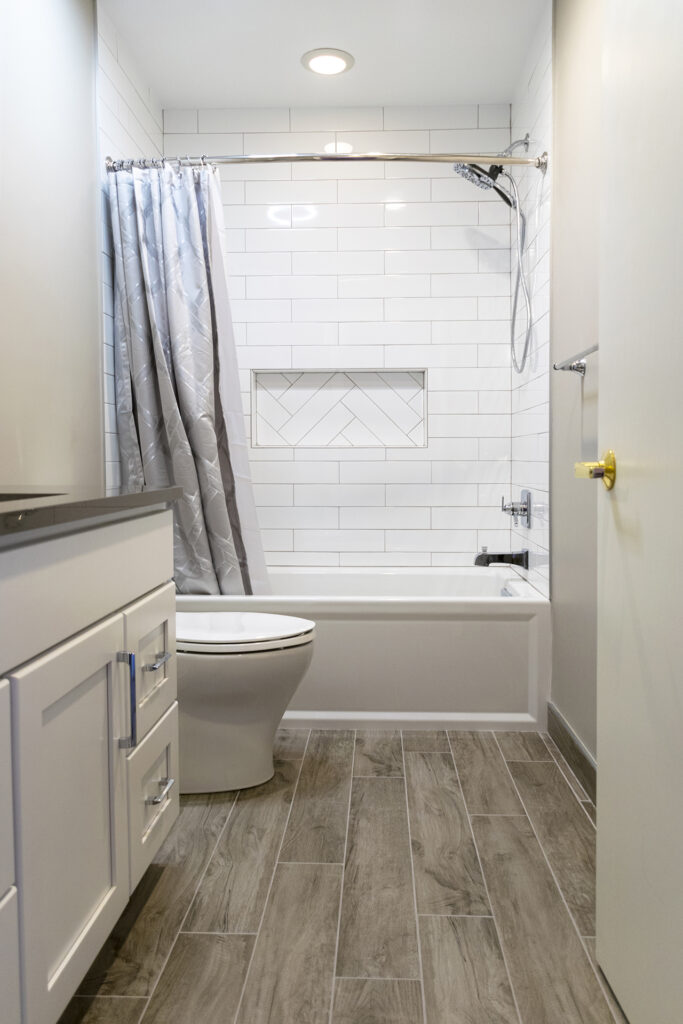
4. Midrange Bathroom Remodel
A midrange bathroom remodel focuses on updating a 5×7-foot bathroom with ceramic tile flooring. It includes replacing the existing tub with a porcelain-on-steel tub, adding a ceramic tile surround, and installing a new single-lever shower control. Standard white fixtures, a solid-surface vanity counter with an integral sink, and a recessed medicine cabinet with lighting complete the remodel.
- Job Cost: $25,993 (2023 Detroit average)
- Resale Value: $18,397 (2023 Detroit average)
- Cost Recouped: 70.8% (2023 Detroit average)
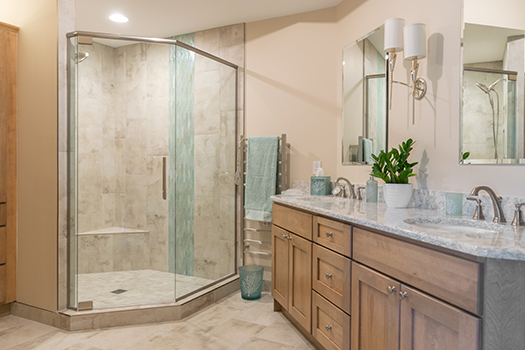
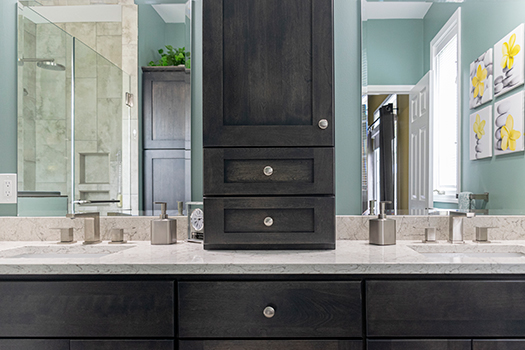
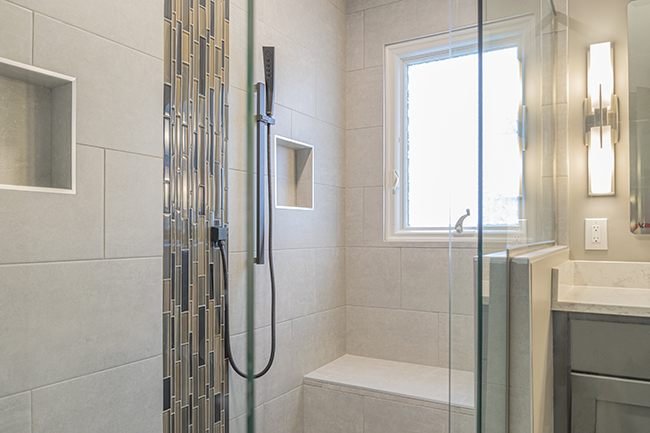
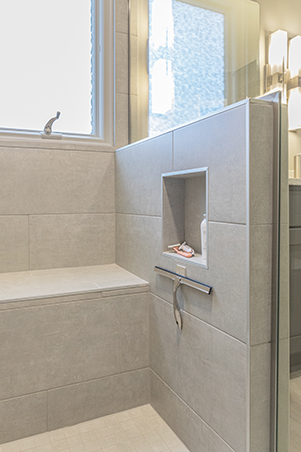
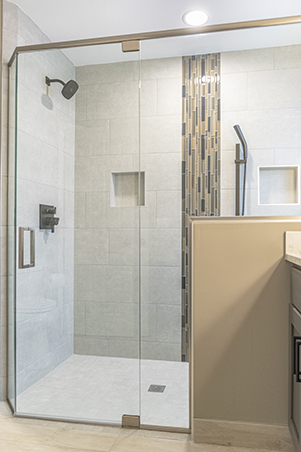
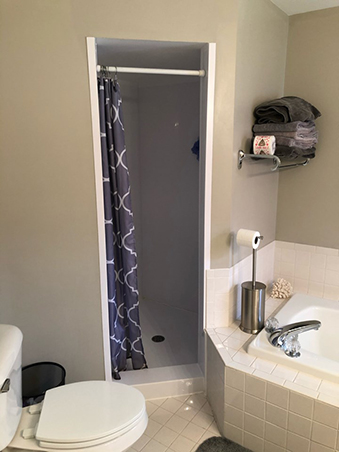
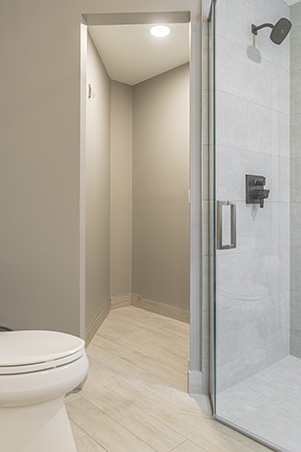
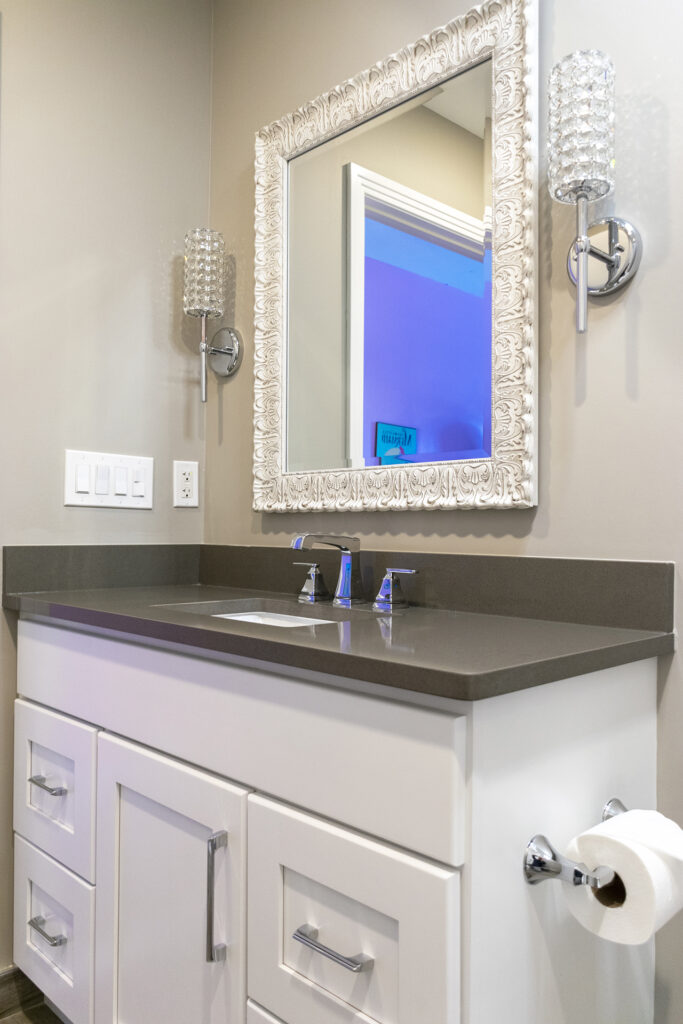
5. Upscale Bathroom Remodel
An upscale bathroom remodel involves expanding a 35-square-foot bathroom to 100 square feet. This project includes installing a large-ceramic-tile floor with in-floor heating, a 42×42-inch neo-angle shower with body-spray fixtures, and a frameless glass enclosure. Additional features include heated towel bars, a free-standing soaker tub with high-end faucets, and a compartmentalized commode area with a one-piece toilet.
- Job Cost: $80,361 (2023 Detroit average)
- Resale Value: $31,281 (2023 Detroit average)
- Cost Recouped: 38.9% (2023 Detroit average)
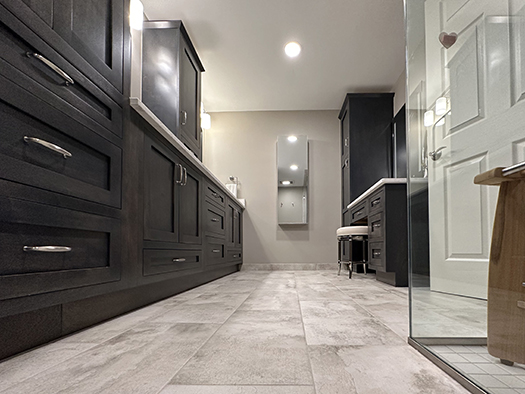
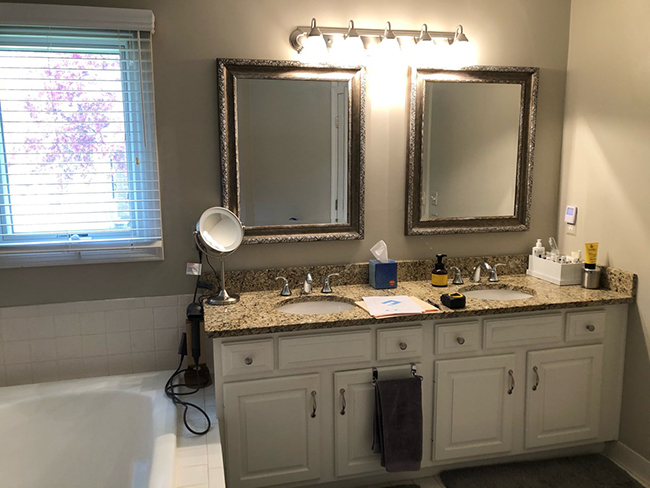
6. Universal Design Bathroom Remodel
For those looking to make their bathroom more accessible, a universal design bathroom remodel is ideal. This involves updating a 5×7-foot space to be wheelchair-accessible, with features like a zero-threshold shower, a 36-inch-wide door, and flat-panel electrical switches at sitting level. The remodel also includes a comfort-height toilet, a curbless walk-in shower with an adjustable showerhead, and luxury vinyl tile flooring with electric radiant heat.
- Job Cost: $41,537 (2023 Detroit average)
- Resale Value: $16,835 (2023 Detroit average)
- Cost Recouped: 40.5% (2023 Detroit average)
Understanding the Data
The Cost vs. Value Report is an annual publication that compares the average costs of 23 remodeling projects with the value those projects retain at resale in 150 U.S. markets. The data for Detroit shows that exterior improvements generally offer the highest returns on investment. This trend is consistent with national data, where curb appeal projects like garage door replacements and entry door upgrades top the list.
Why These Projects Matter
Investing in home improvement projects can significantly enhance your home’s value and appeal. Whether you’re updating your kitchen, remodeling your bathroom, or adding new features to your home’s exterior, it’s important to choose projects that offer the best return on investment. By focusing on cost-effective renovations, you can enjoy a more beautiful and functional home while also increasing its resale value.
Conclusion
The 2024 Cost vs. Value Report provides valuable insights for homeowners looking to make informed decisions about their home improvement projects. For more detailed information on specific projects and their costs, refer to the comprehensive guide provided in the 2024 Cost vs. Value report.For a deeper dive into the data and to see how your planned projects stack up, visit the full report on the Cost vs. Value website. This resource will help you make the most informed decisions about your home improvement investments.