Shelby Township Double Bathroom Remodel – Part 1

Part 1: His Bathroom
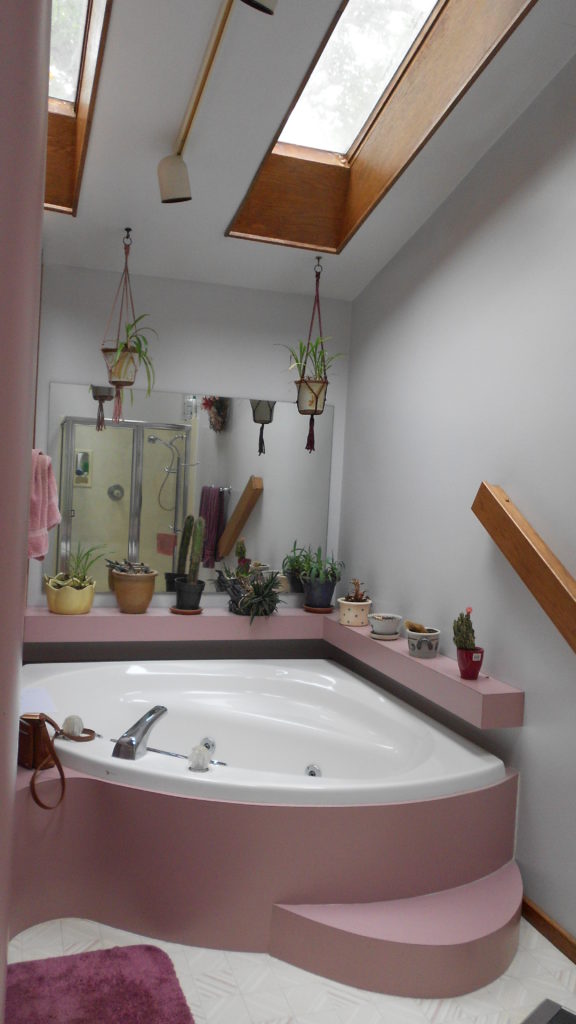
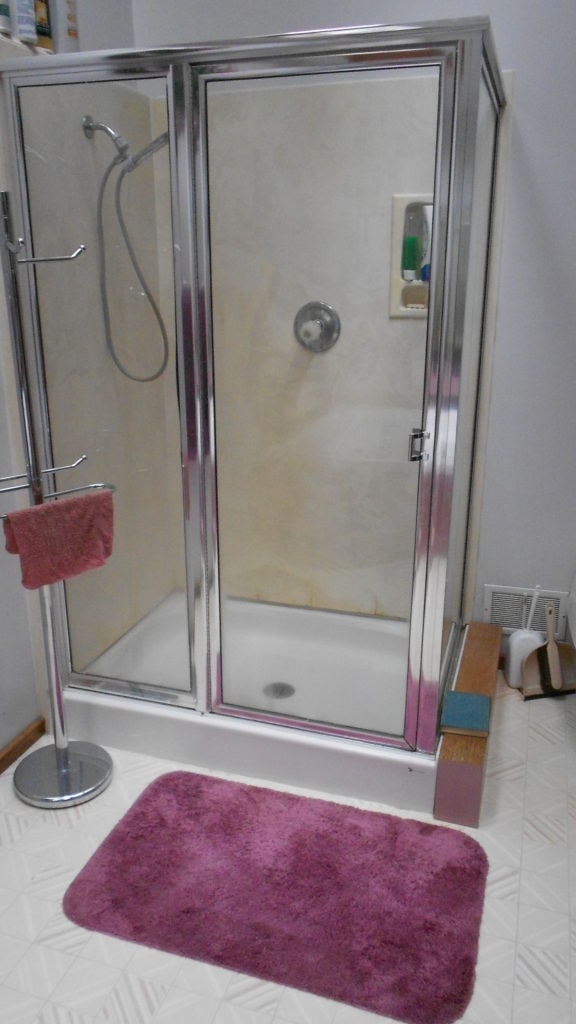
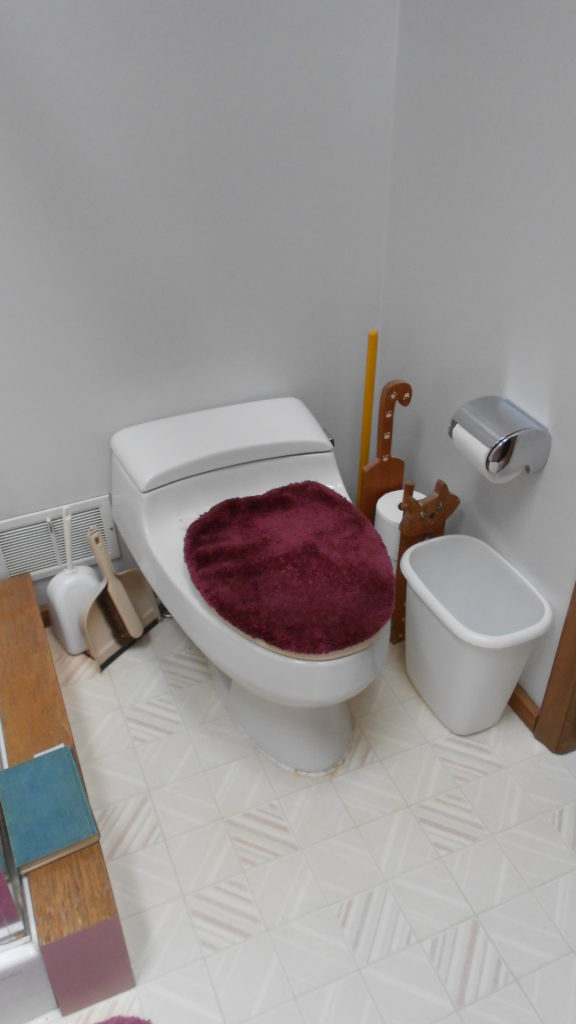
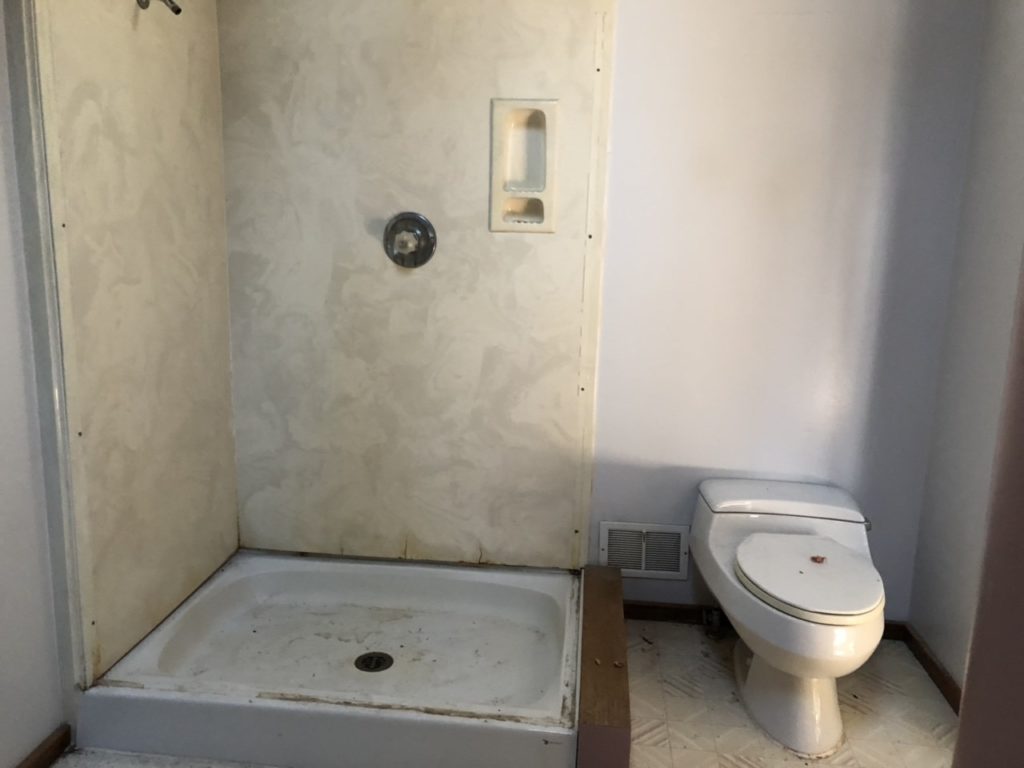
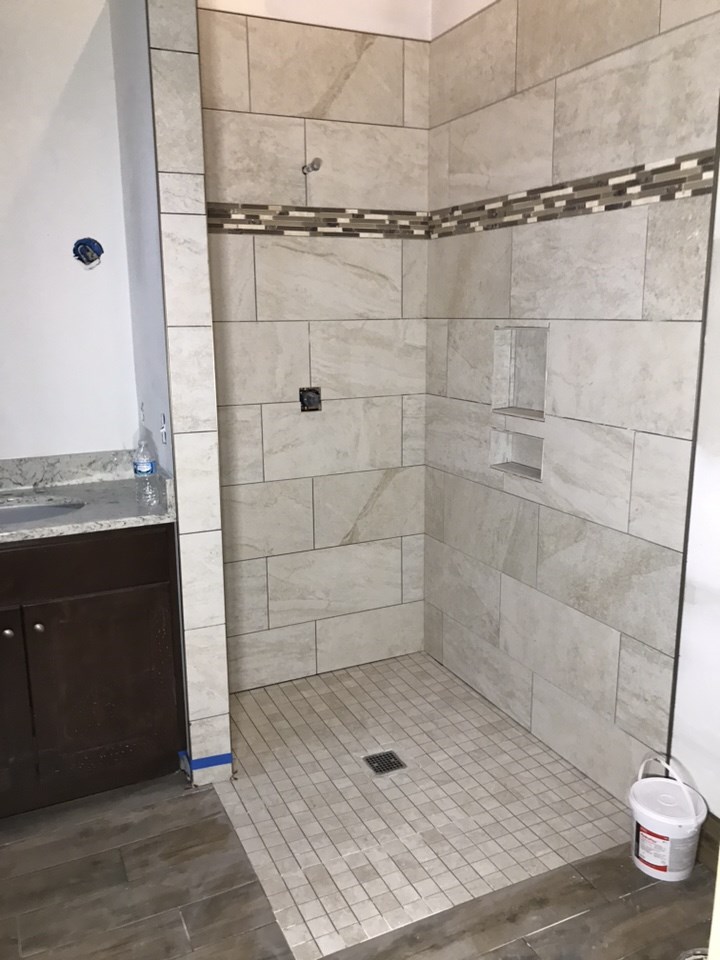
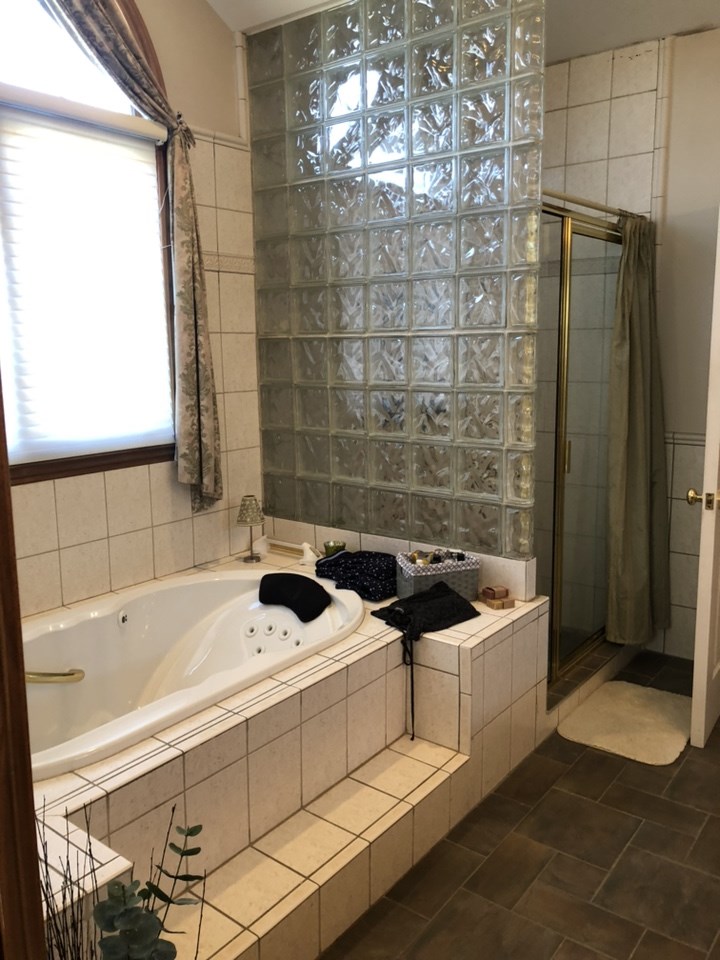
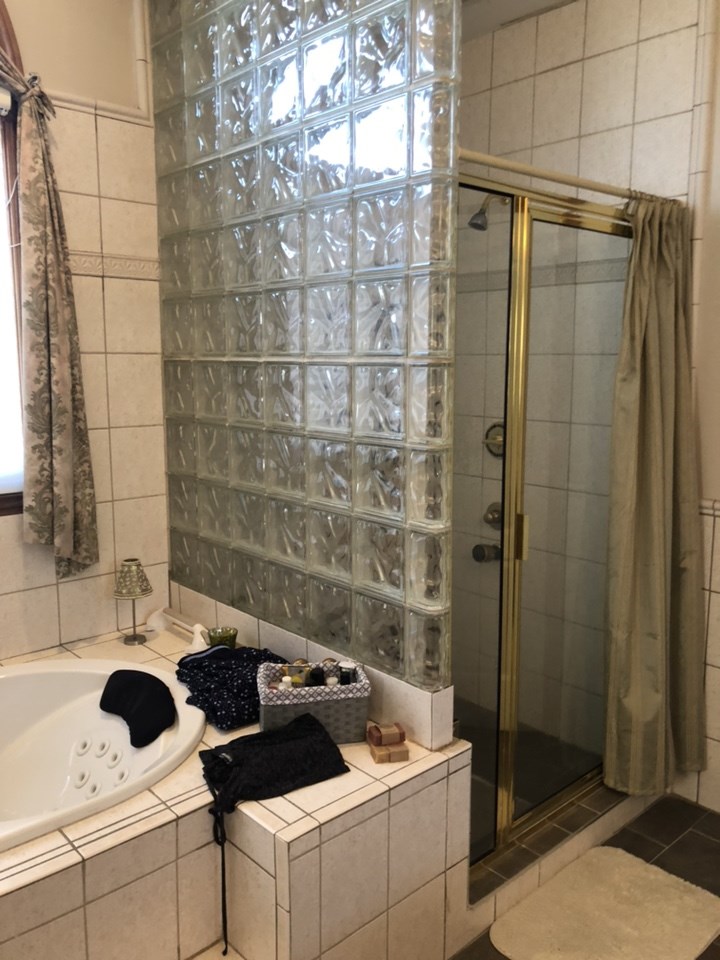
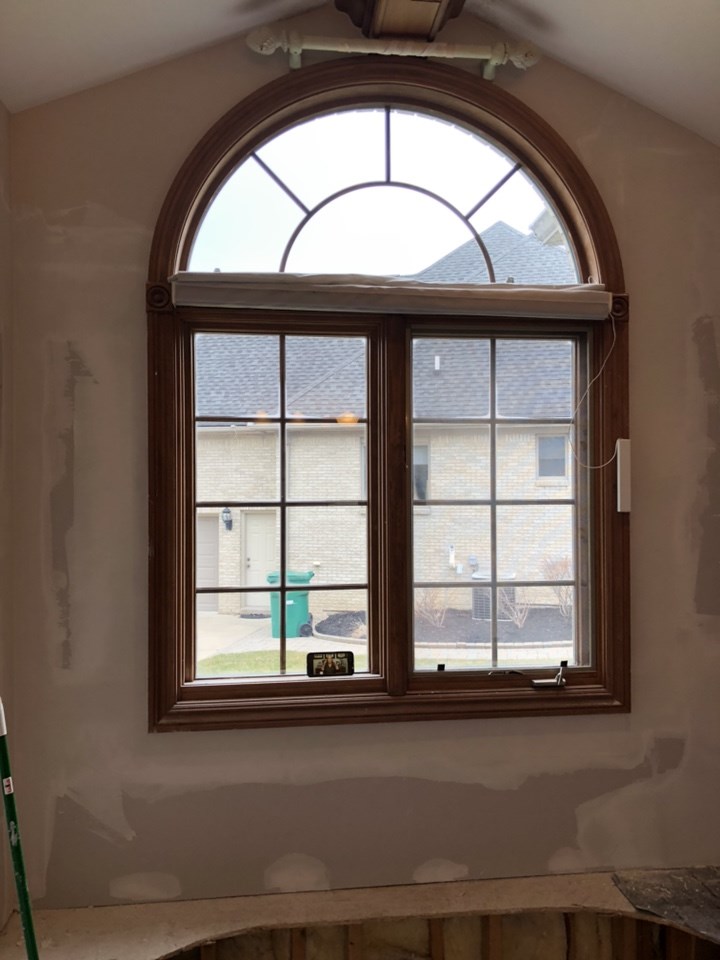
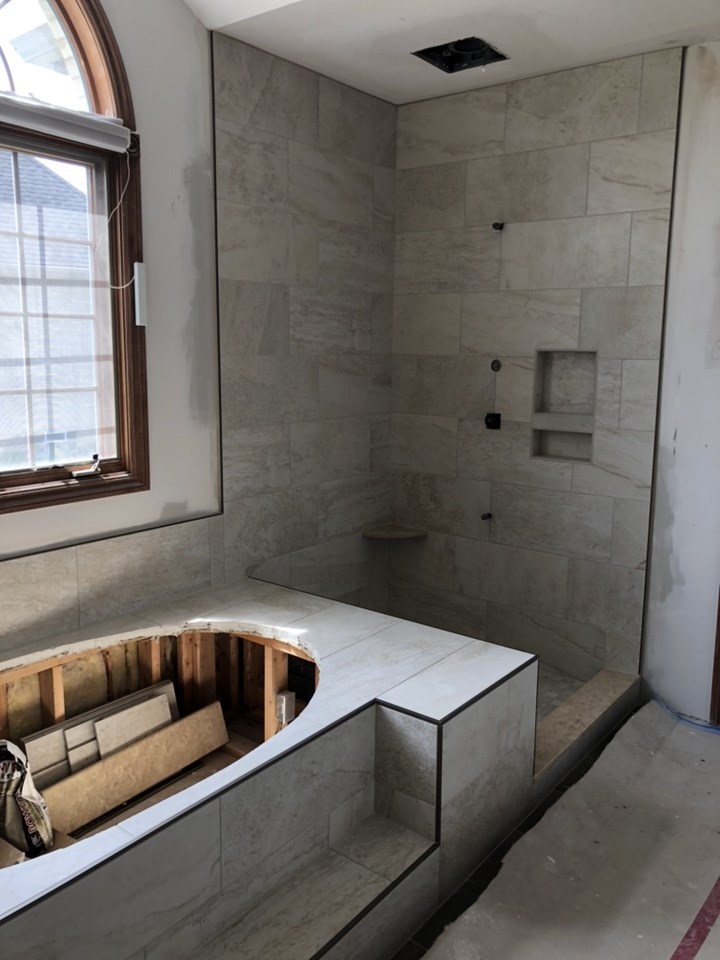
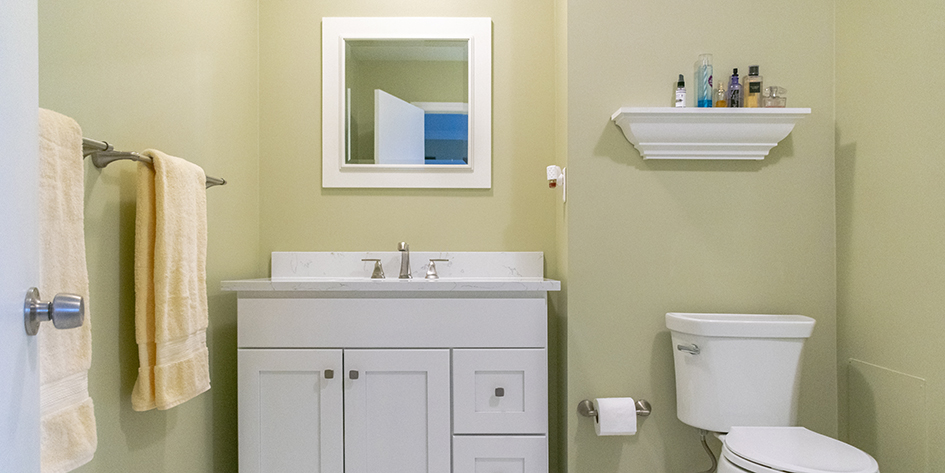
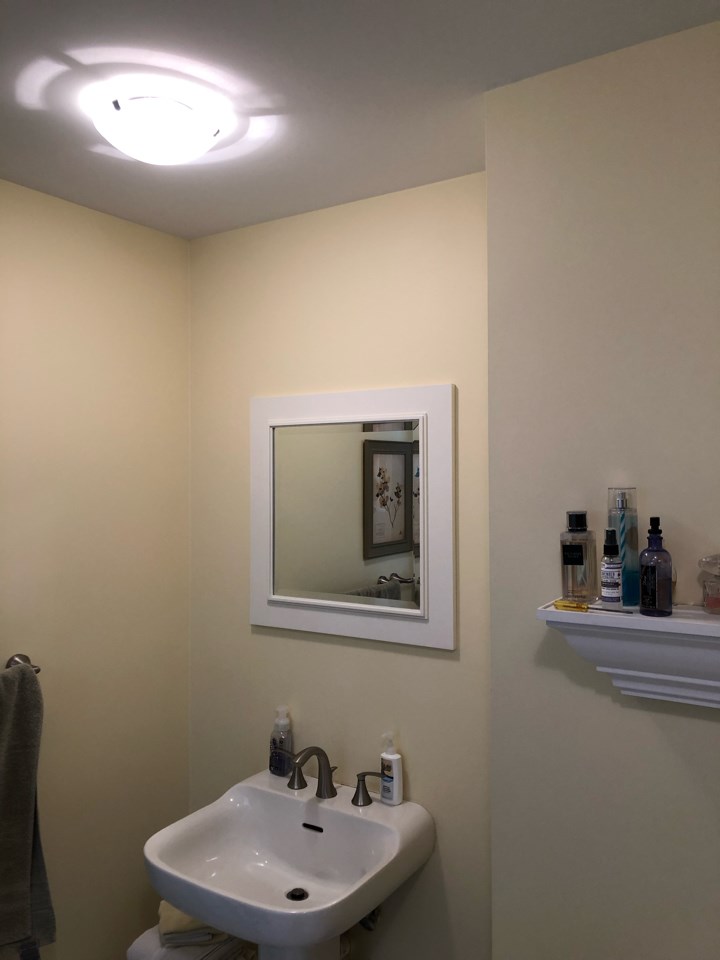
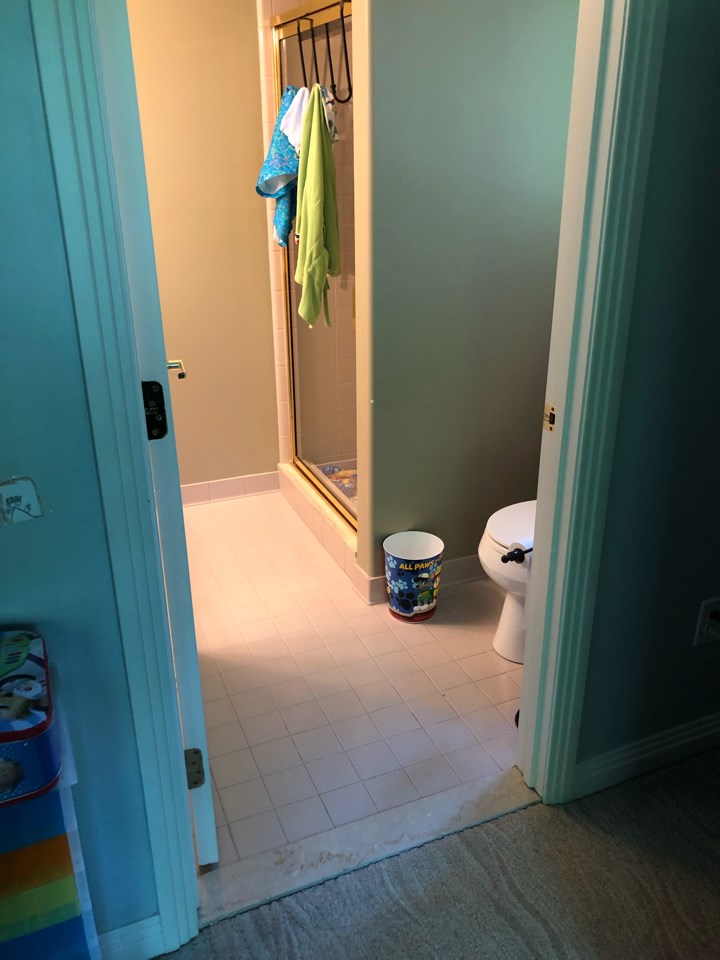
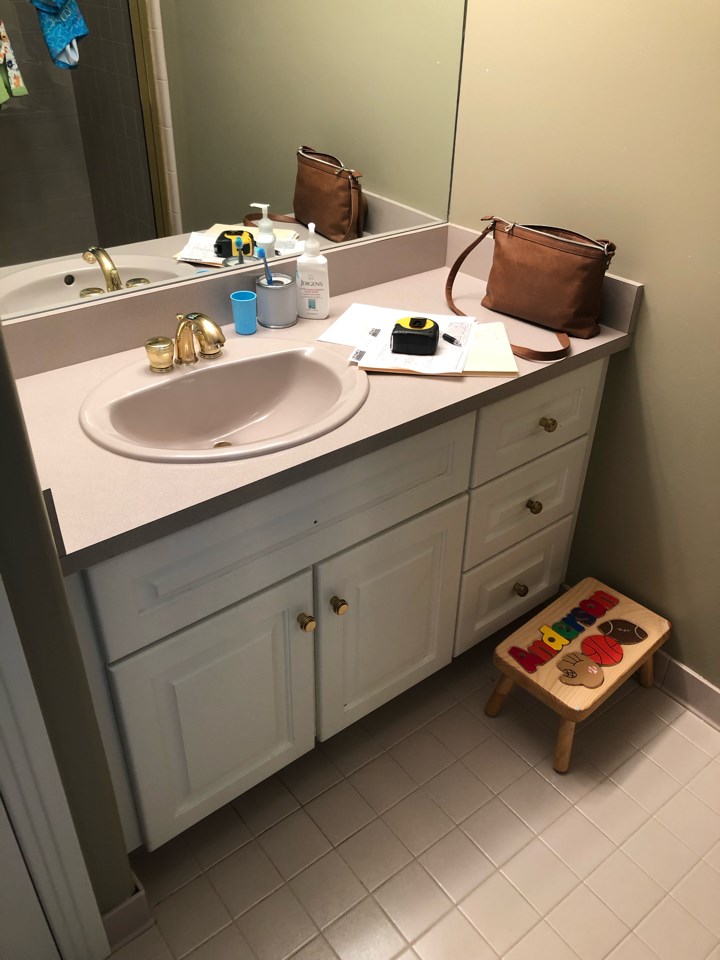
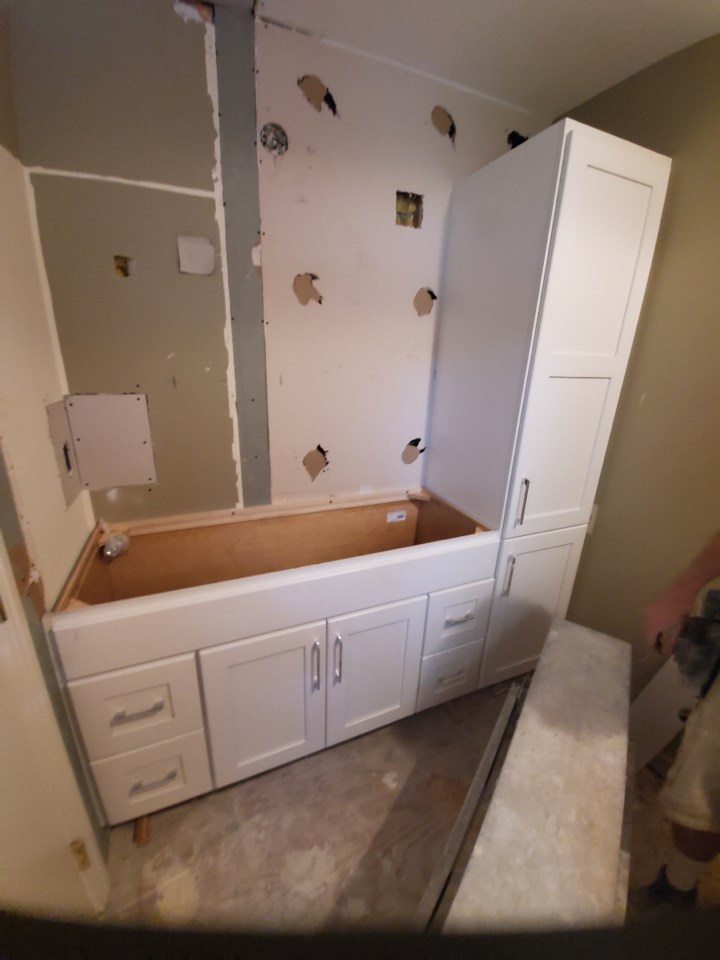
Before

The homeowners came to us because they were looking to update two bathrooms in their home at the same time. One for their son and one for their daughter. They wanted a complete remodel of each bathroom. As part of the remodel, they also wanted to vent the bathrooms to reduce the risk of mold forming from excess moisture.

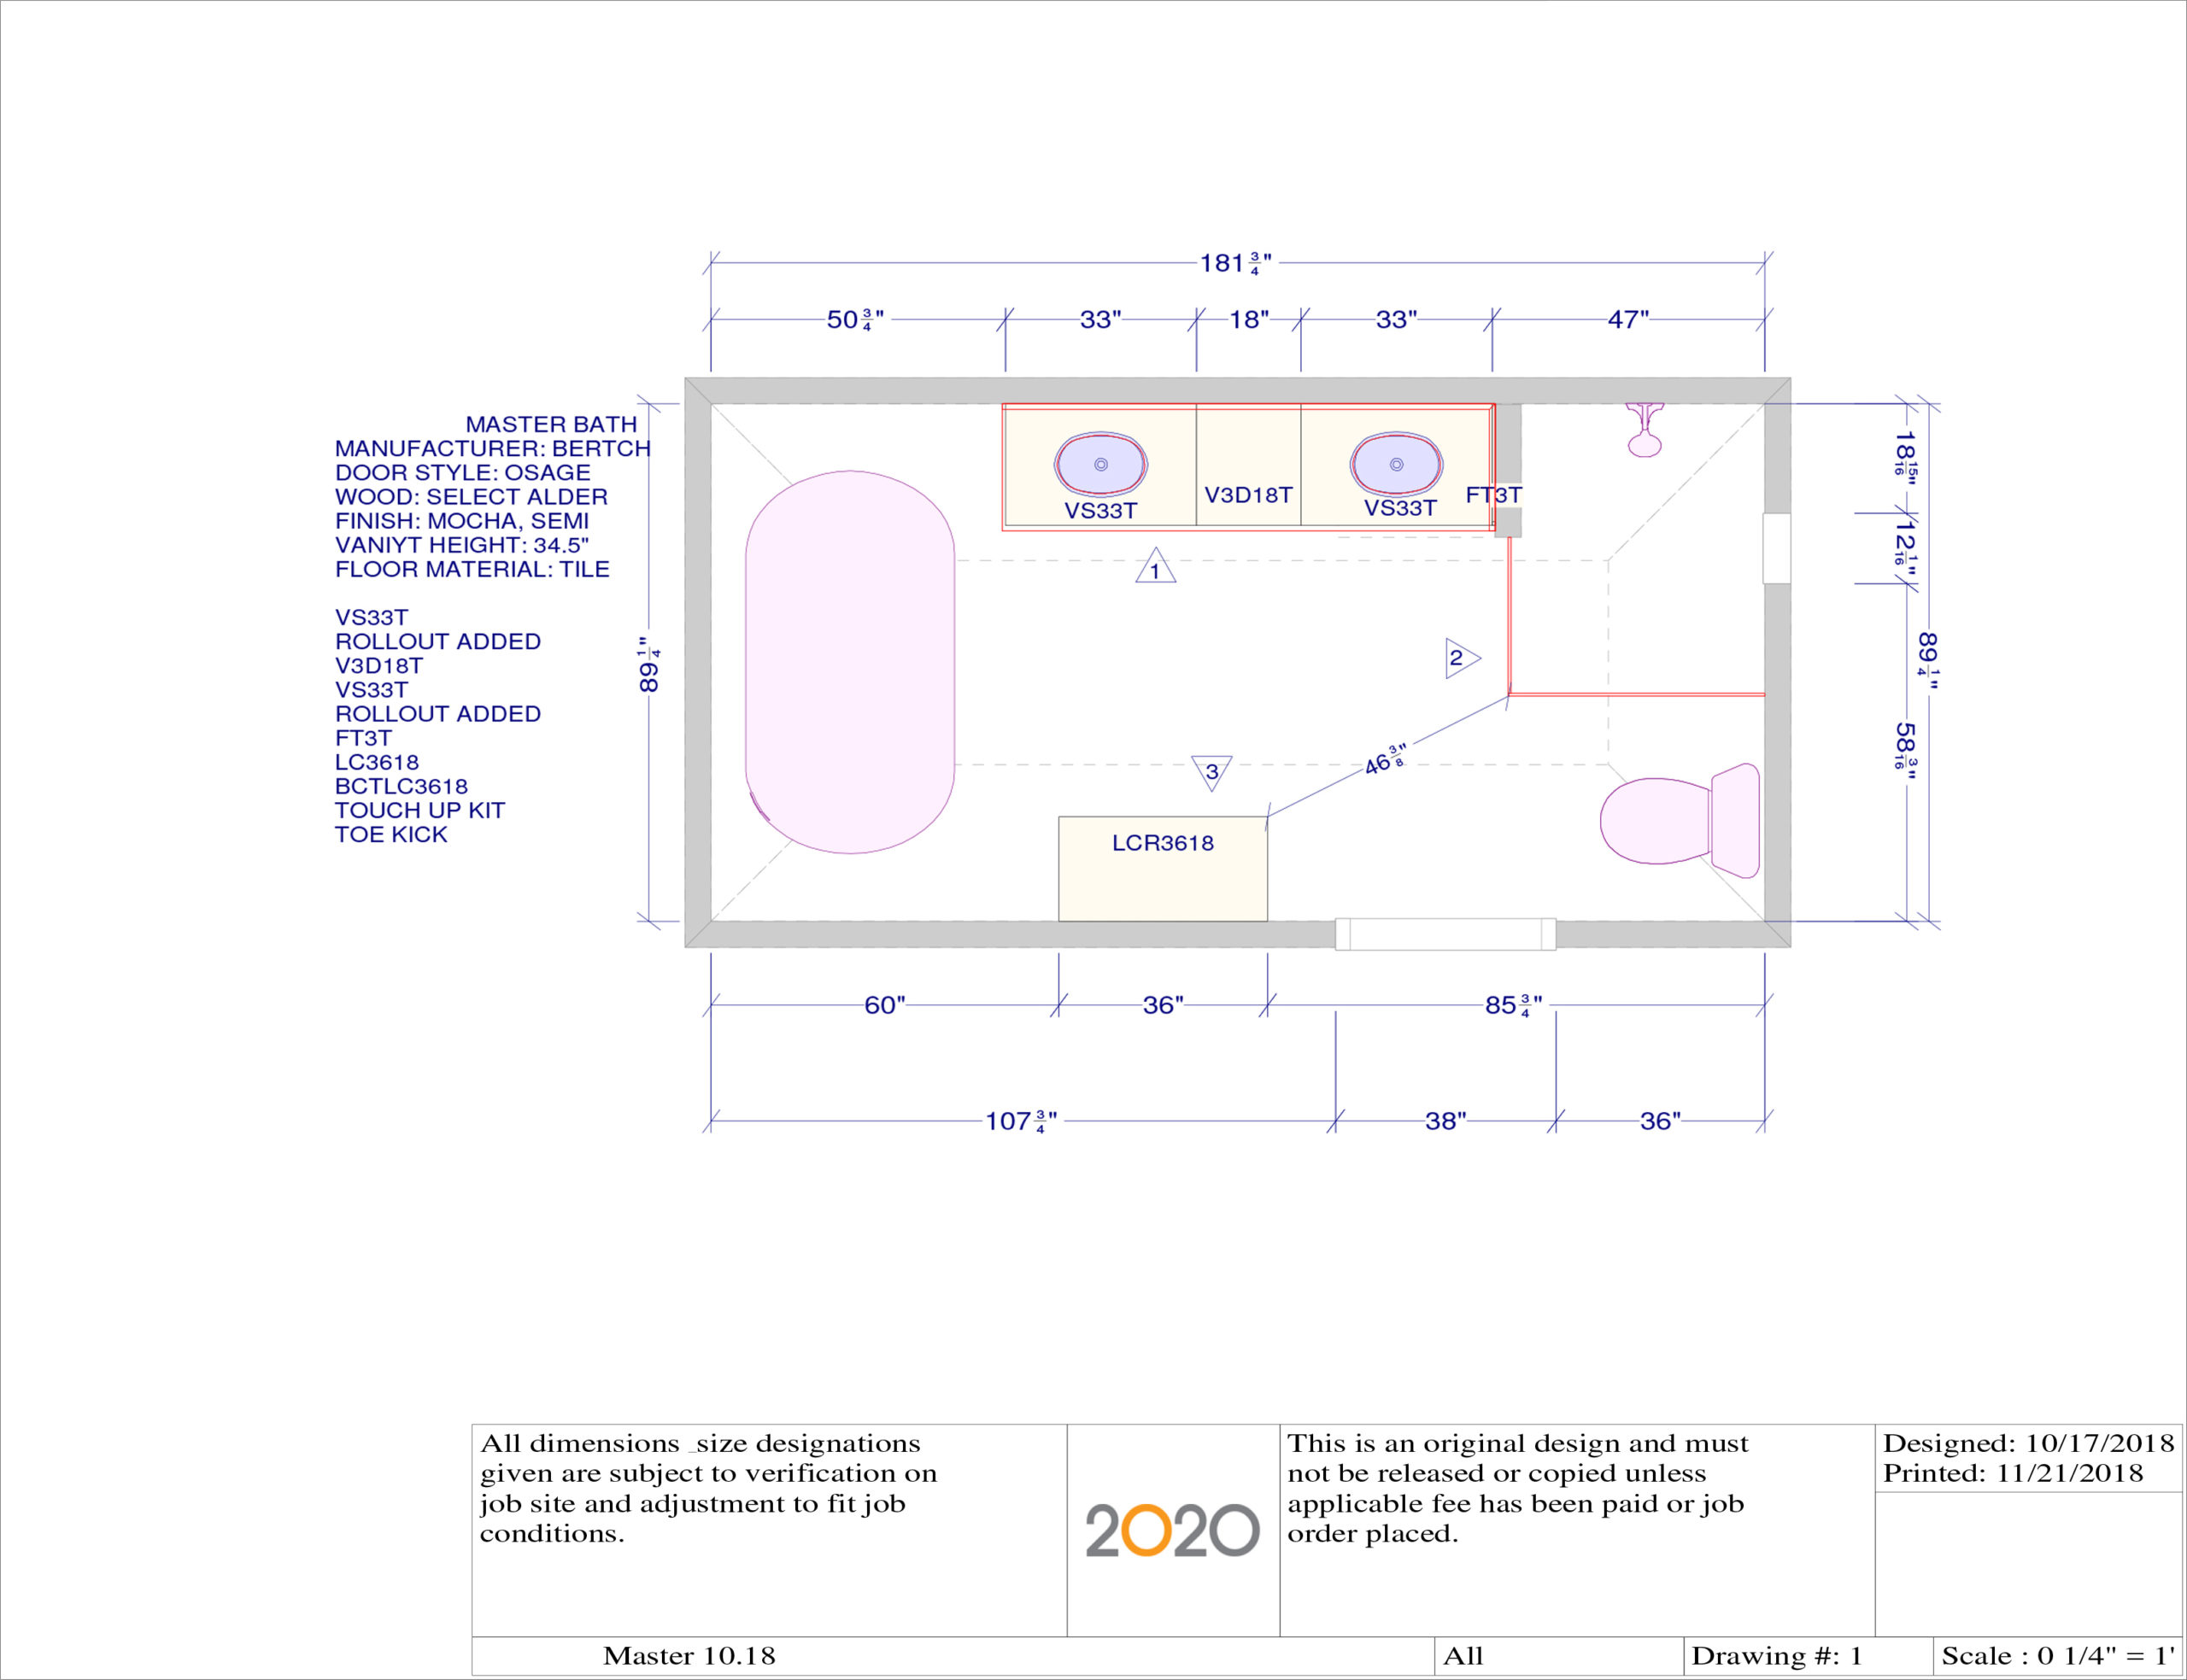
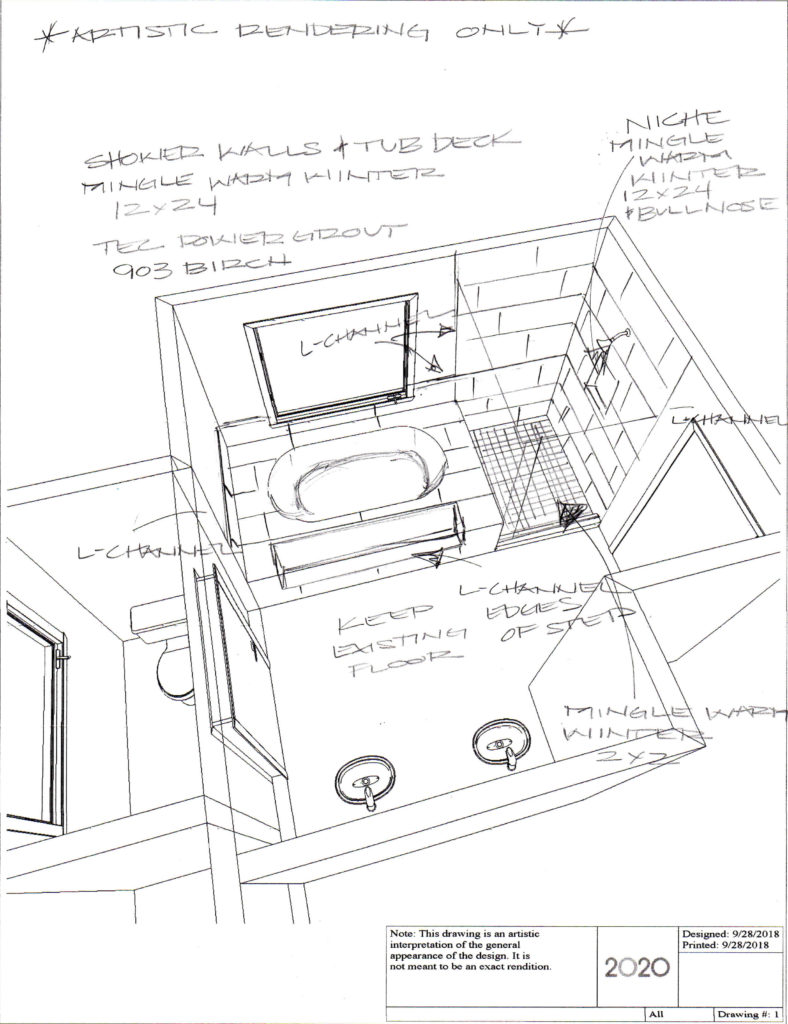
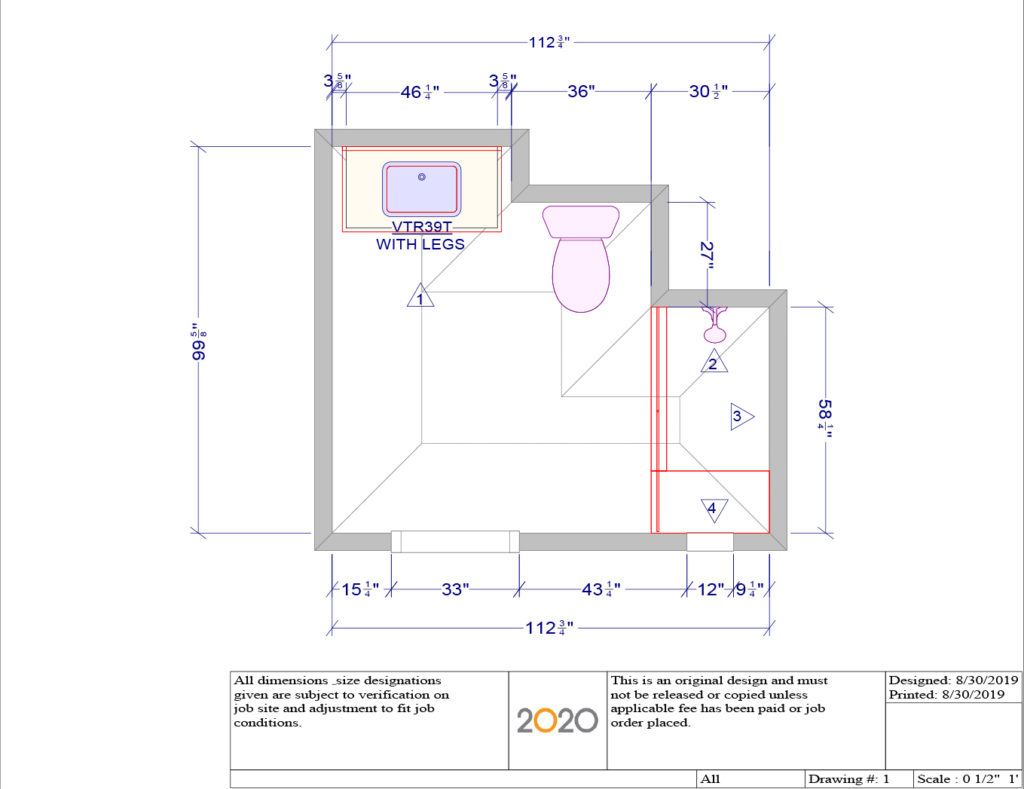
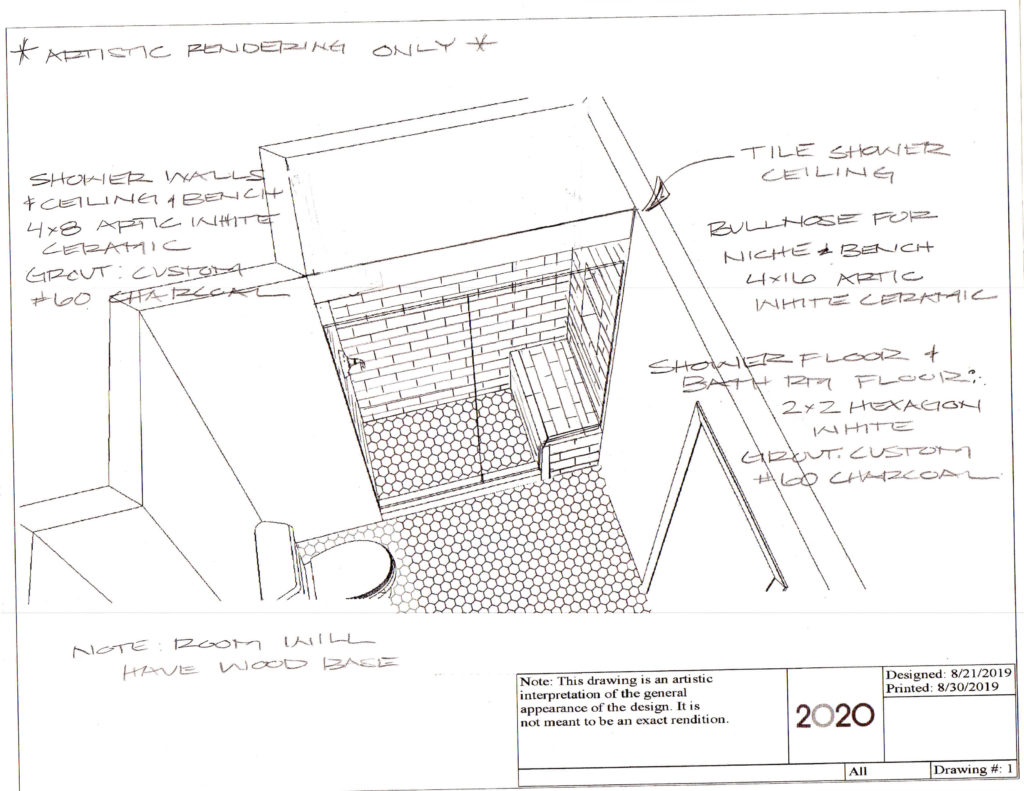
We went through our standard design phase where we came up with a game plan for the construction of the bathrooms. This included planning the layouts, making material selections, picking colors, and making detailed drawings and specifications.
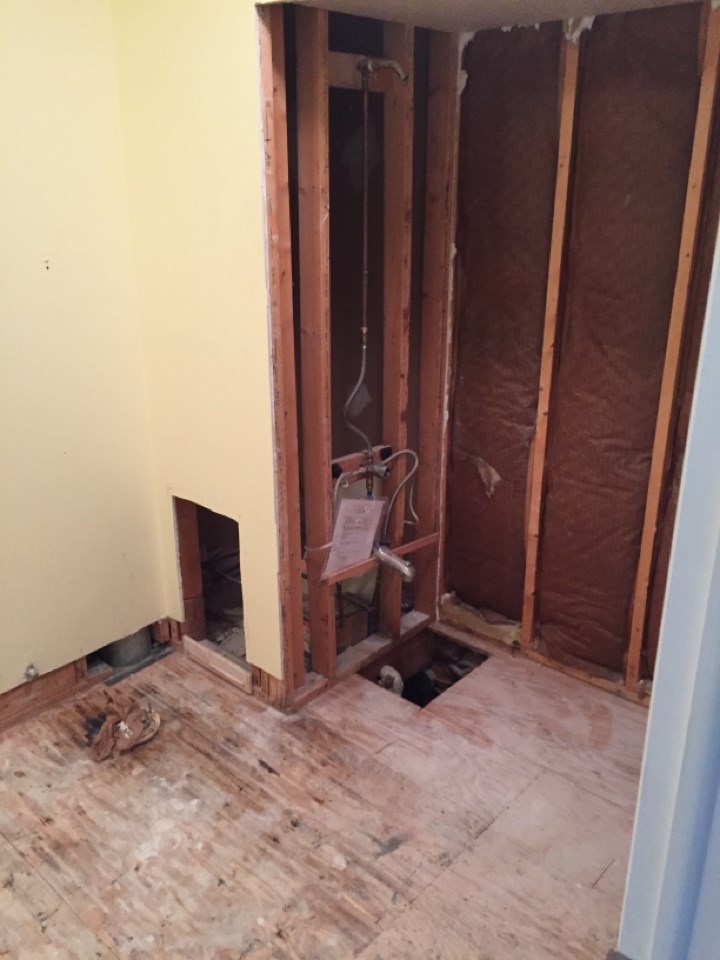
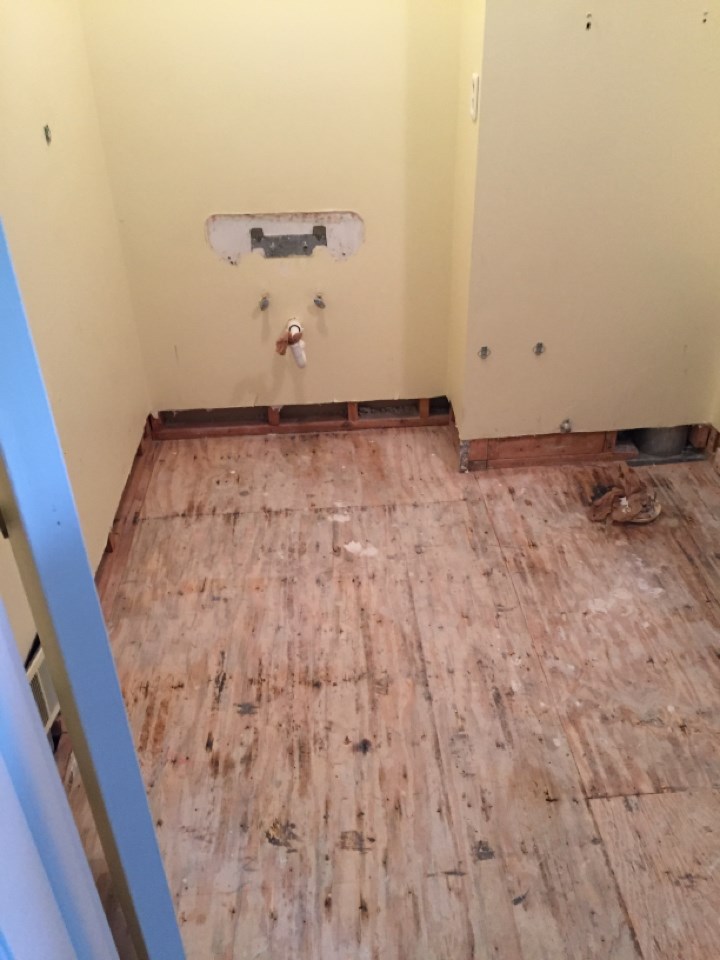
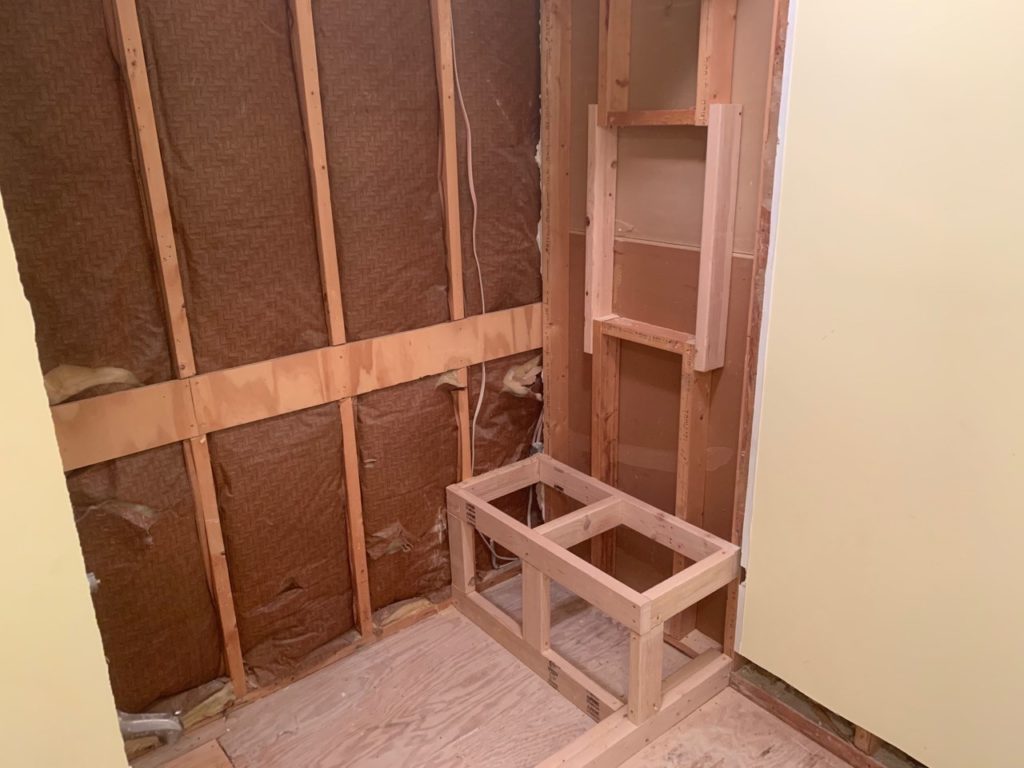
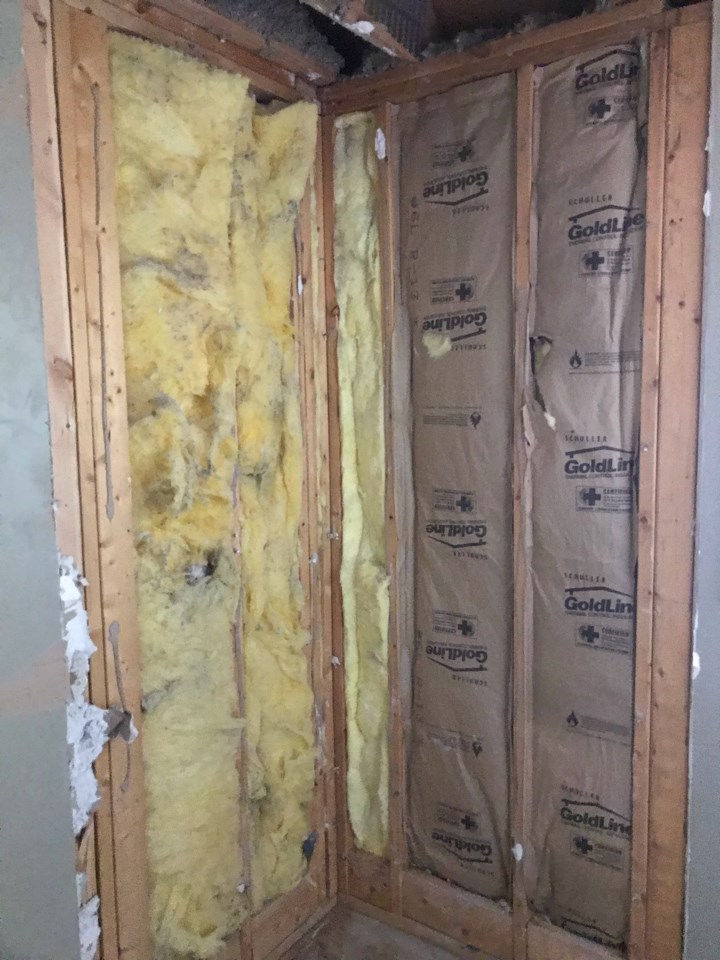
Construction

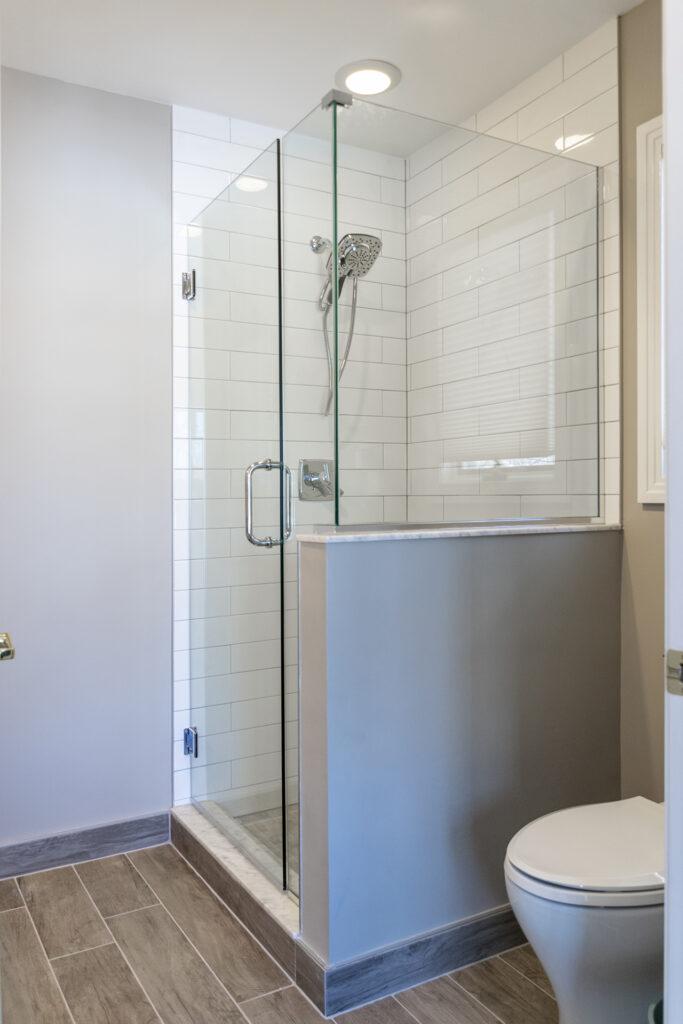
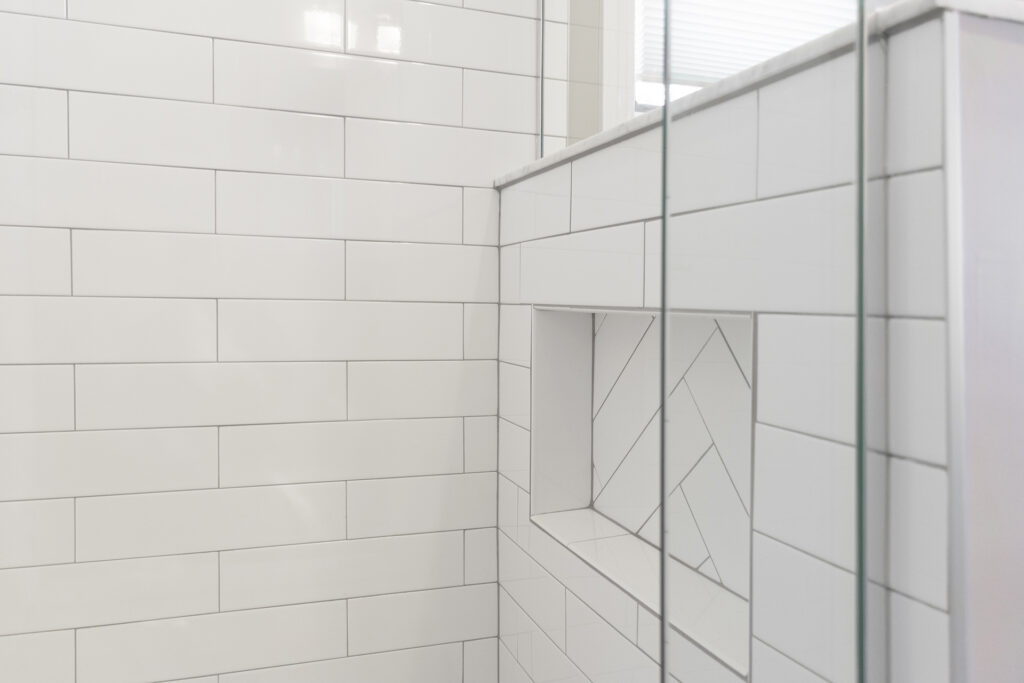
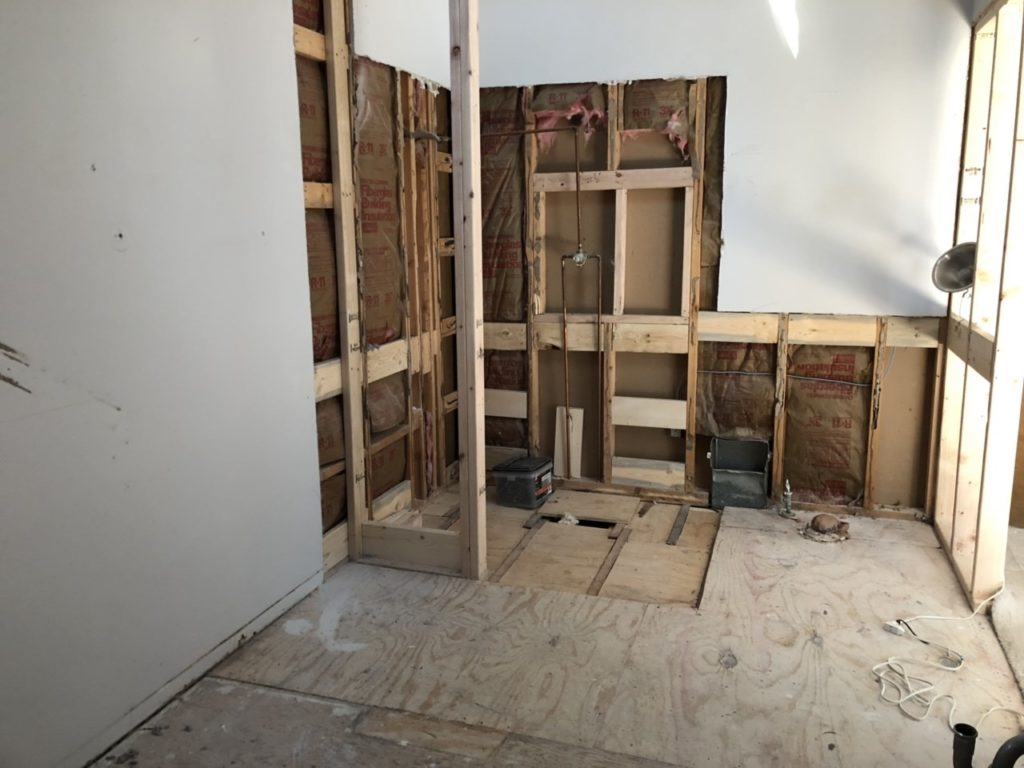
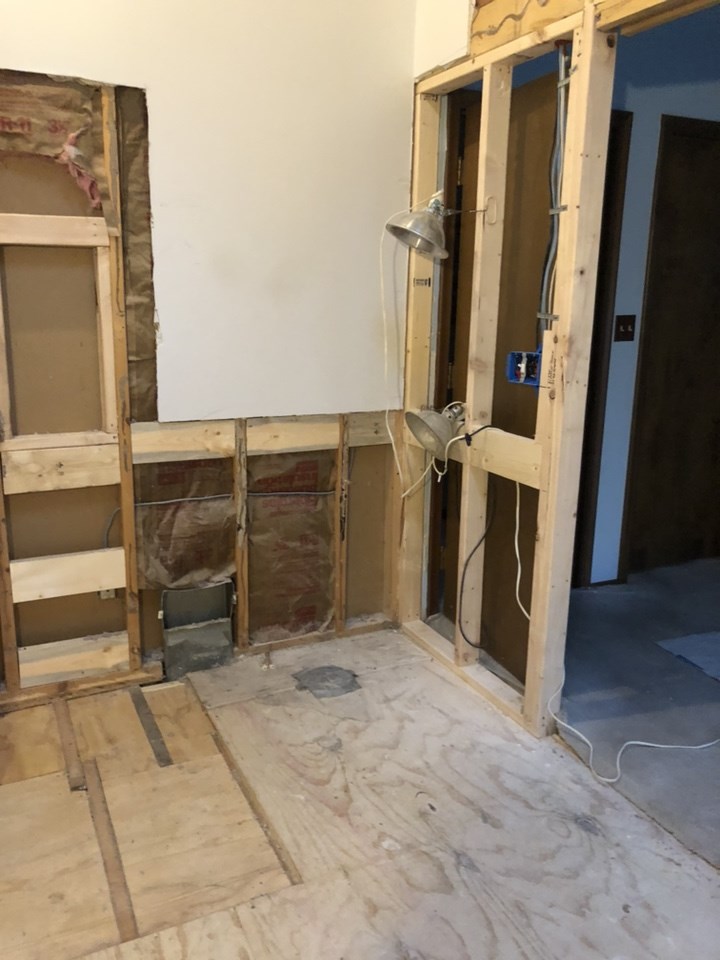
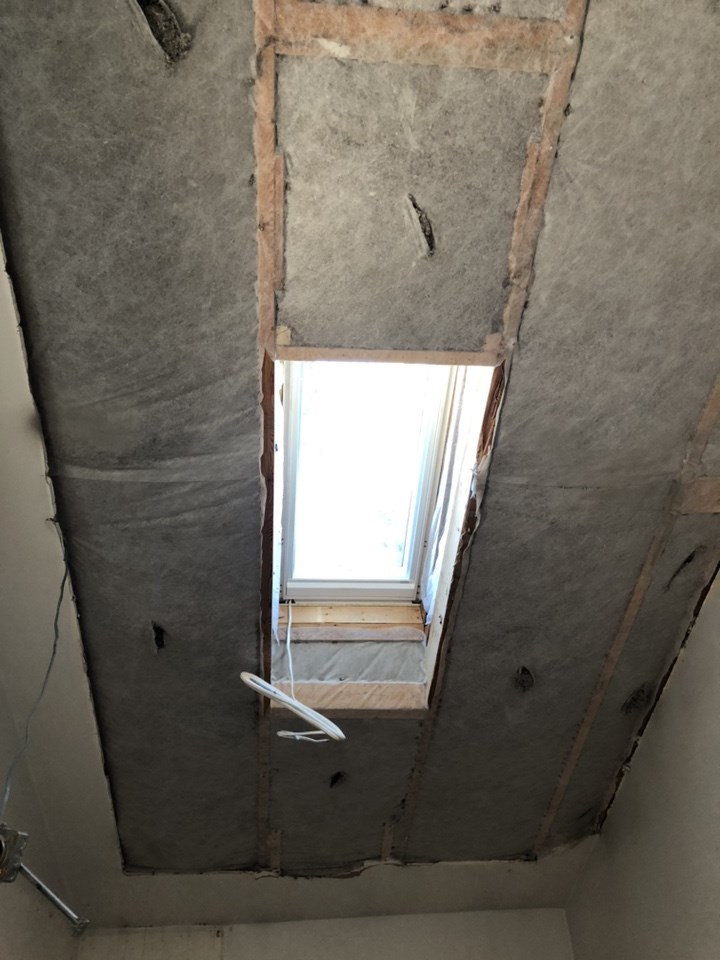
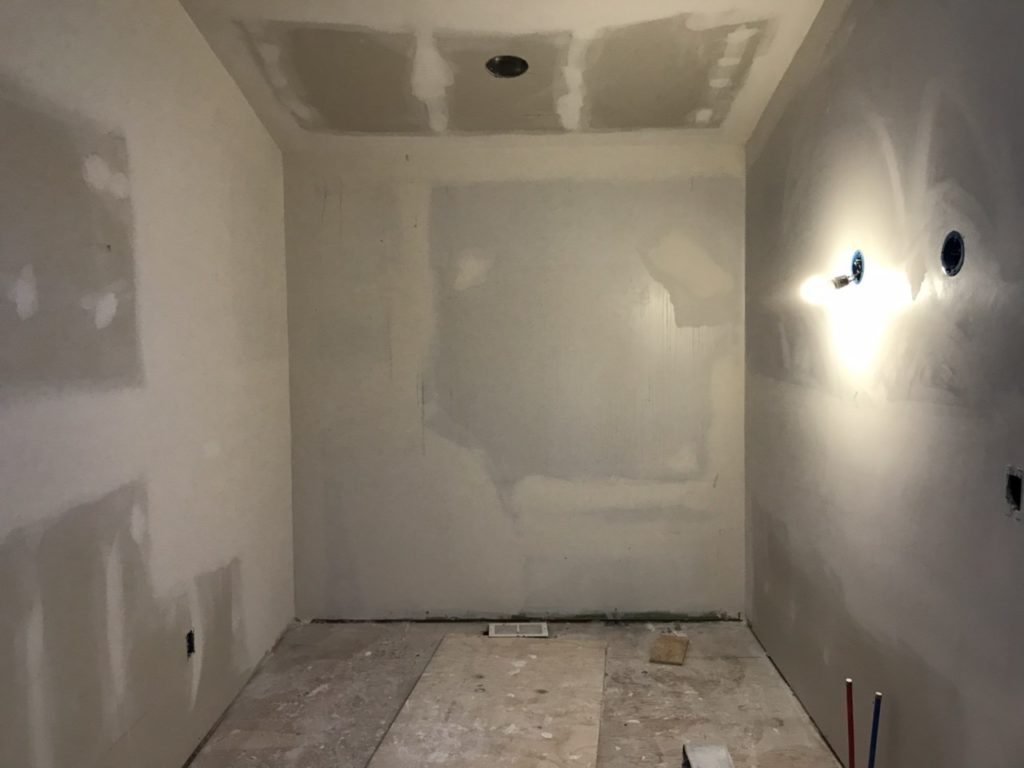
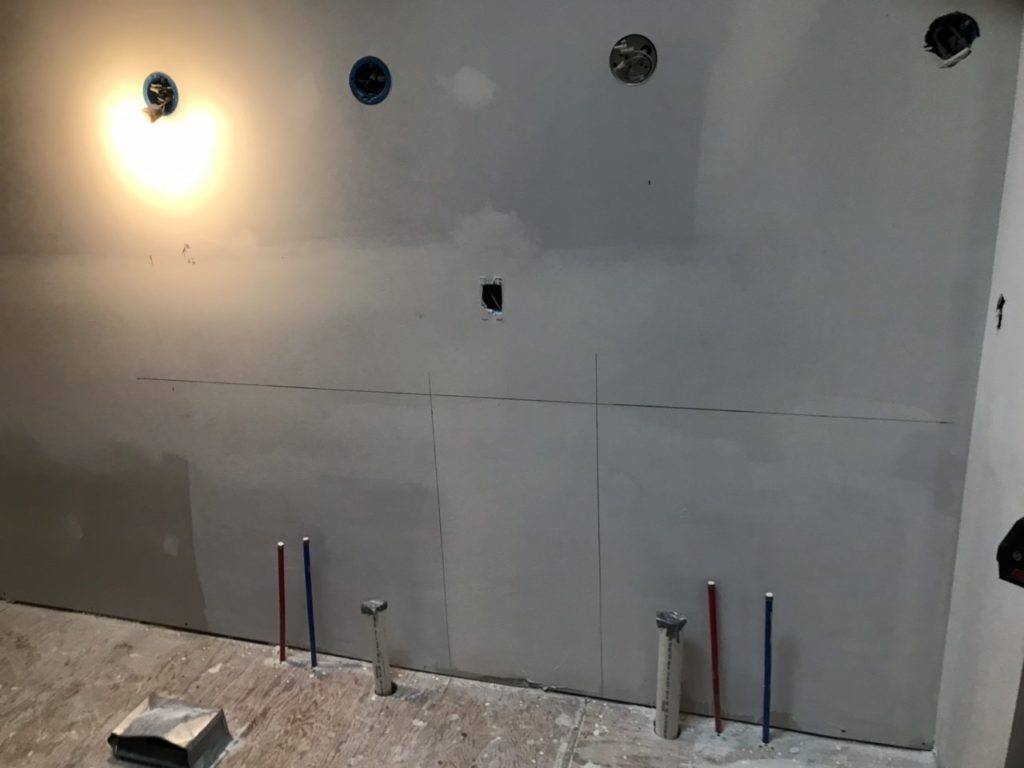
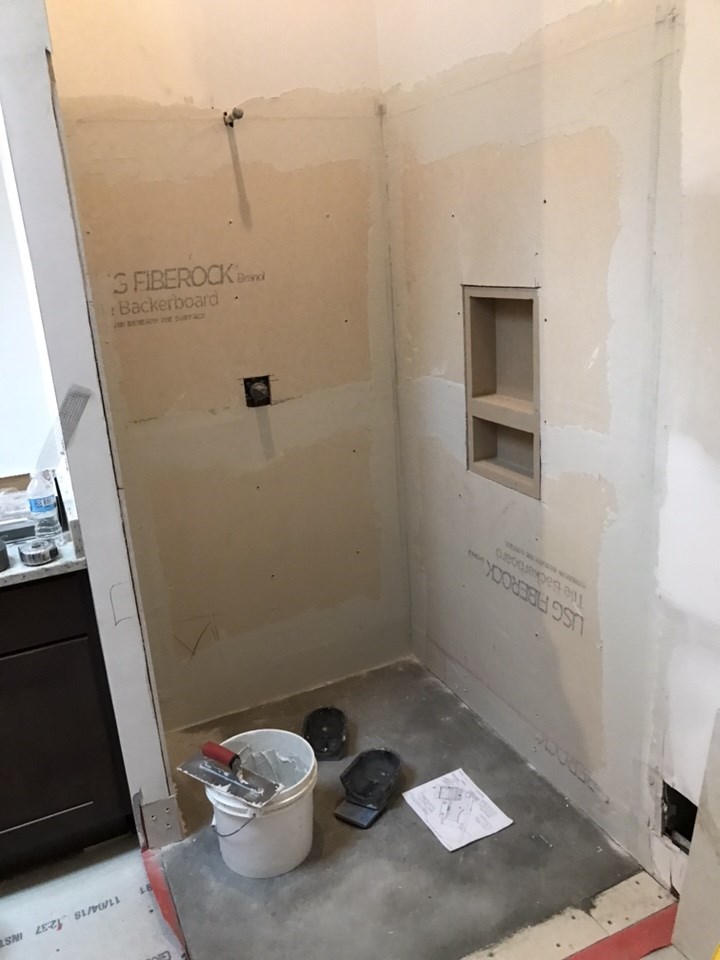
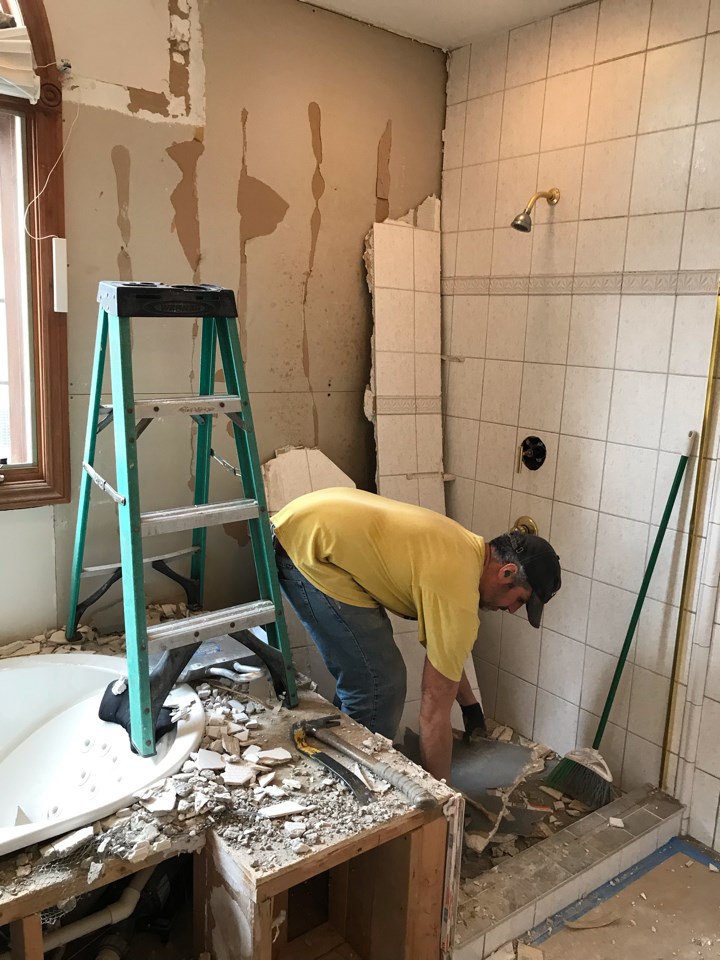
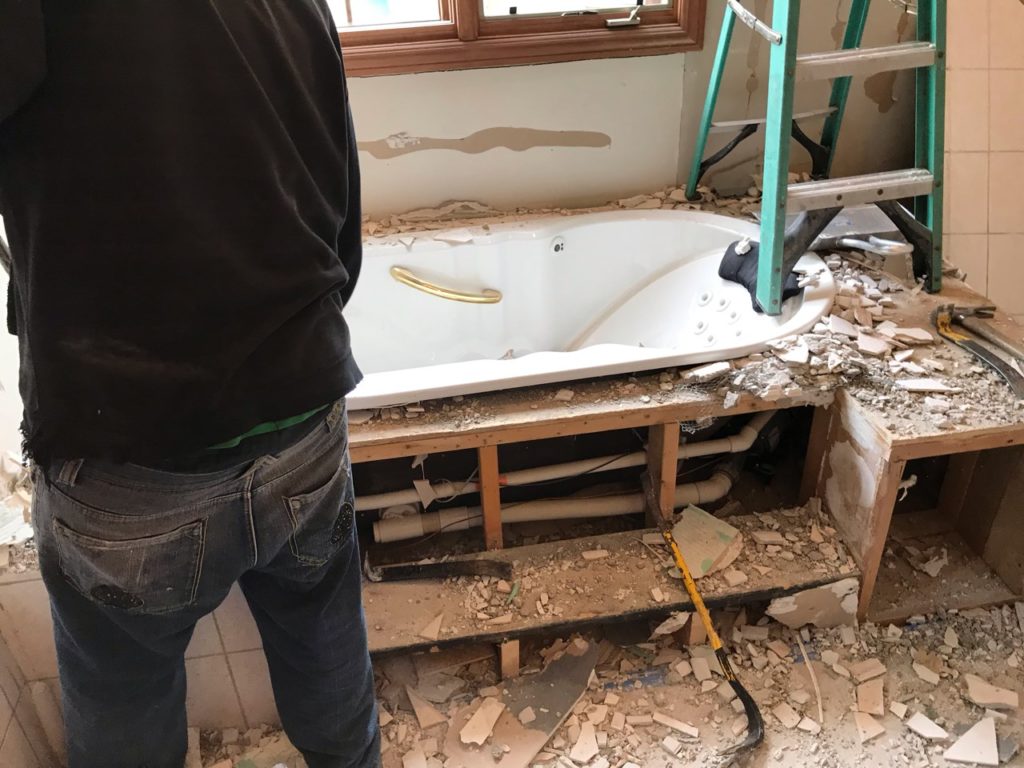
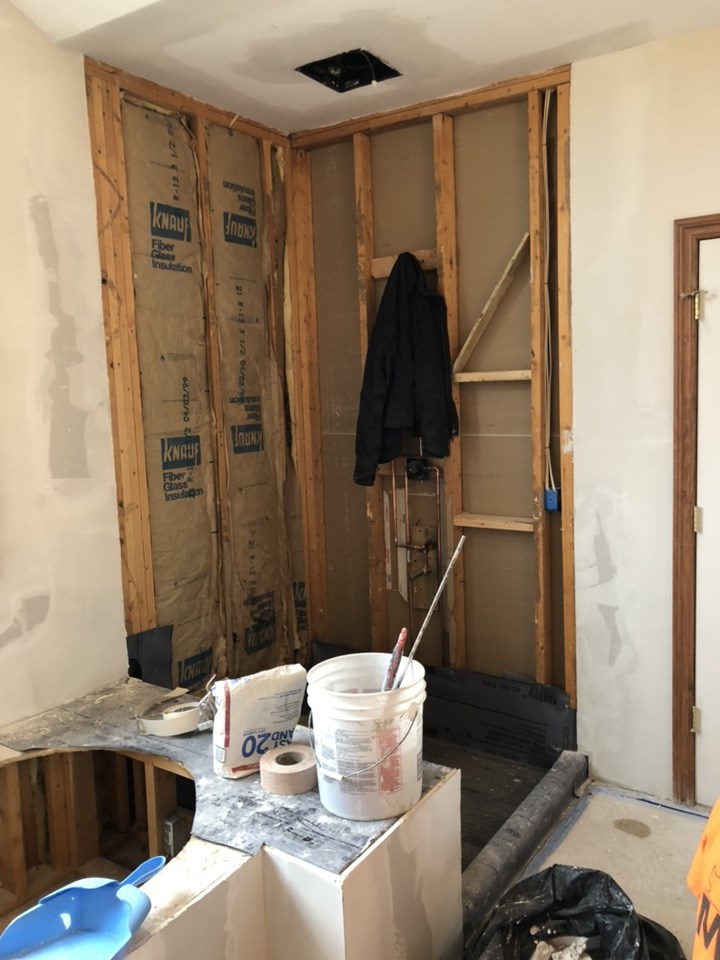
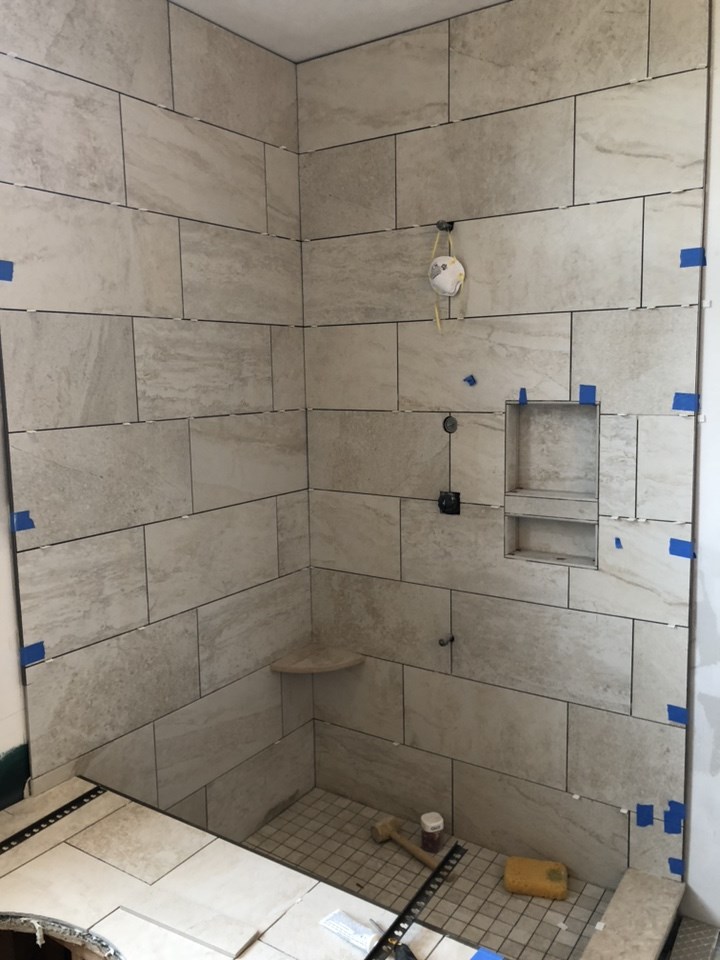
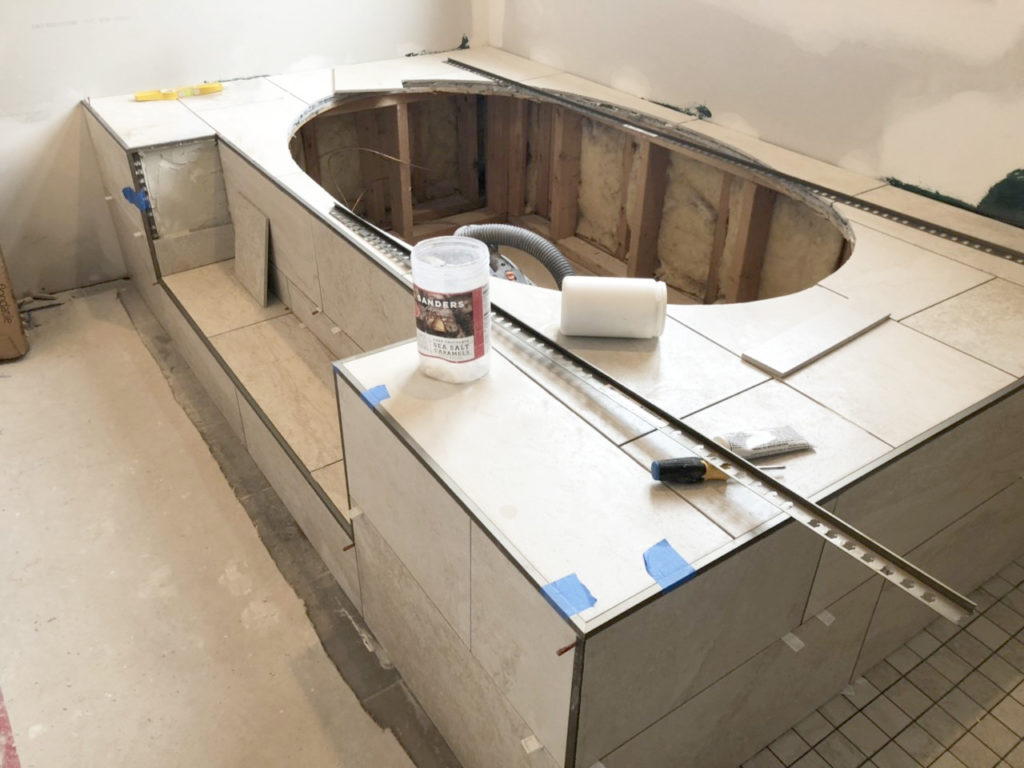
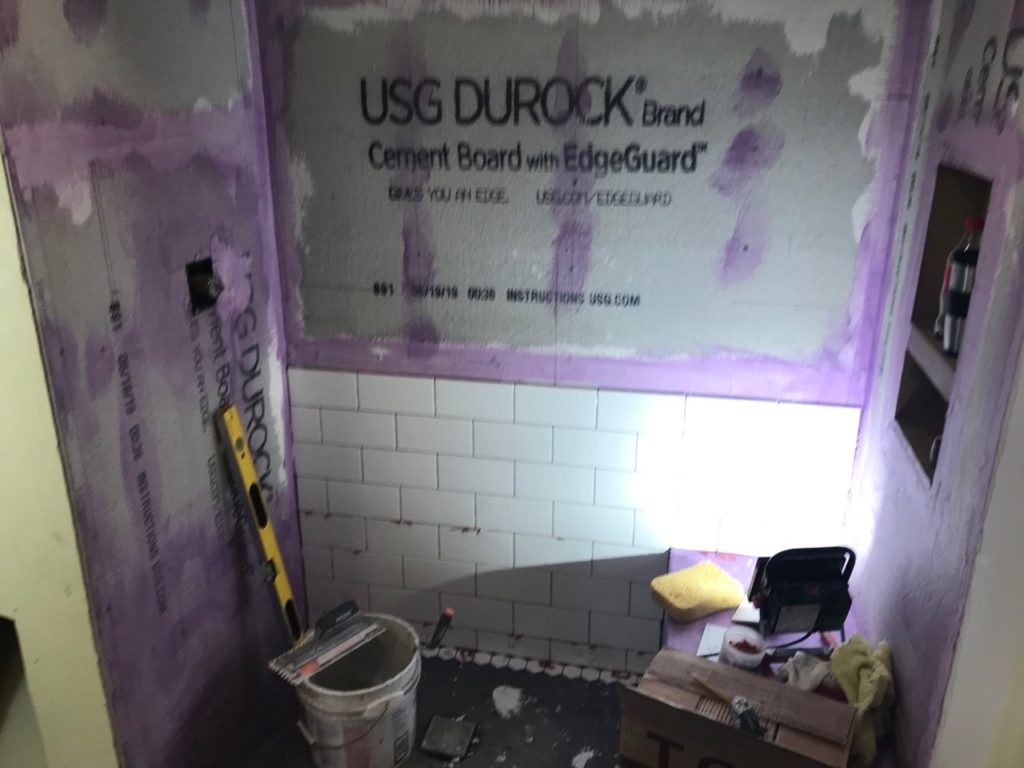
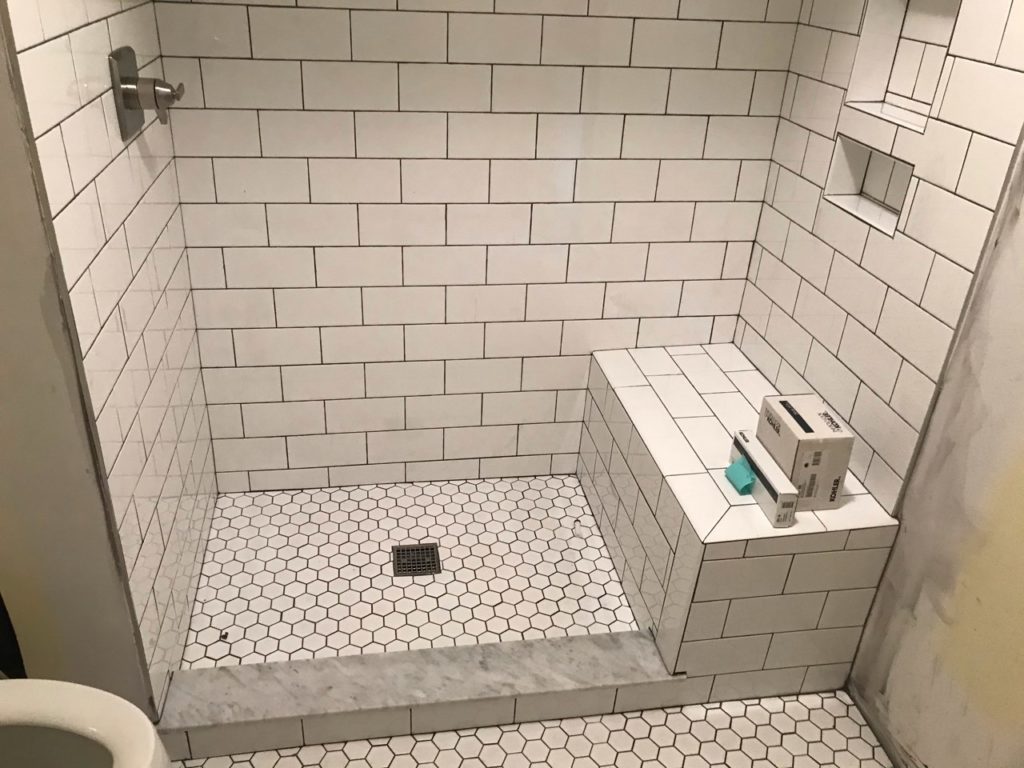
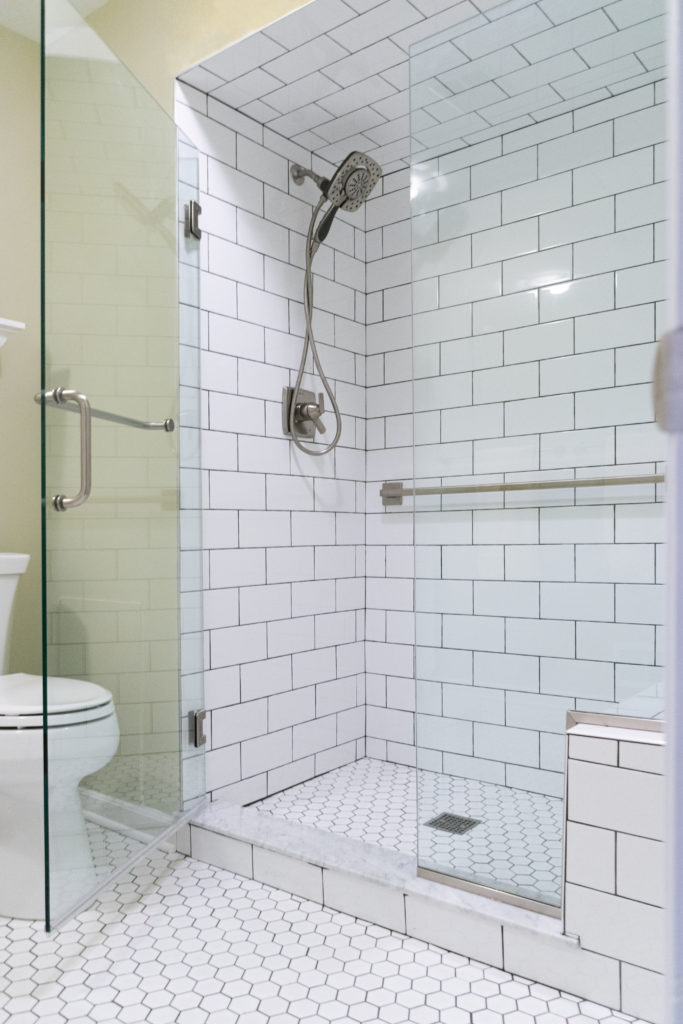
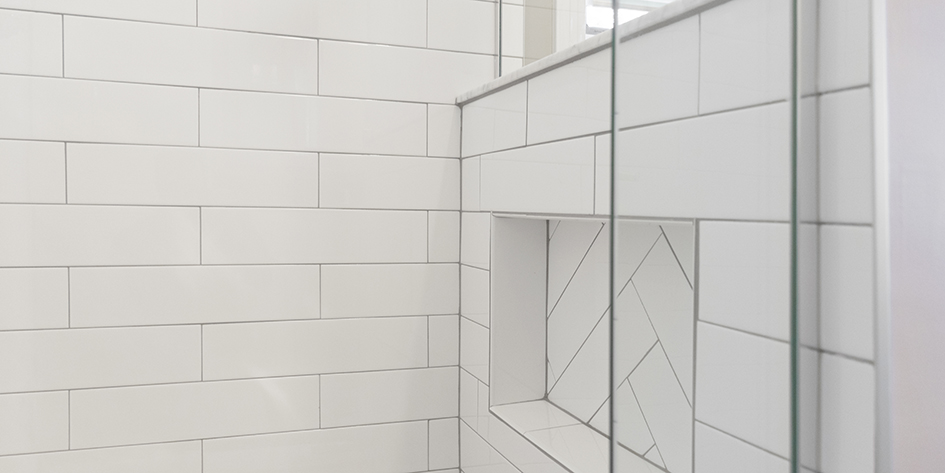
We demoed the whole bathroom and framed for the half wall of the shower and the niche. We then got all the new plumbing hooked up and the electrical roughed in. The bathroom was also vented at this point in the project.

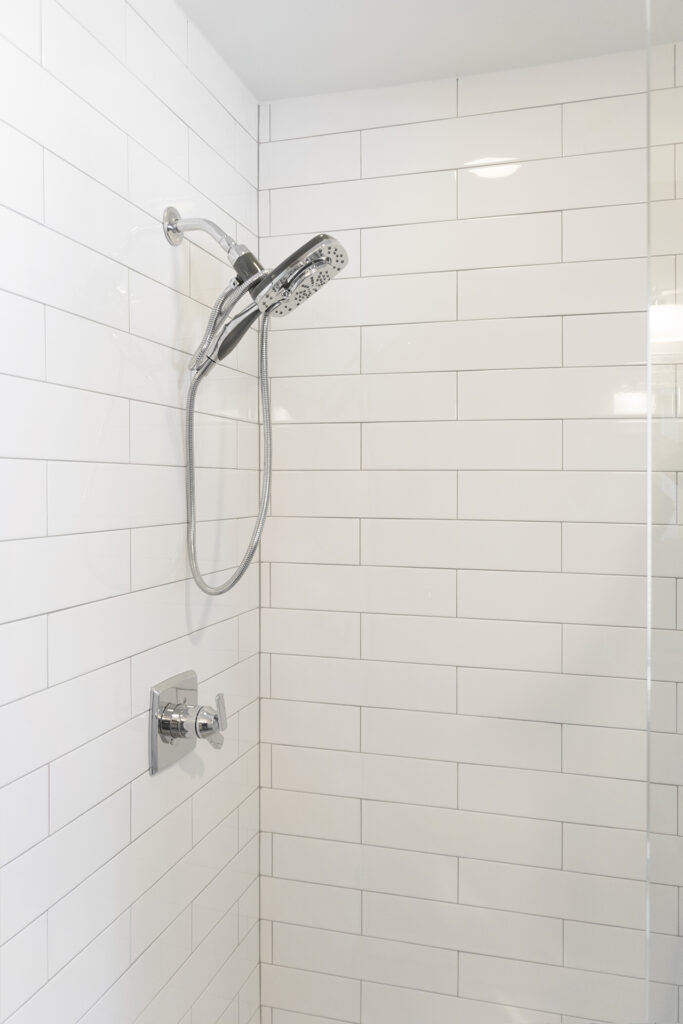
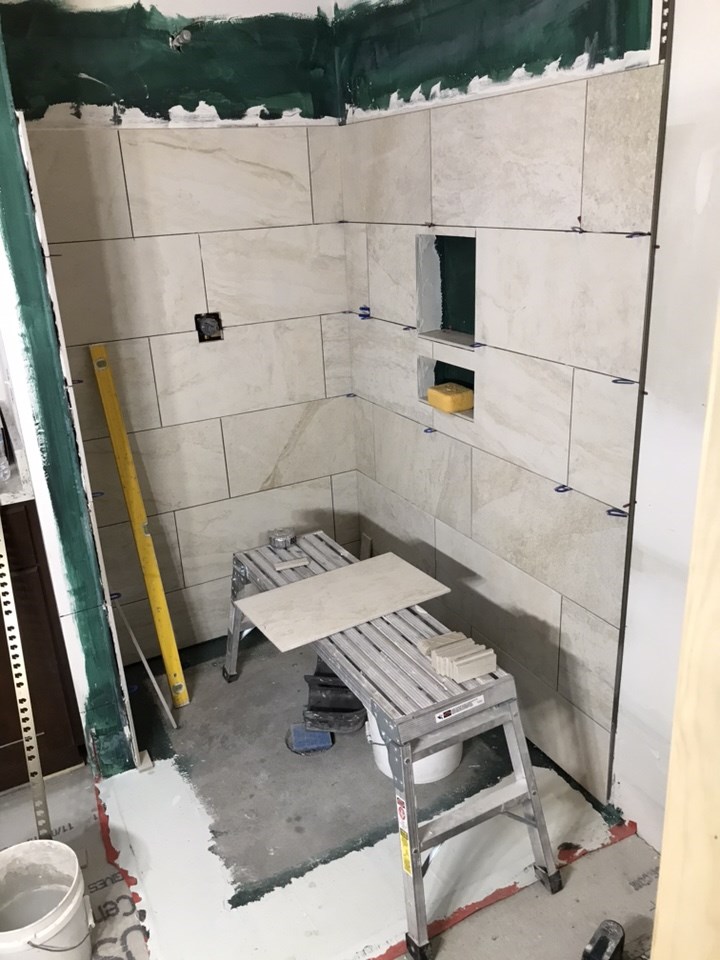
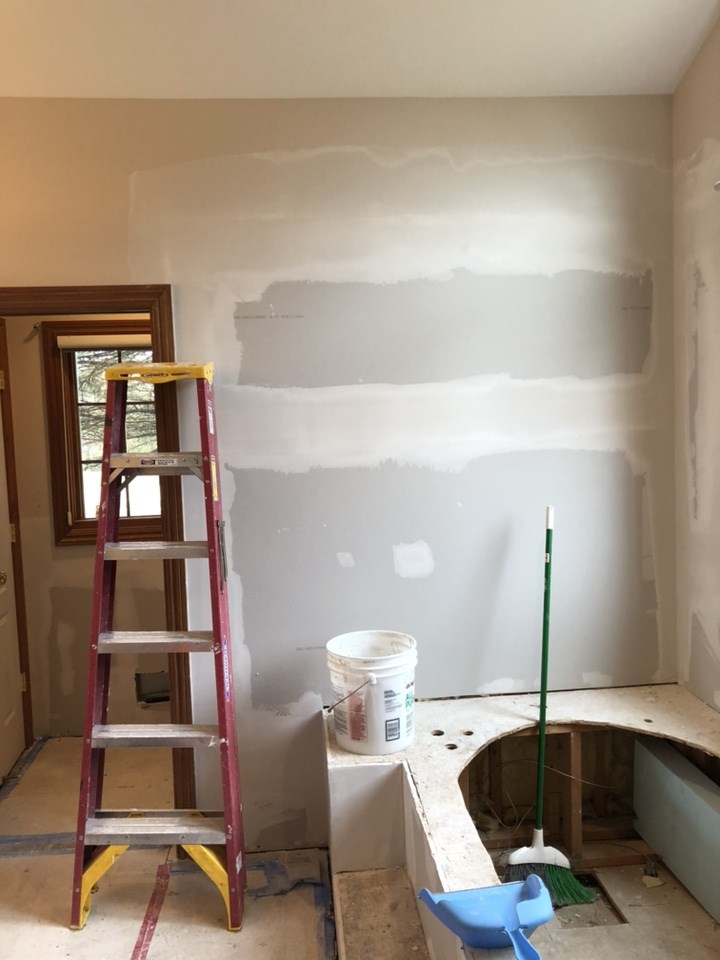
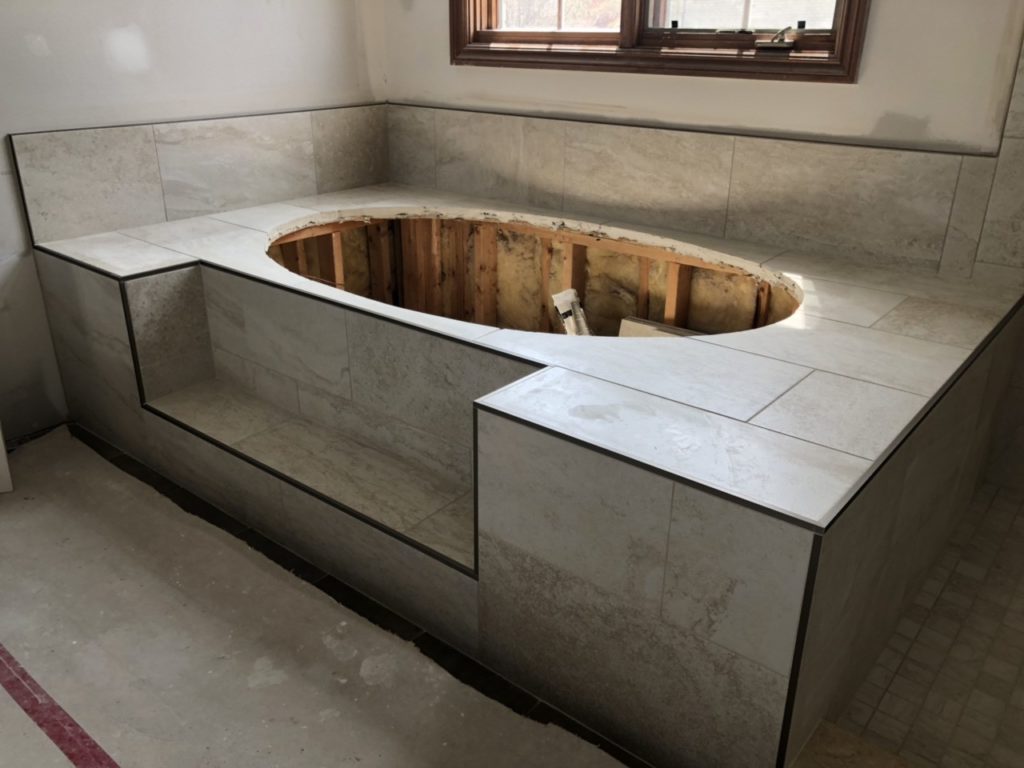
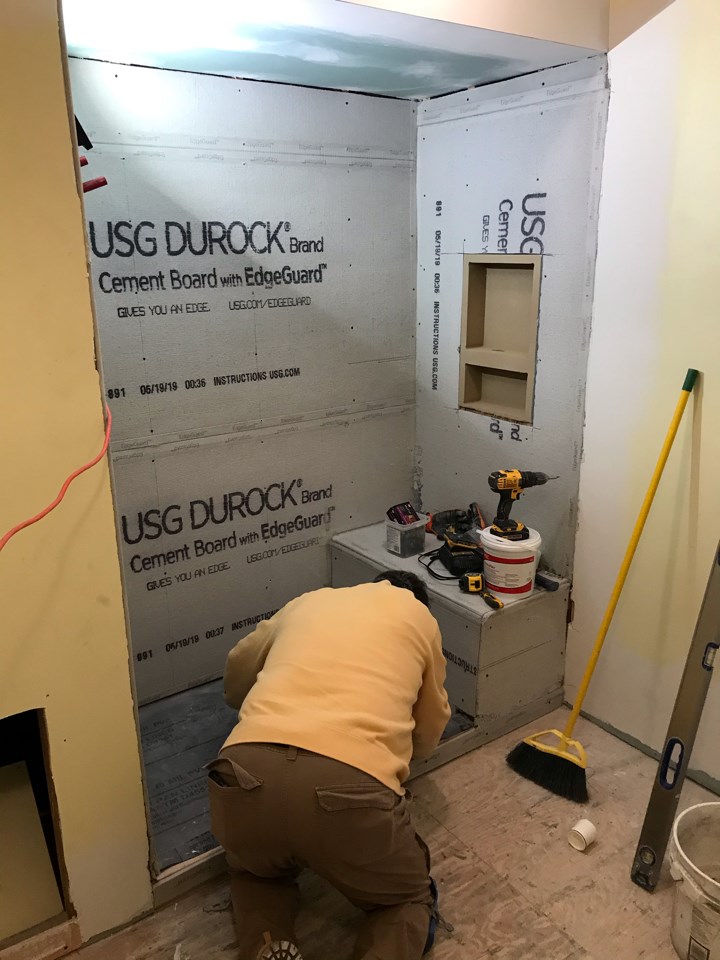
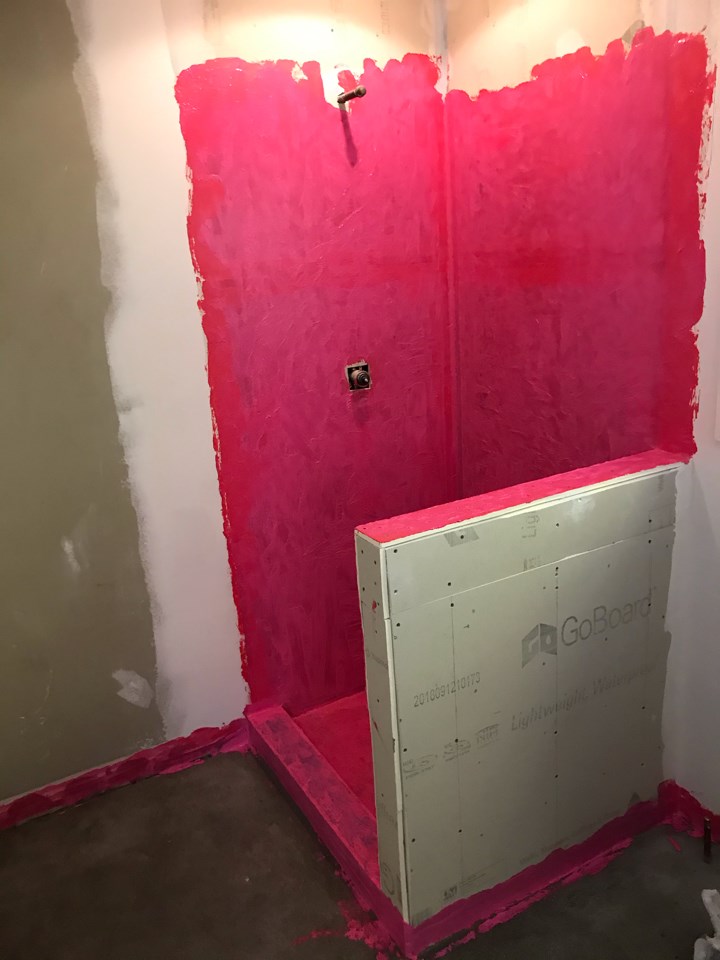
The shower area then got waterproofed and prepped for tile installation.

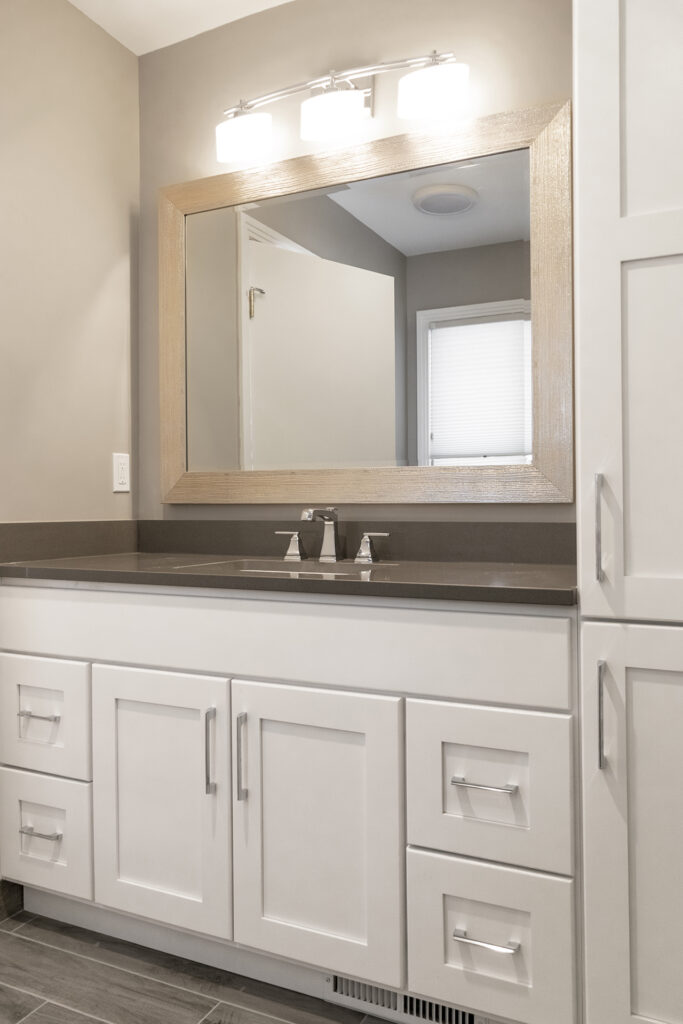
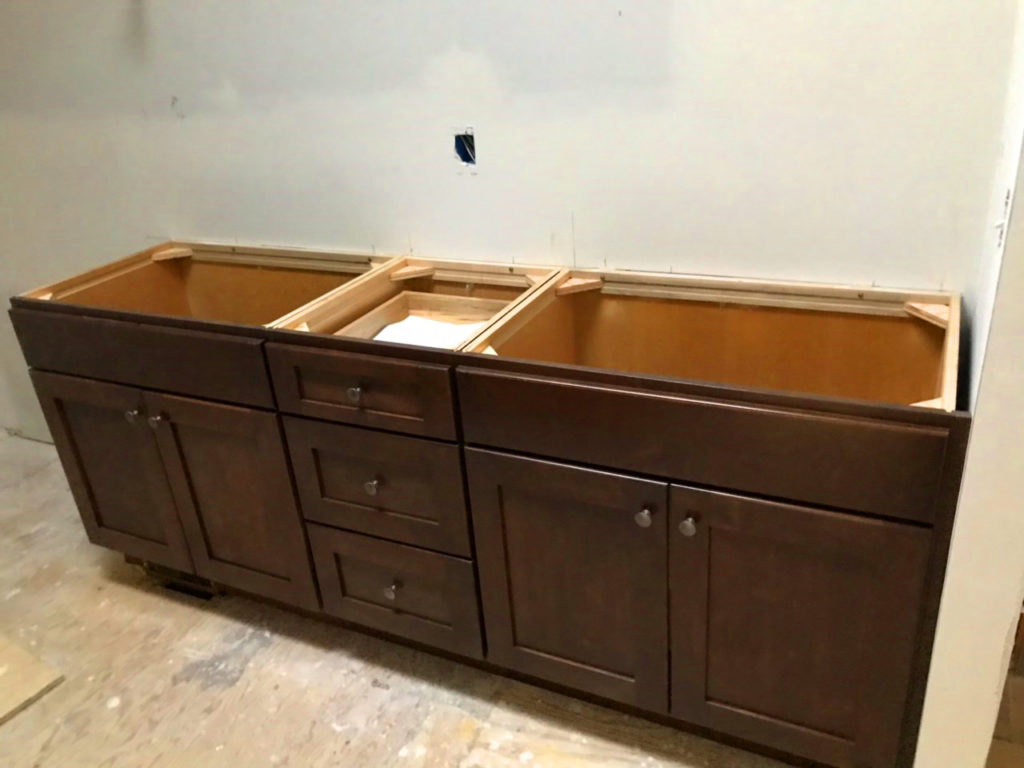
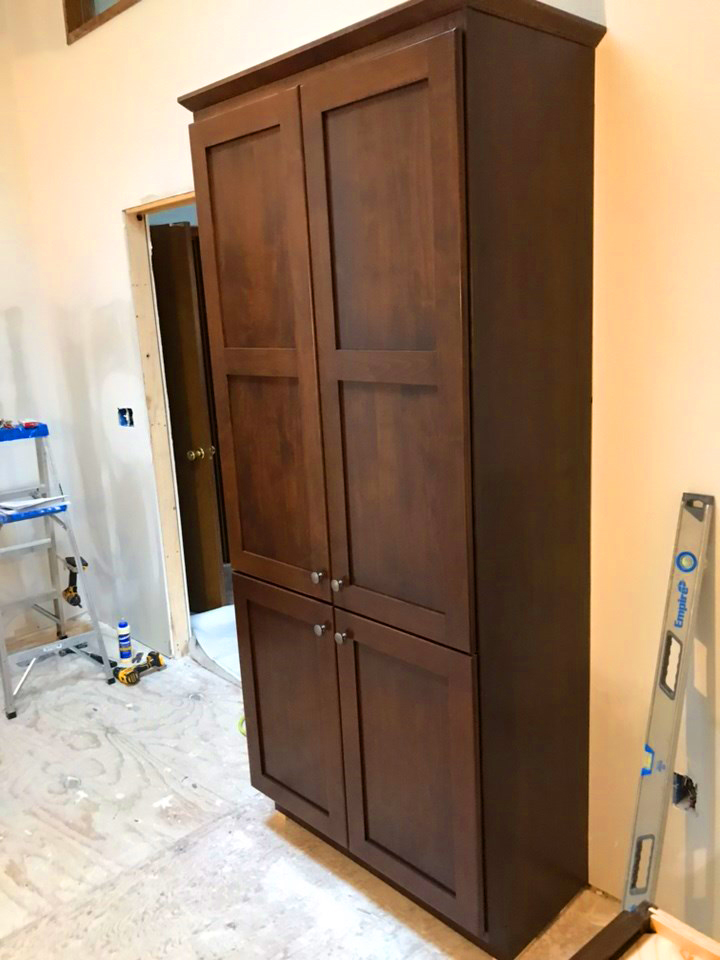
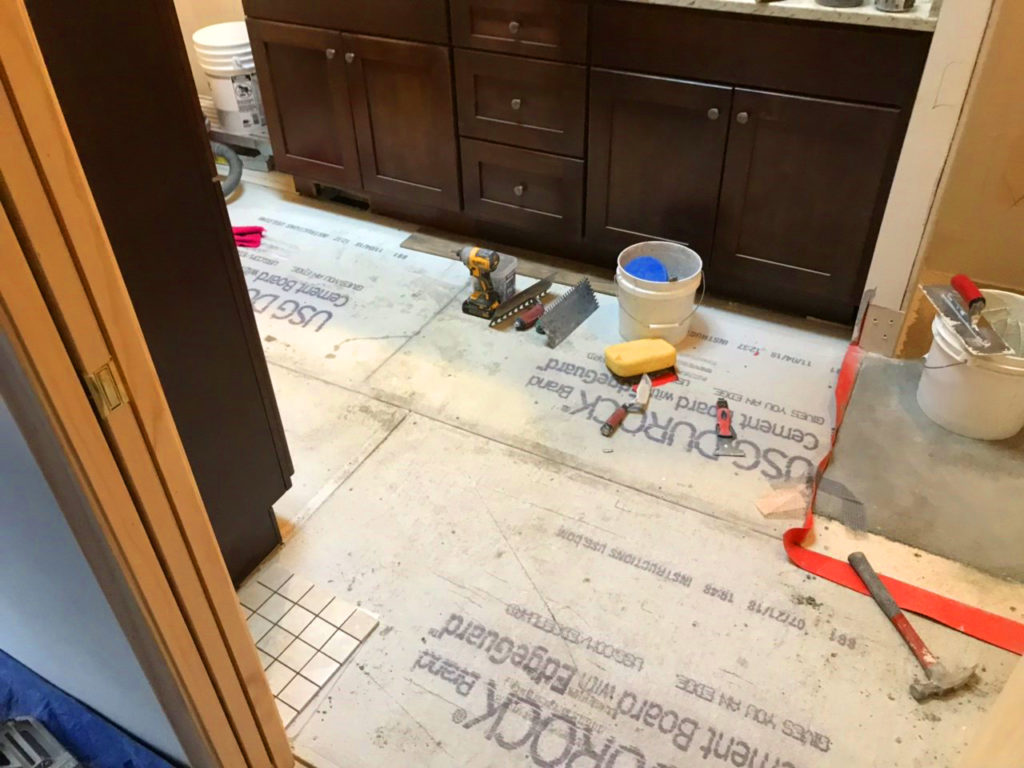
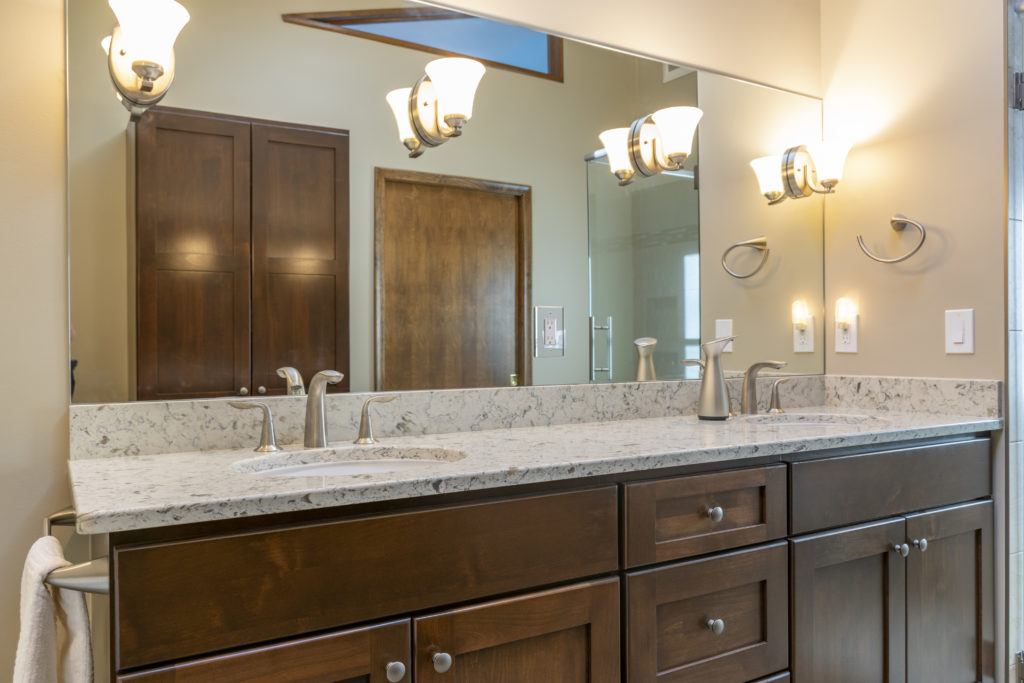
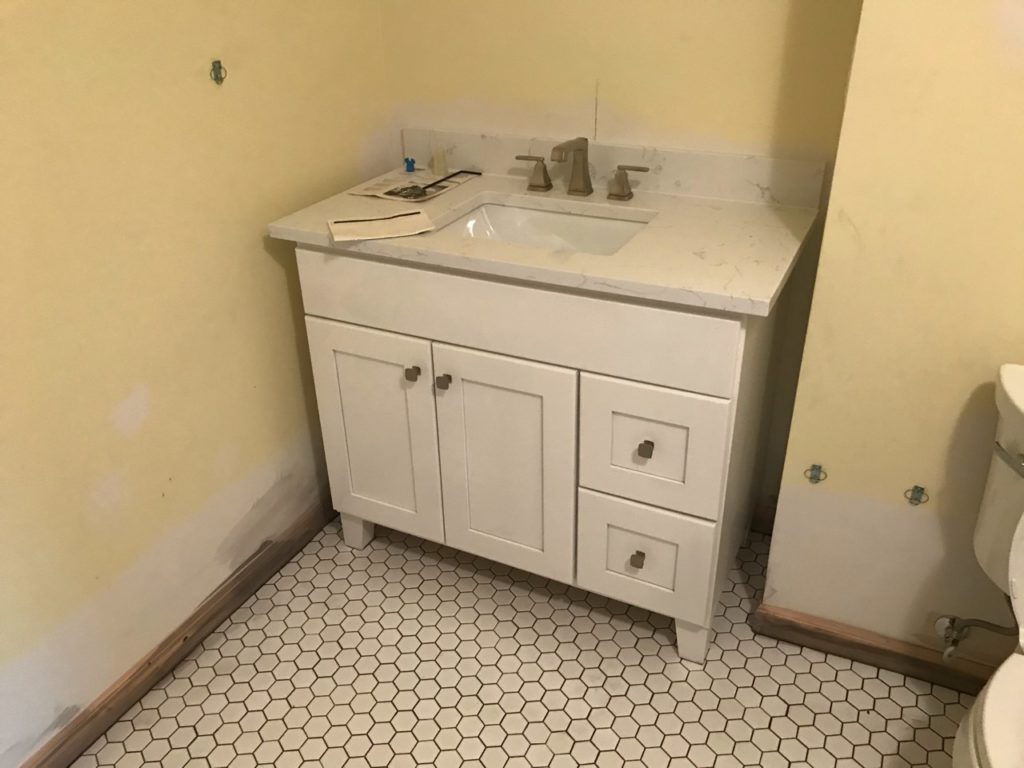
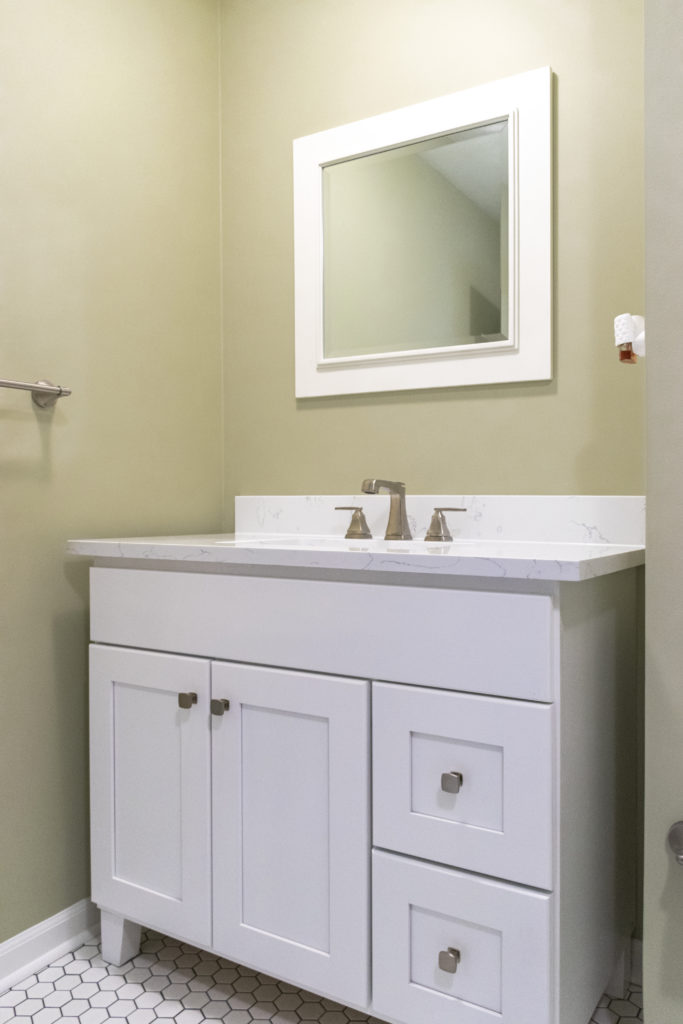
We installed a new vanity and quartz countertop to replace the ones that we had torn out. New wood-looking tile flooring was also installed, which looks so much better than the old school small, square tiles that the bathroom previously had.
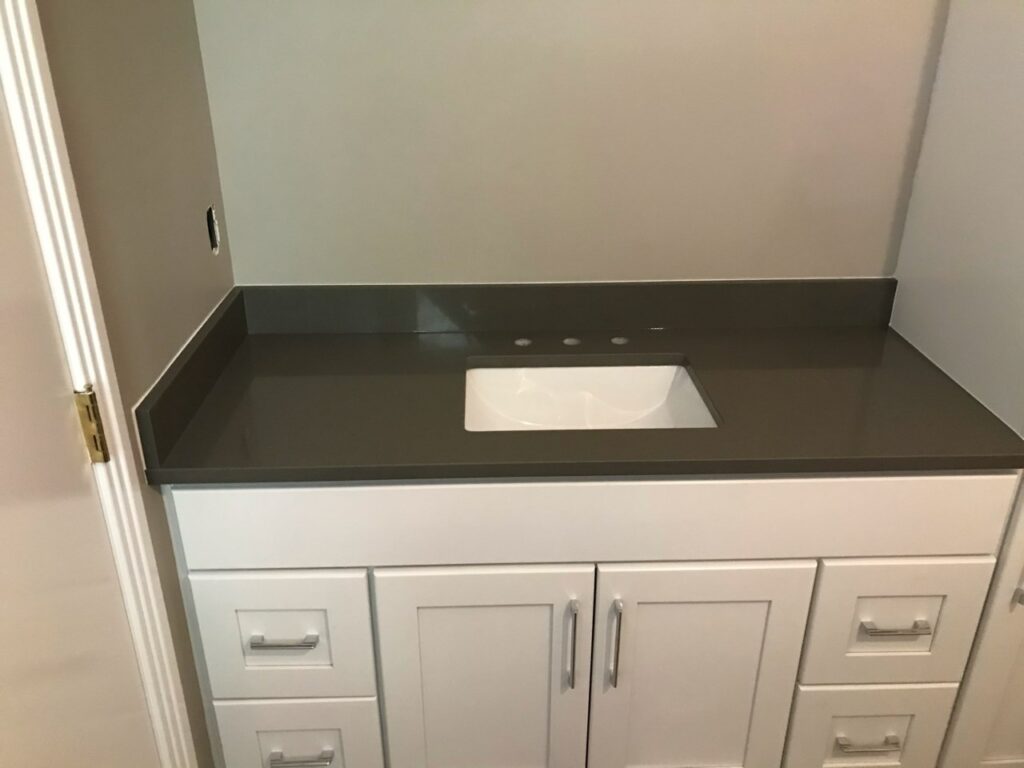
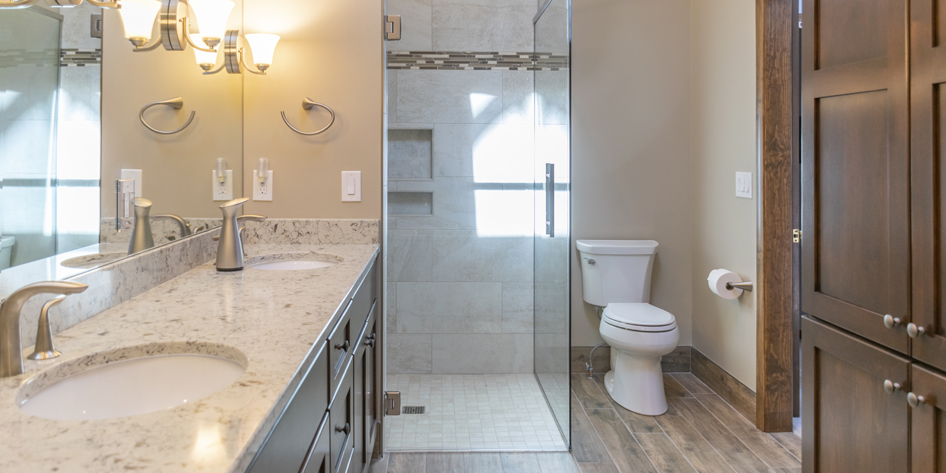
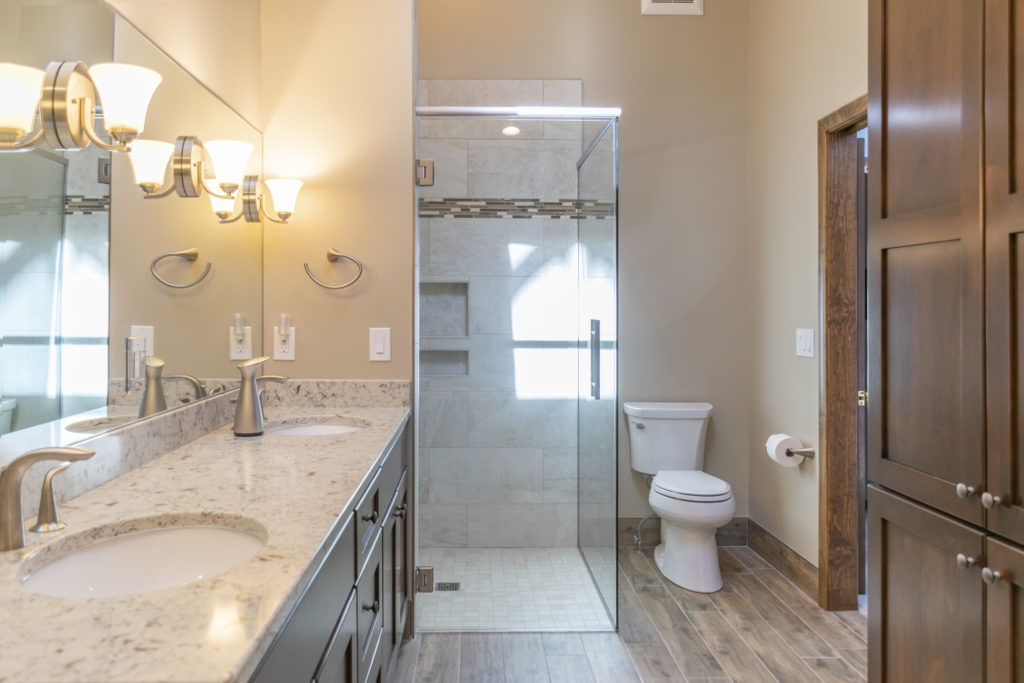
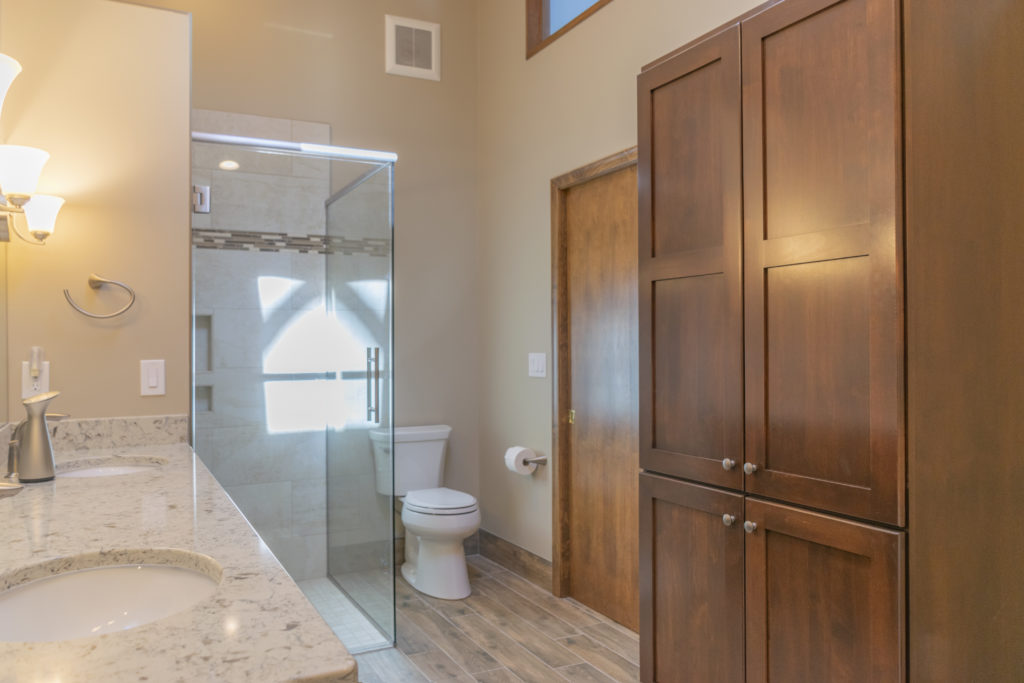
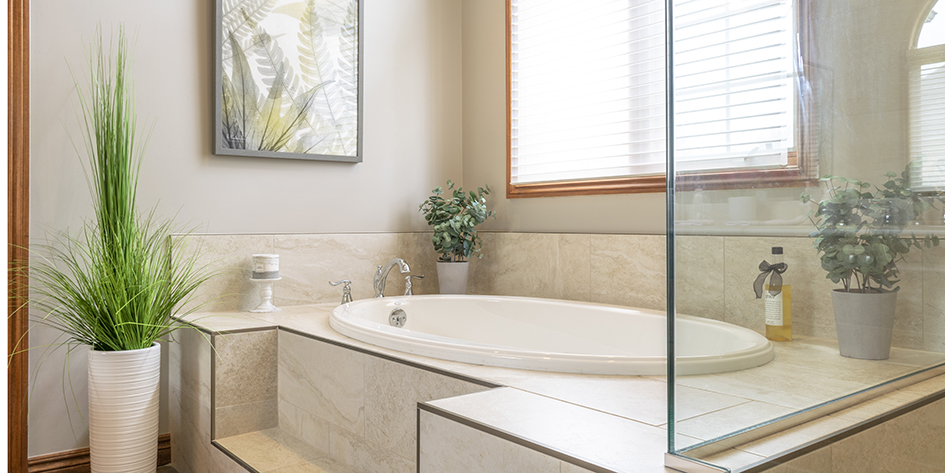
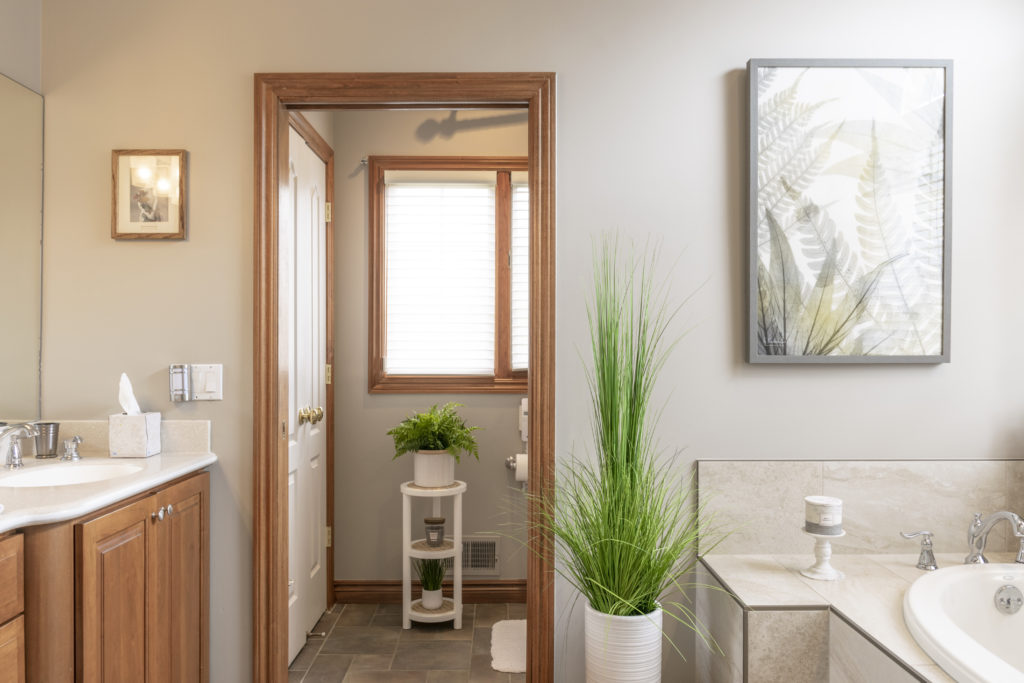
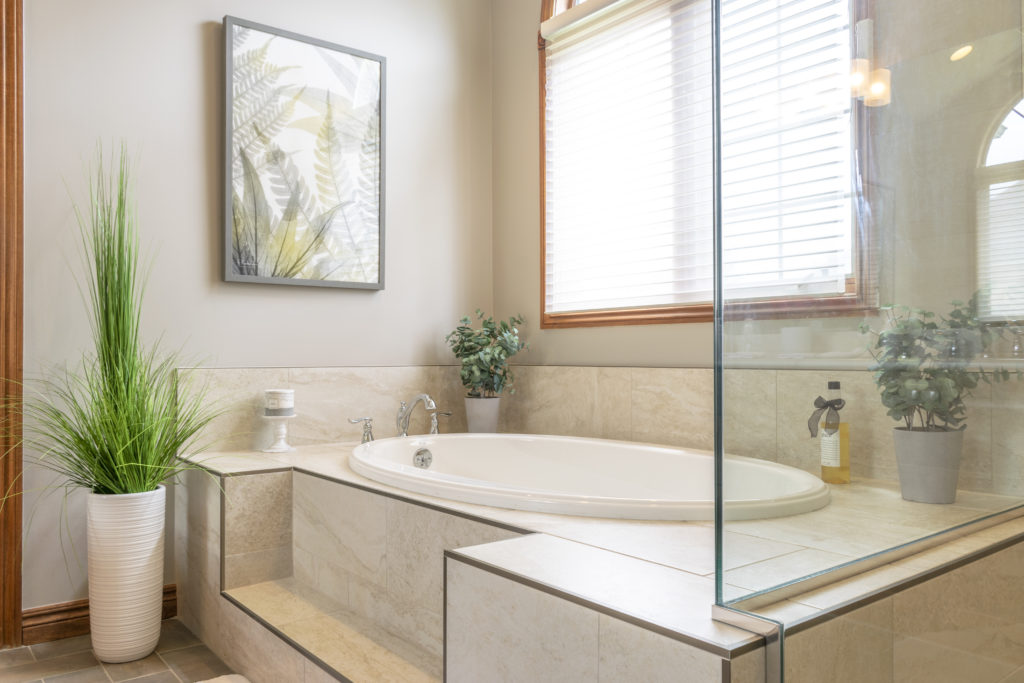
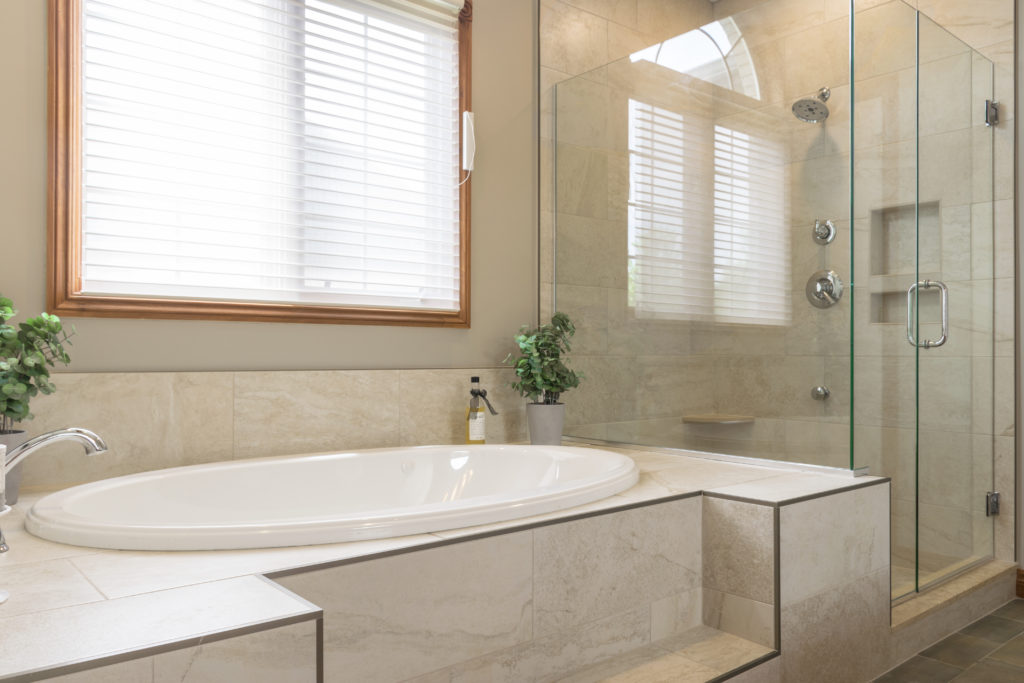
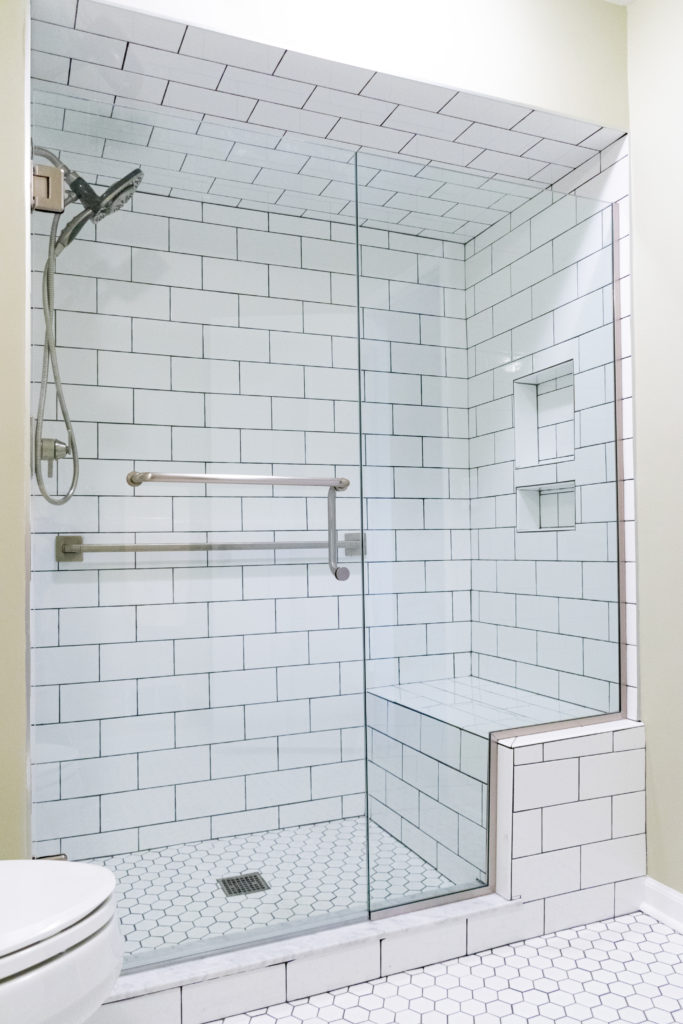
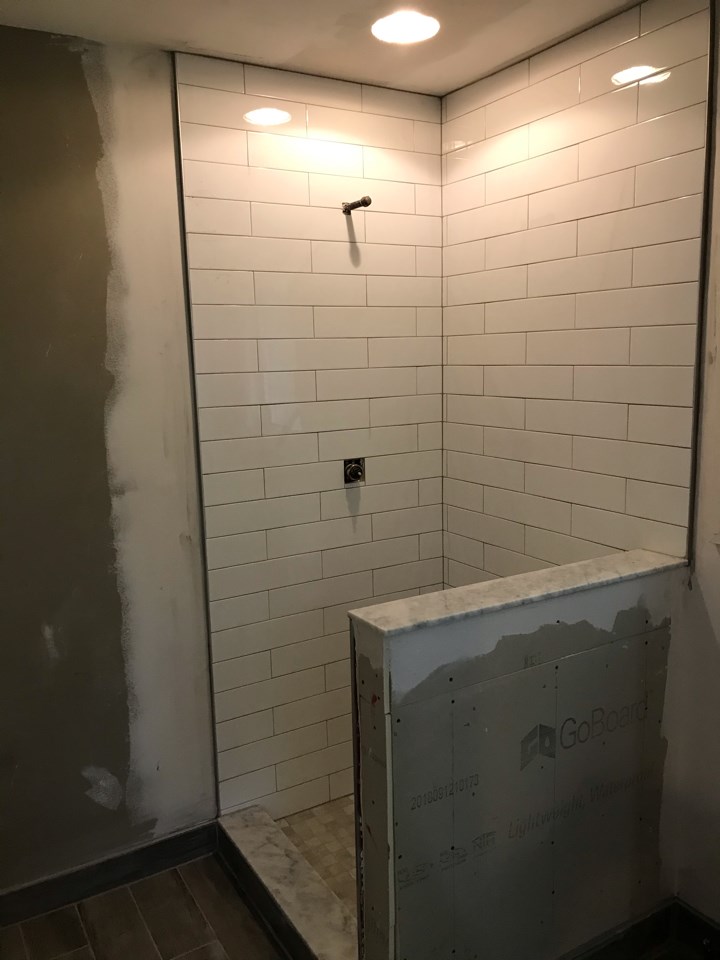
After

After we completed the construction of the bathroom and passed all city inspections, we presented the homeowners with their son’s new bathroom. They’re very happy with how everything turned out! Their son’s bathroom now has a clean, modern look to it.

Part 2 of this double bathroom remodel is coming soon!

Washington Township Master Bathroom Remodel – Completed March 2019

Before

It was clear from the beginning that this Washington Township master bathroom was in need of some work. Wet met with the homeowners who were eager to have us update their dated bathroom.

Design

Our designer met with the homeowners to nail down the design details of the bathroom. She showed them samples and ideas for a functional and modern design for their bathroom. By the end of the design meetings, we had plans and specifications for the construction phase of the project.

Construction

We demolished everything in the bathroom down to the studs in some areas. We then framed the area for the new materials that would be installed. Our plumbers, electricians, and HVAC crews came in to rough in their respective areas.

We drywalled, mudded, and sanded the areas of the walls and ceiling where we had removed it.

We installed the cabinets, which really started to make the bathroom feel like it was coming together.

After the cabinets were installed, we put the countertop on the vanity, cement board on the floor, and waterproofed the shower to get it ready for tile.

We then tiled the shower and the bathroom floor. At this point the bathroom was close to being finished.

We installed the toilet, mirror, tub, and shower door. We then painted and did any minor touch ups that needed to be done. After all that, we presented the homeowners with their new bathroom! As you an see, there is a night and day difference between what the bathroom was and what it is now. The homeowners are thrilled with both the look and functionality of their new bathroom!

If you have a bathroom project of your own in mind, don’t hesitate to contact us to discuss your ideas. We would be happy to help!

Washington Township Master Bathroom Remodel – Completed May 2019

Before

The Washington Township homeowner came to us in need of an update in her master bathroom. It was functional, but was starting to fall apart and had a dated style.

We met with her to discuss her project and what could be done within the space to bring some life to it.

Design

We went to the house and did a full measure of the master bathroom. We then met with the homeowner for some design meetings where we came up with a game plan how the bathroom would be put together. Throughout the design meetings we created specifications and plans for the construction of the bathroom.

Construction

For this project, we kept the existing flooring and vanity as it was. Our main focus was on the bathtub and shower areas. We demolished those areas, but left the frame for the tub deck so we could re-tile it.

We framed for a niche in the shower, roughed in the plumbing, vented the fan, and patched the drywall where needed.

Next, it was time to install the new tile! We had worked with the homeowner during our design phase to come up with a large format tile for the tub and shower. We then installed a smaller tiles on the floor of the shower.

After tile was finished, we installed the new bathtub, finalized the plumbing, and painted the bathroom. We then sent in a cleaning crew to make sure that the bathroom spotless. Everything turned out perfect! The bathroom now has a clean, modern look and functions as it should. The homeonwer is thrilled with her new bathroom!

If you have a project of your own in mind, we’d be happy to discuss it with you!

Rochester Hills Bathroom Remodel – Completed December of 2019

Before

The homeowners came to us because their bathroom was in need of a renovation. We met with them to discuss their vision for the bathroom and how we could help them bring that vision to life.

Design

We came to their house to take measurements as the start of our design process. We then met with the clients for a series of design meetings. During this design phase, we worked with the clients to come up with detailed plans and specifications for the construction of the project.

Constrcution

After the design phase was completed and all plans and specifications were approved, we ordered all the materials and came up with a schedule for the construction of the bathroom.

We tore out the shower, flooring, toilet, vanity, and the hardware.

We then framed in the shower bench and the area for the niche. After that, we roughed in the plumbing for the new shower and toilet and then patched any holes in the drywall.

We installed moisture resistant board on the walls of the shower and waterproofing membrane on the floor so that the shower could be properly waterproofed before the tile was installed.

Next, we installed the tile, vanity, and countertop. Final plumbing, installation of base molding, and the touchups were completed after that.

We painted, installed hardware, installed the shower door, and sent in a cleaning crew to make sure that everything looked perfect for when we presented the final bathroom to the homeowners. Everything turned out great! The clients are very happy with their new bathroom!

If you have ideas for a project of your own, we’d be happy to meet with you to discuss how we can help bring your dream project to life! Click here to connect with us.