Washington Township Master Bathroom Remodel – Completed March 2019

Before

It was clear from the beginning that this Washington Township master bathroom was in need of some work. Wet met with the homeowners who were eager to have us update their dated bathroom.

Design

Our designer met with the homeowners to nail down the design details of the bathroom. She showed them samples and ideas for a functional and modern design for their bathroom. By the end of the design meetings, we had plans and specifications for the construction phase of the project.

Construction

We demolished everything in the bathroom down to the studs in some areas. We then framed the area for the new materials that would be installed. Our plumbers, electricians, and HVAC crews came in to rough in their respective areas.

We drywalled, mudded, and sanded the areas of the walls and ceiling where we had removed it.

We installed the cabinets, which really started to make the bathroom feel like it was coming together.

After the cabinets were installed, we put the countertop on the vanity, cement board on the floor, and waterproofed the shower to get it ready for tile.

We then tiled the shower and the bathroom floor. At this point the bathroom was close to being finished.

We installed the toilet, mirror, tub, and shower door. We then painted and did any minor touch ups that needed to be done. After all that, we presented the homeowners with their new bathroom! As you an see, there is a night and day difference between what the bathroom was and what it is now. The homeowners are thrilled with both the look and functionality of their new bathroom!

If you have a bathroom project of your own in mind, don’t hesitate to contact us to discuss your ideas. We would be happy to help!

Washington Township Master Bathroom Remodel – Completed May 2019

Before

The Washington Township homeowner came to us in need of an update in her master bathroom. It was functional, but was starting to fall apart and had a dated style.

We met with her to discuss her project and what could be done within the space to bring some life to it.

Design

We went to the house and did a full measure of the master bathroom. We then met with the homeowner for some design meetings where we came up with a game plan how the bathroom would be put together. Throughout the design meetings we created specifications and plans for the construction of the bathroom.

Construction

For this project, we kept the existing flooring and vanity as it was. Our main focus was on the bathtub and shower areas. We demolished those areas, but left the frame for the tub deck so we could re-tile it.

We framed for a niche in the shower, roughed in the plumbing, vented the fan, and patched the drywall where needed.

Next, it was time to install the new tile! We had worked with the homeowner during our design phase to come up with a large format tile for the tub and shower. We then installed a smaller tiles on the floor of the shower.

After tile was finished, we installed the new bathtub, finalized the plumbing, and painted the bathroom. We then sent in a cleaning crew to make sure that the bathroom spotless. Everything turned out perfect! The bathroom now has a clean, modern look and functions as it should. The homeonwer is thrilled with her new bathroom!

If you have a project of your own in mind, we’d be happy to discuss it with you!

Rochester Hills Bathroom Remodel – Completed December of 2019

Before

The homeowners came to us because their bathroom was in need of a renovation. We met with them to discuss their vision for the bathroom and how we could help them bring that vision to life.

Design

We came to their house to take measurements as the start of our design process. We then met with the clients for a series of design meetings. During this design phase, we worked with the clients to come up with detailed plans and specifications for the construction of the project.

Constrcution

After the design phase was completed and all plans and specifications were approved, we ordered all the materials and came up with a schedule for the construction of the bathroom.

We tore out the shower, flooring, toilet, vanity, and the hardware.

We then framed in the shower bench and the area for the niche. After that, we roughed in the plumbing for the new shower and toilet and then patched any holes in the drywall.

We installed moisture resistant board on the walls of the shower and waterproofing membrane on the floor so that the shower could be properly waterproofed before the tile was installed.

Next, we installed the tile, vanity, and countertop. Final plumbing, installation of base molding, and the touchups were completed after that.

We painted, installed hardware, installed the shower door, and sent in a cleaning crew to make sure that everything looked perfect for when we presented the final bathroom to the homeowners. Everything turned out great! The clients are very happy with their new bathroom!

If you have ideas for a project of your own, we’d be happy to meet with you to discuss how we can help bring your dream project to life! Click here to connect with us.

Sink or Swim – Part 2

Picking out a kitchen sink can be a time consuming and frustrating event if you don’t know what you’re looking for. To help ease that tension, we at Lincorp/Borchert have put together a list of some of the various sinks available for your kitchen. We hope you enjoy.
If you haven’t read part 1 yet, it can be found here: Sink or Swim – Part 1 

Composite Granite

$200+

Composite granite sinks are made from a blend of materials that are highly compressed to form a solid material. It is this high-compression stress that gives composite granite sinks their long-lasting durability. They are strong, resistant to scratches and chips, and are cheaper than one would expect because they made of a composite of materials. They’re not just a solid piece of granite. The only real con for these sinks is that they are very unforgiving to glass. You must be careful with your delicate dishes.

dark-composite-granite-sink
brown-composite-granite-sink
black-composite-granite-sink

Corian

$200+

Corian sinks are perfect for blending in your Corian countertop with your sink. Corian is a non porous material that offers a near seamless transition that many people find appealing. Corian is made out of a mixture of natural materials and acrylic polymer. While it is more expensive to have your sink integrated into your countertop, it offers a clean and unique look that helps your kitchen stand out. It’s important to note that Corian scratches and burns easier than most materials, but it’s usually repairable. Other materials can be much harder or impossible to repair.

white-solid-surface-sink
acrylic-kitchen-sinks-customized_acrylic_solid_surface_sink_beach_top_for_kitchen_
acrylic-solid-surface-sink

Natural Stone

$300+

Natural stone sinks are very unique. You won’t find one of these in just any home. Unlike composite materials, these are made out of solid chucks of stone. They vary wildly in pricing and come on many shapes, sizes, and types. Marble, Granite, Onyx, Limestone, etc. All of these materials have various pros and cons. Soapstone, for instance, is fairly resistant to stains while other materials may not be as resistant. If you’re considering getting a natural stone sink, we recommend doing a little research into the material that the sink is made out of so that you know what you’re getting before you purchase it.

large-natural-stone-sink
blanco-brown-stone-kitchen-sink
stone-farmhouse-kitchen-sink

We hope that you enjoyed our list of kitchen sinks and their various materials. If you have any questions or would like to see a post about another material, give us a call and let us know. We’d love to hear from you! In the meantime, you can check out our Facebook page to see what we’ve been up to or look at our Houzz.com profile to check out our beautiful projects and read our reviews.

Have a great day!

Sink or Swim – Part 1

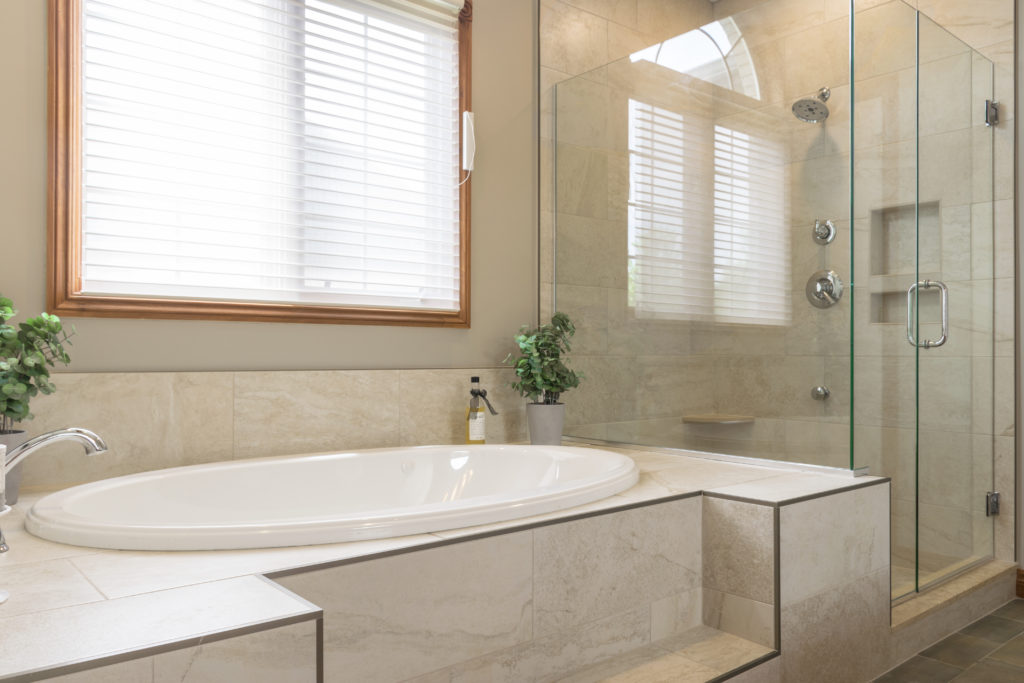
Remodeling can sometimes be a stressful event. This is especially true if you’re not well prepared. All the choices to be made can leave you feeling overwhelmed. That’s why it’s a good idea to educate yourself about your various options before actually getting into a project. For the purpose of this post, we’re going to cover kitchen sinks. Specifically, choosing a material for your kitchen sink. When you’re looking at your options, it’s not only about the look of the sink. It’s also about the cost and durability of the material. You don’t want to have a sink that looks good in the beginning but then gets scuffed up easily. Or one that fades in color when you had no idea it would do so. This overview of these kitchen sink materials will help give you an idea of the cost, look, and durability of the sink you’re looking at.

Stainless Steel

$200+ Depending on size, style, and gauge.

First of all, let’s take a look at stainless steel sinks. These are probably the cheapest option in this group, as well as the most popular. They are perfect for those who are on a tight budget. Stainless steel is a durable material that doesn’t doesn’t easily stain, scratch, or chip. The durability partially depends on the gauge of steel that you get, though. The higher the gauge number, the more durable your sink will be.

One of the cons of this type of sink is the noise. Stainless steel can be loud when using it because of the material. To reduce this, you can use a higher gauge steel, noise absorbing spray, or find a sink with a sound absorbing pad underneath it. The sound absorbing pad is considered the most effective method.

Stainless Steel Kitchen Sink #1b

Stainless Steel Kitchen Sink #2b

Stainless Steel Kitchen Sink #3b

Cast Iron

$300+

Cast iron sinks are very heavy. Be sure that your cabinets are strong enough to hold the weight of your sink before buying one. The last thing that you want is to get a sink that is not able to be supported by your cabinets. This material is durable, but also prone to chips. Some recommend putting a sink protector on the bottom of the sink to help avoid chipping and staining. Also, when choosing a color, white is recommended. Although it comes in colors different from white, those colors are more prone to fading. In addition to all this, cast Iron also retains heat very well. It’s something to consider when picking out your sink.

Cast Iron Sink #1

Cast Iron Sink #2

Cast Iron Sink #3

Quartz

$300+

If you already have or plan on getting a Quartz countertop, you might want to consider getting a quartz sink as well. Like copper sinks, it is recommend to rinse these sinks clean after every use to get rid of built up dirt and to then wipe them down afterward to avoid water spots. Even though they need to be cleaned often, they are very durable and have a beautiful look to them.
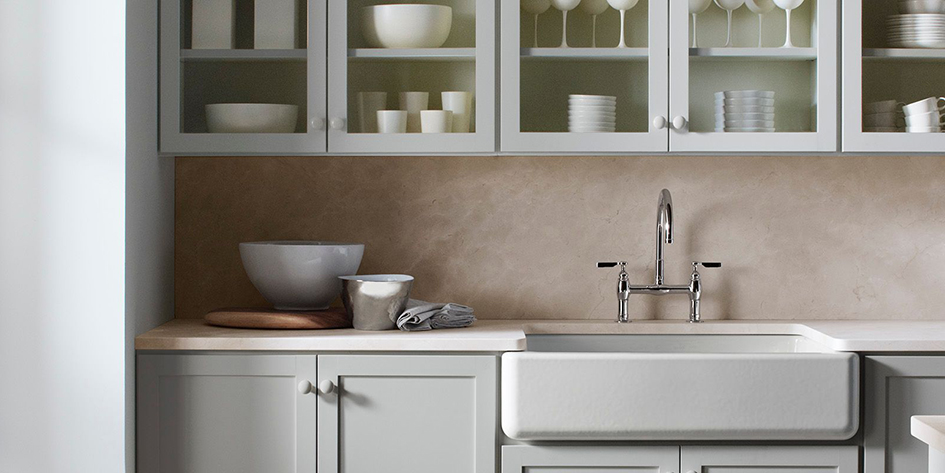
Quartz kitchen sink #1

Quartz kitchen sink #2

Quartz kitchen sink #3

Fireclay

$400+

Although they can be pricey, Fireclay sinks are definitely worth considering. They are very durable; resistant to scratching, chipping, and staining. They are also easy to clean; all that’s needed is some dish soap on a paper towel in most cases. However, these sinks, like all others, are not without their cons. They are costly, come in limited sizes and colors, and can be unforgiving to dishes.

Fireclay kitchen sink #1

Fireclay kitchen sink #2

Fireclay kitchen sink #3

Copper

$400+

There’s no doubt that copper sinks are unique. You won’t find one of these in any old home. Their beauty is just one of the things they have going for them. They also have antibacterial properties that most sinks don’t have. In a tradition sink, bacteria can survive for weeks, but in a copper one, they tend to die off after only a few hours. This makes them great for people who like to soak foods in the sink. There’s less of a chance of harmful bacteria getting on their food. Plus, copper sinks do not rust.

It’s not all positives for these sinks, though. There are some drawbacks. Copper tends to stain pretty easily and can darken over time. This is especially true if a lot of acidic liquids or harsh chemicals are put in the sink. These sinks are also time consuming to properly clean. It is recommended to dry out your sink with a towel after every use to avoid water spots. In addition, copper can warp or dent if a low gauge of the metal is used. We would not recommend these sinks to everyone, but there are some that find copper to be the perfect material for them.

Copper Kitchen Sink #1

Copper Kitchen Sink #2

Copper Kitchen Sink #3

We hope you’ve enjoyed part 1 of our series on kitchen sink materials. With so many to choose from, it can be overwhelming. Hopefully this post gave you some ideas for your kitchen. Check back soon for Part 2!