Exciting Shelby Township Master Bathroom Remodel – Before & After Photos

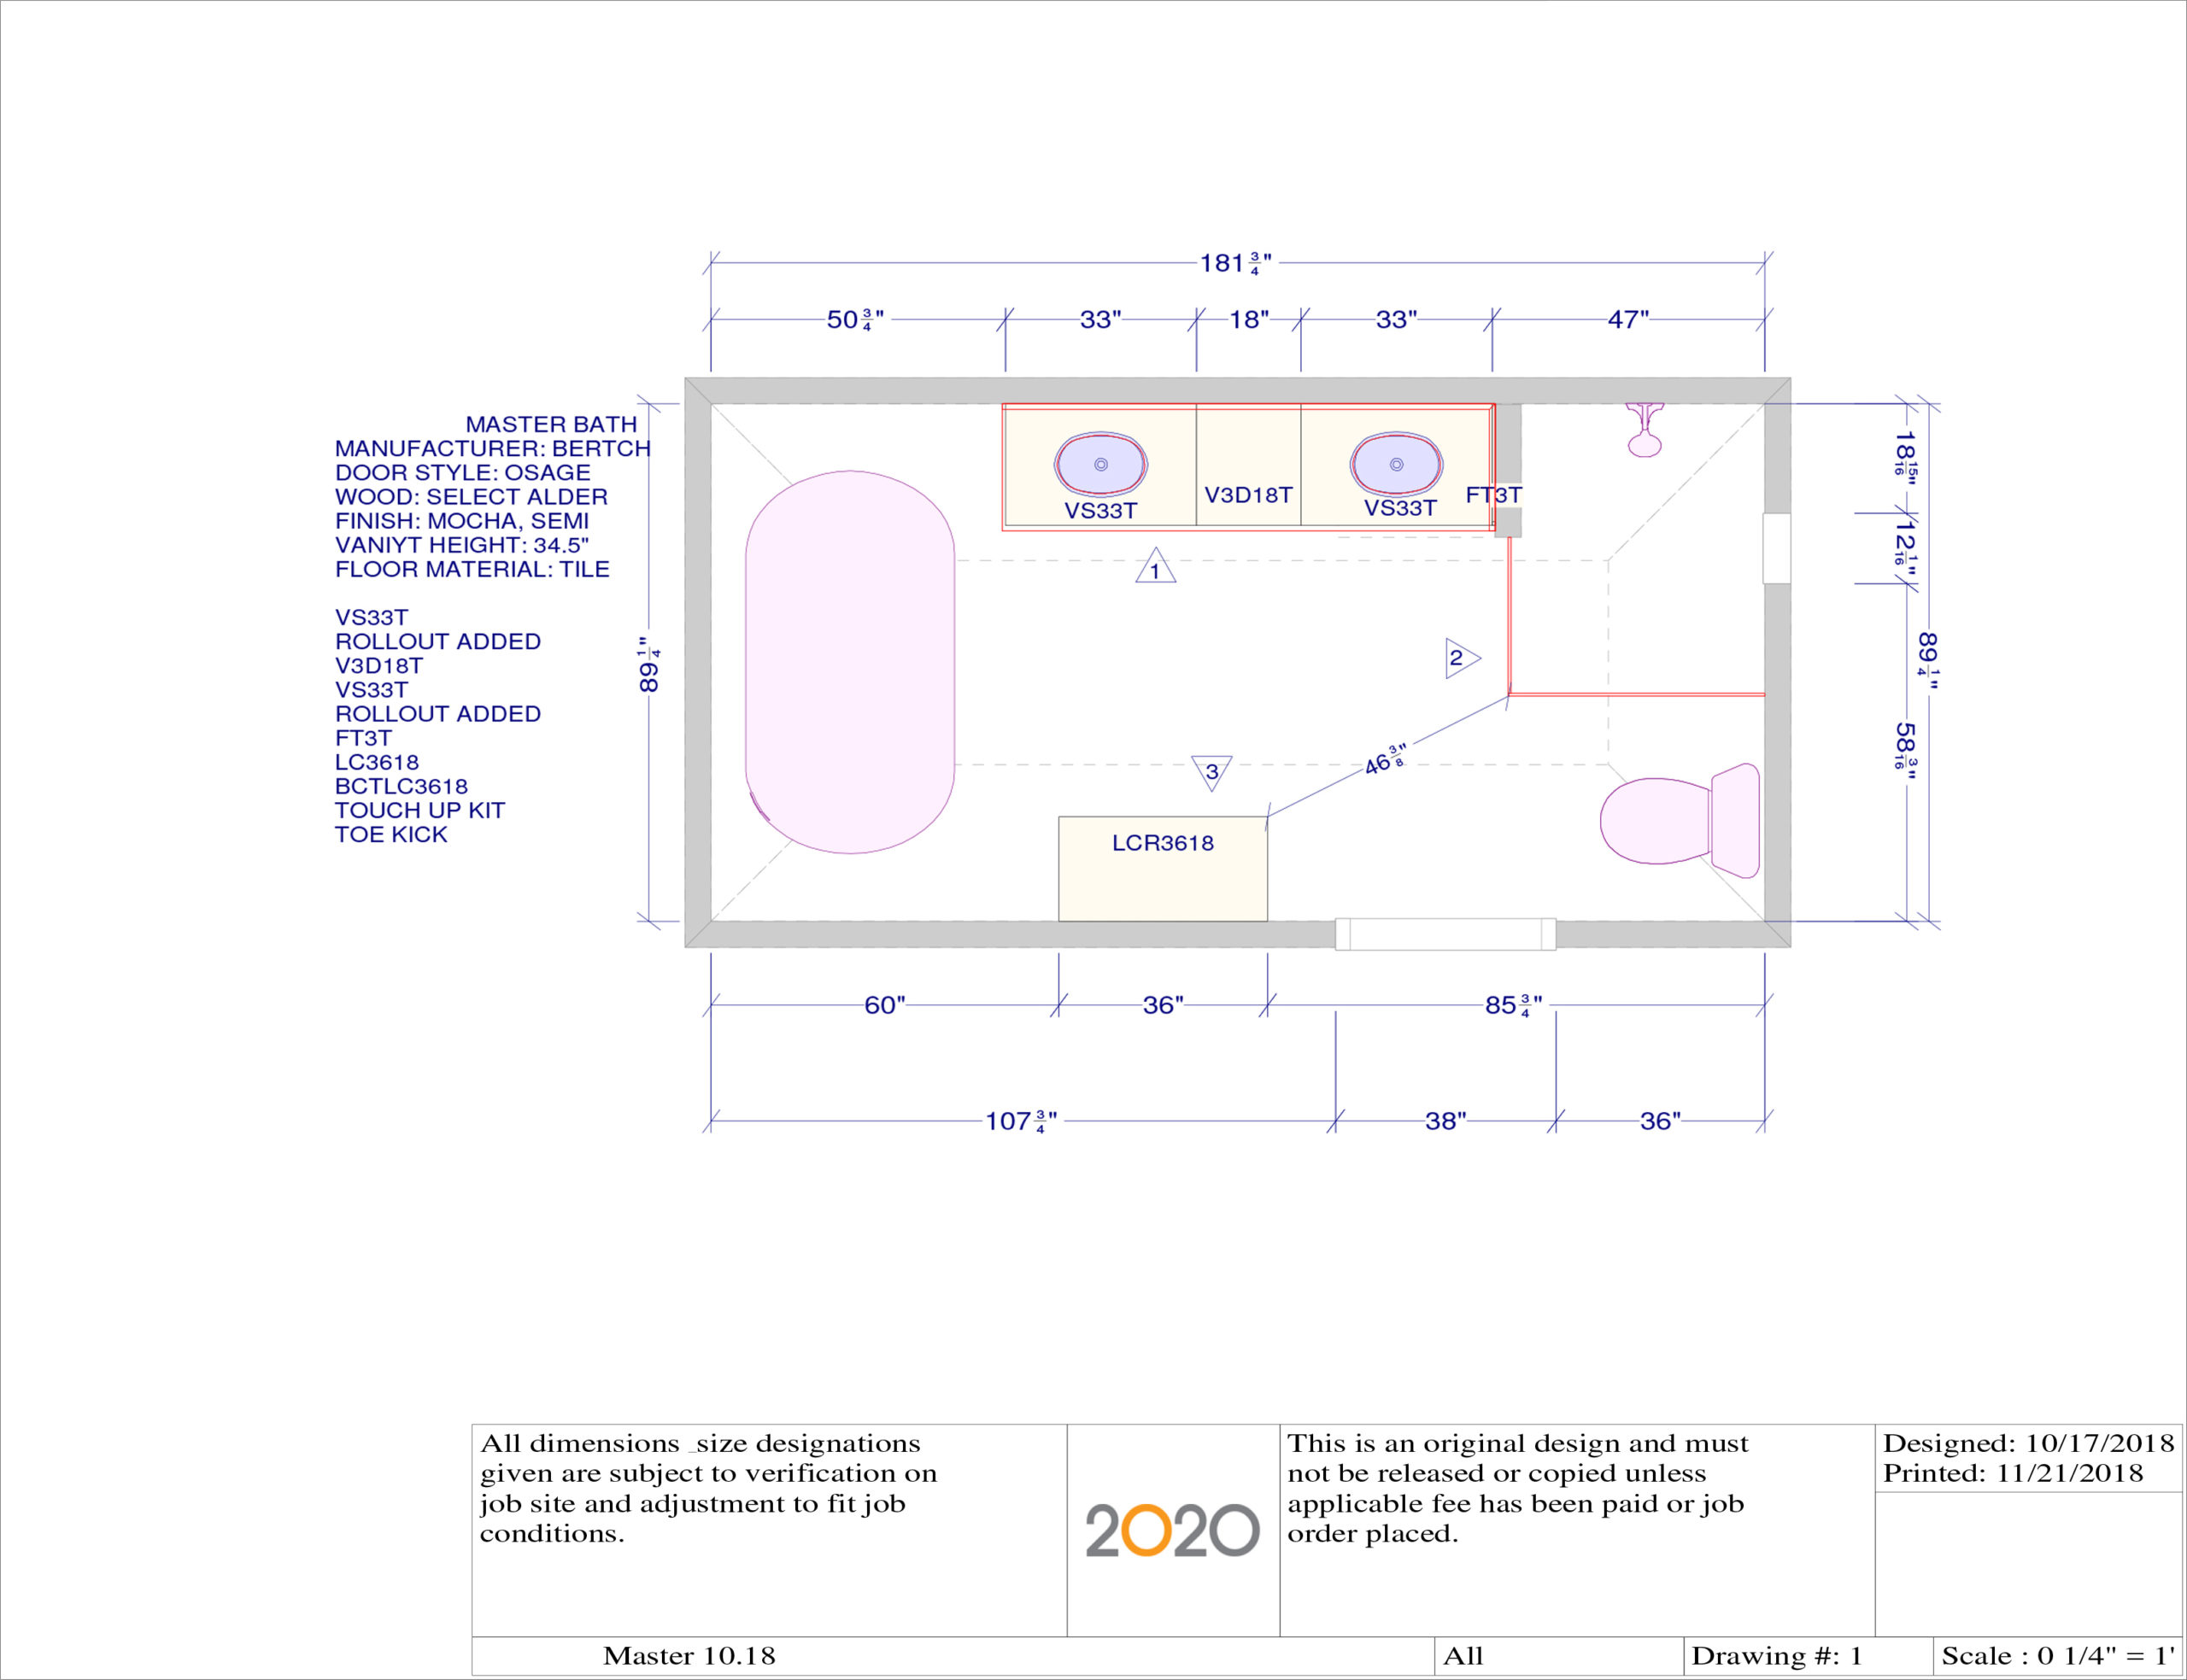
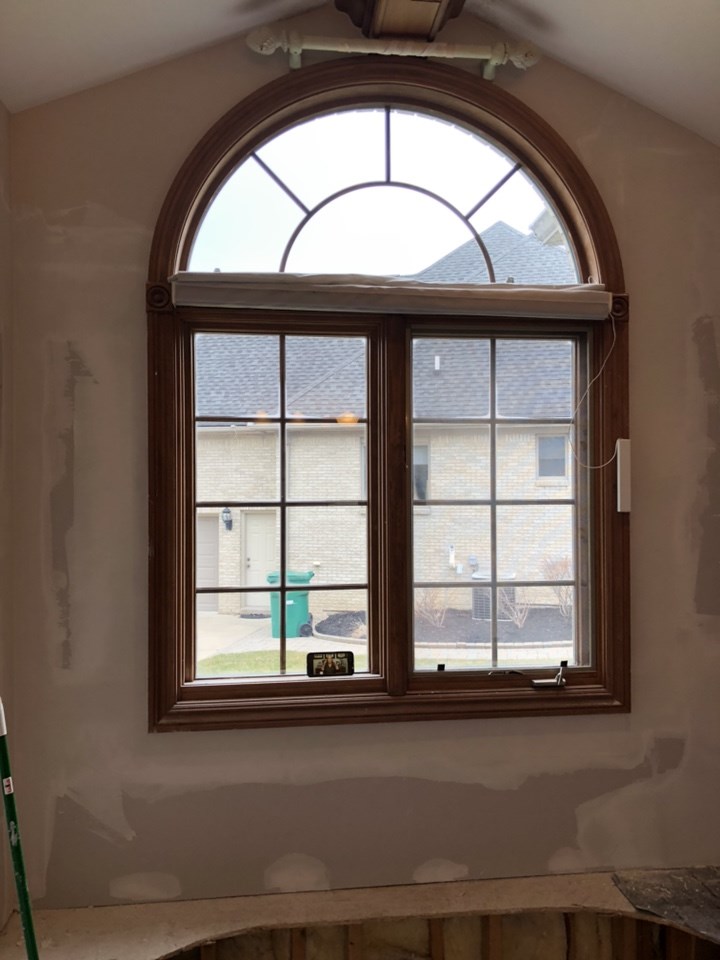
We wanted to show some before and after photos of this Shelby Township master bathroom remodel that we recently finished. The scope of work for a master bathroom remodel changes from project to project. Some projects require us to keep the layout and just replace the materials. Others require us to rearrange the entire layout of the bathroom to something that makes more sense to the homeowner. Still others require a hybrid of the above to methods. This project is one of those hybrids.

Before photo showing the vanity area of a master bathroom before we remodeled it.
Grey solid wood vanity with a quartz countertop and dual mirrors right next to a walk in tile shower.
Grey vanity with dual mirrors and two sets of light fixtures along the mirrors in that bathroom remodel.

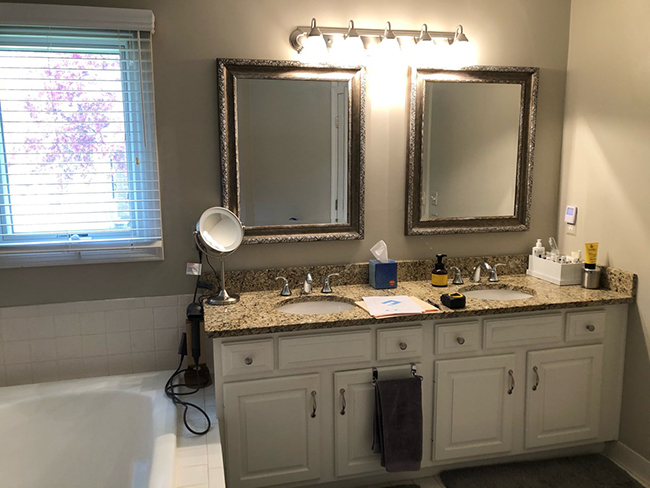
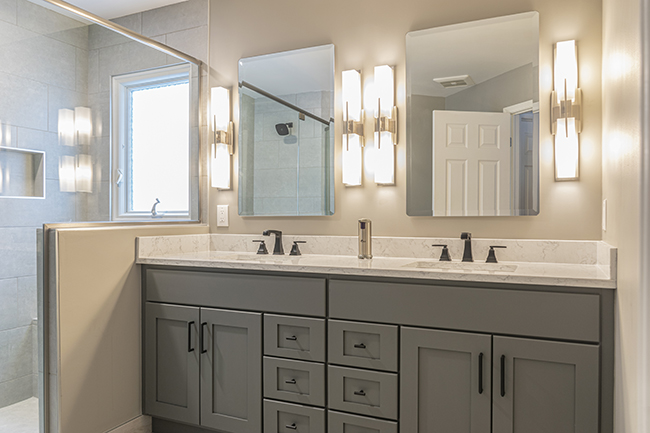
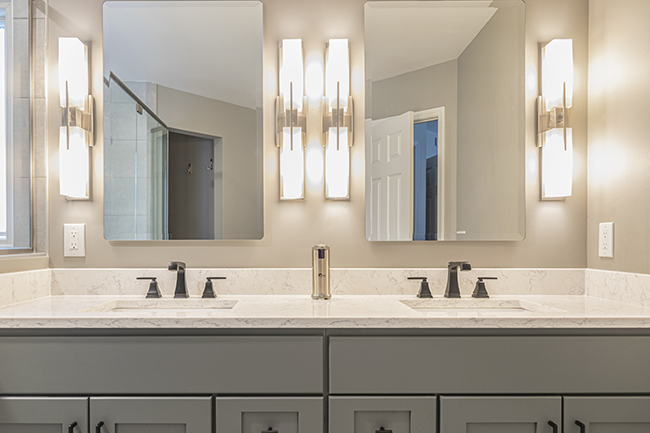
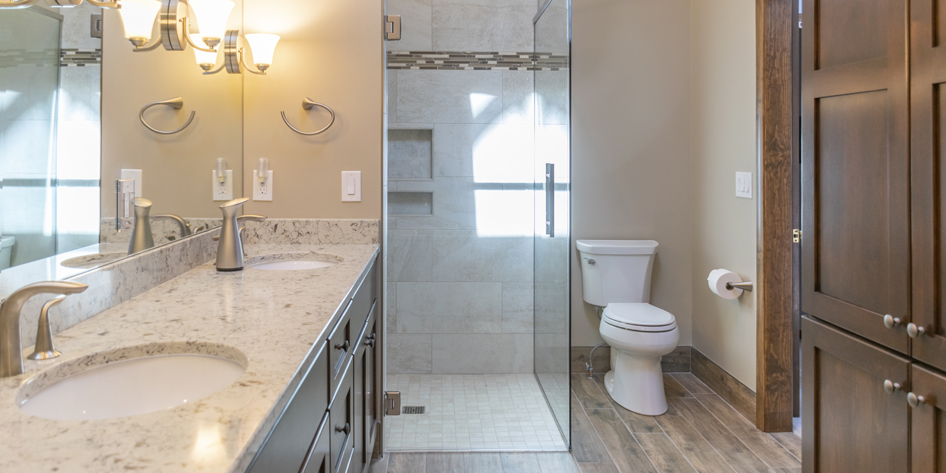
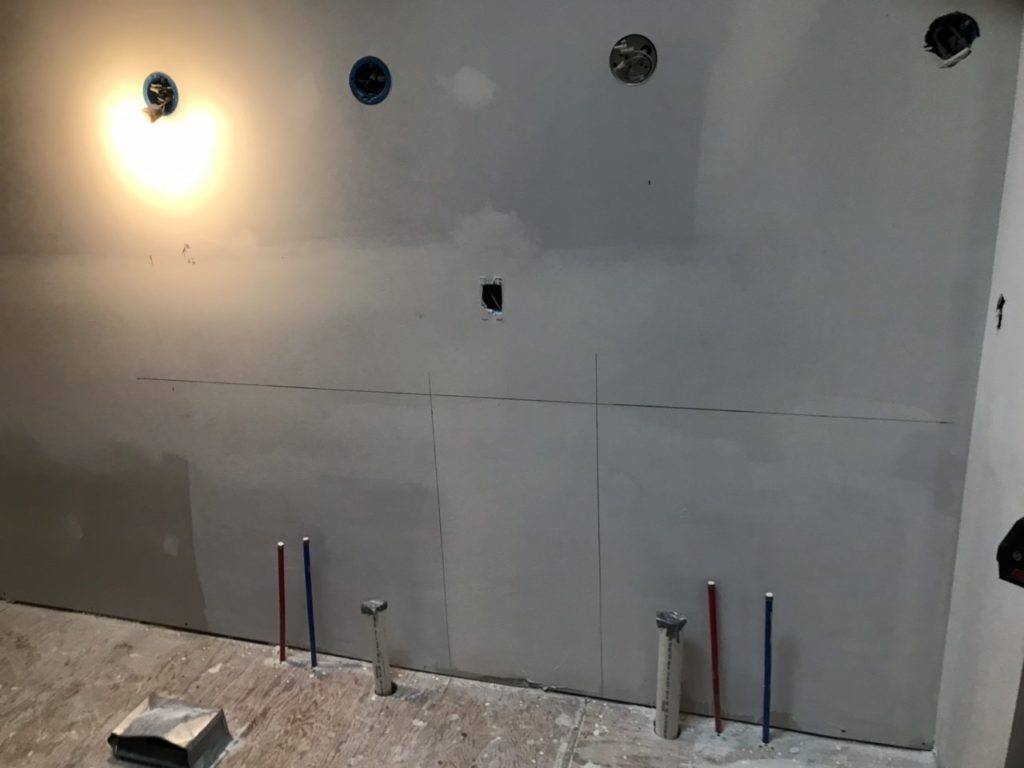
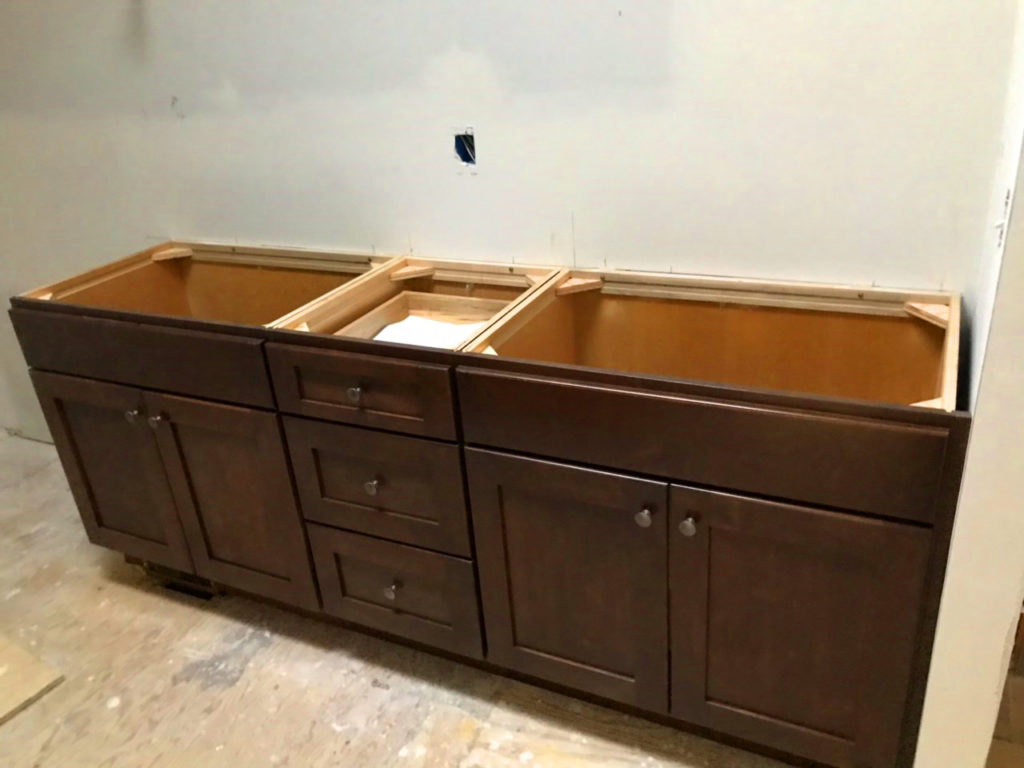
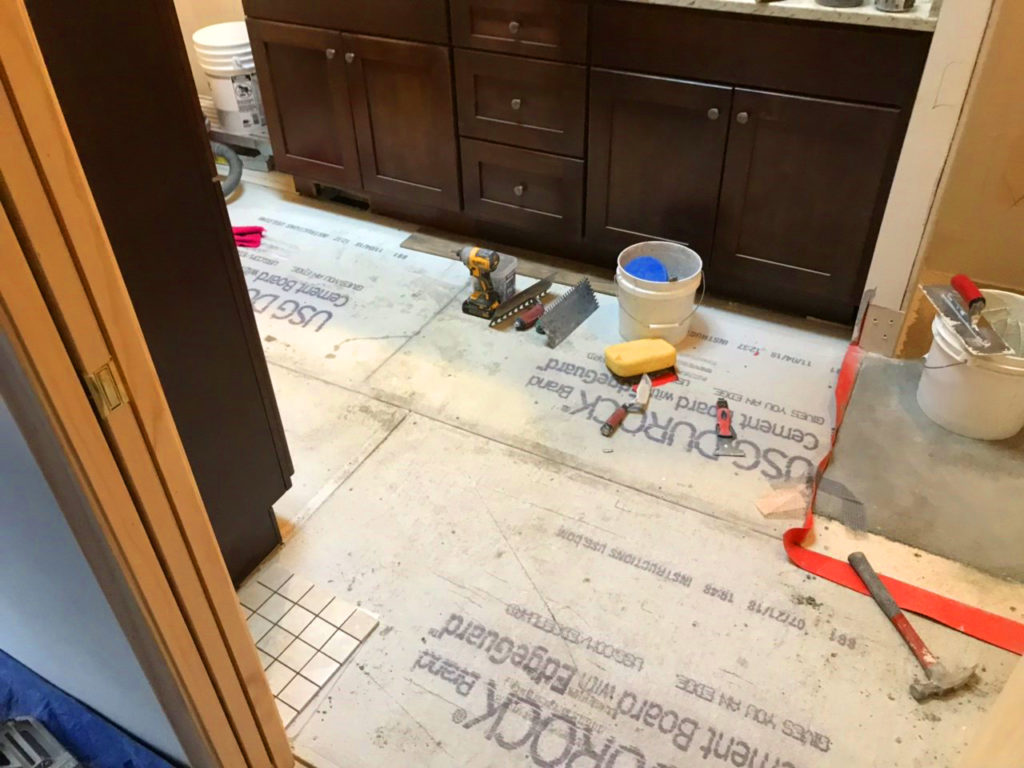
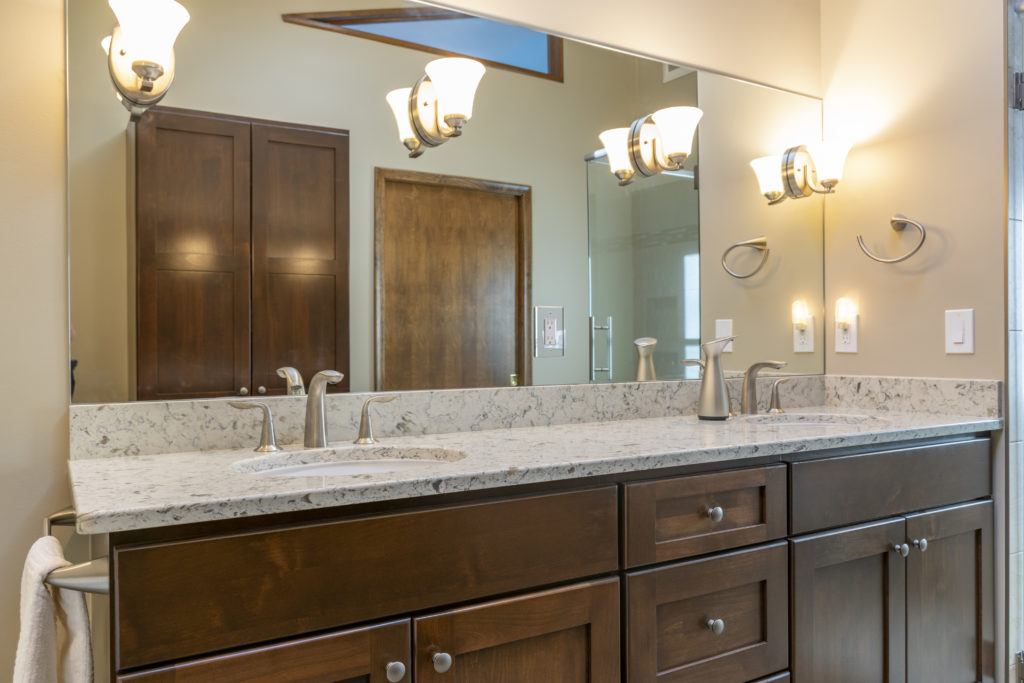
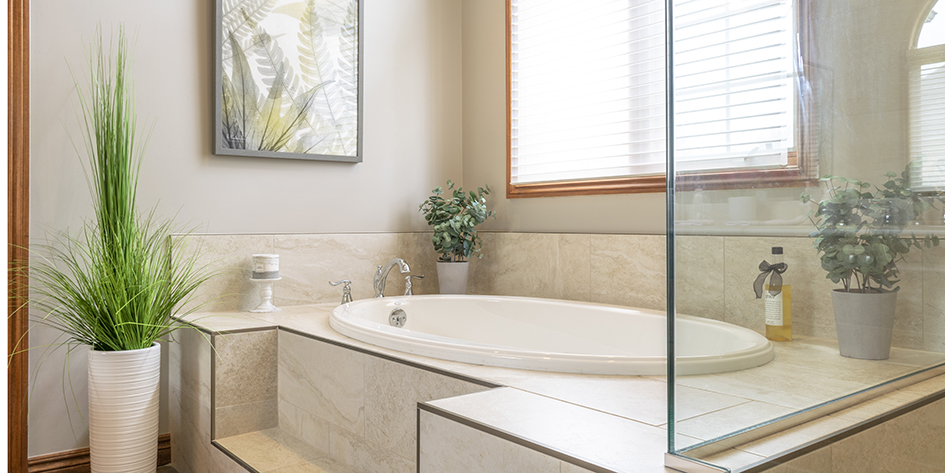
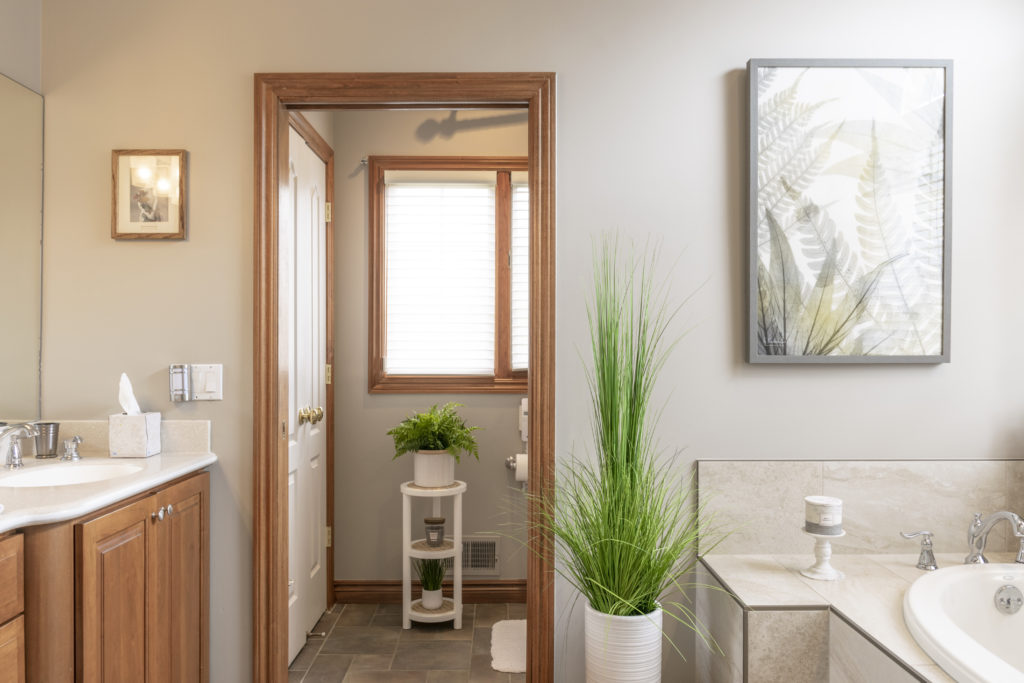
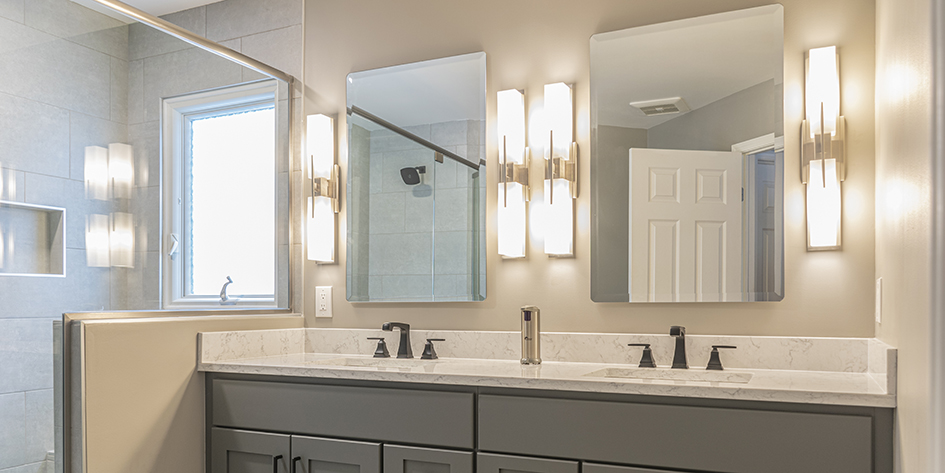
The clients chose to keep the basic layout of the vanity area and to update all materials. We replaced the vanity, countertop, mirrors, plumbing materials, and light fixtures.

Materials used in this portion of the remodel:

Vanity: Bertch Cabinetry birch vanity with a graphite finish
Countertop: Solid Surface Unlimited Arcadia colored quartz countertop
Faucets: Delta Ashlyn faucets
Light Fixtures: Provided by the homeowners and installed by us
Mirrors: Provided by the homeowners and installed by us
Paint: Sherwin Williams Dorian Gray walls


A before photo showing the bathtub and tub deck in a location where we would later put in a walk in shower.
Walk in tile shower with two niches, a mosaic glass column, and a euro glass shower door in this master bathroom remodel.
A before photo showing the old location of the dated bathtub before we remodeled this bathroom.
Walk in tile shower with mosaic glass column and slide bar in this bathroom remodel from Shelby Township.
Close up of the tile shower bench and niche in this Shelby Township bathroom remodel.
Newly remodeled shower showing a euro glass shower door and a half wall with glass on top.

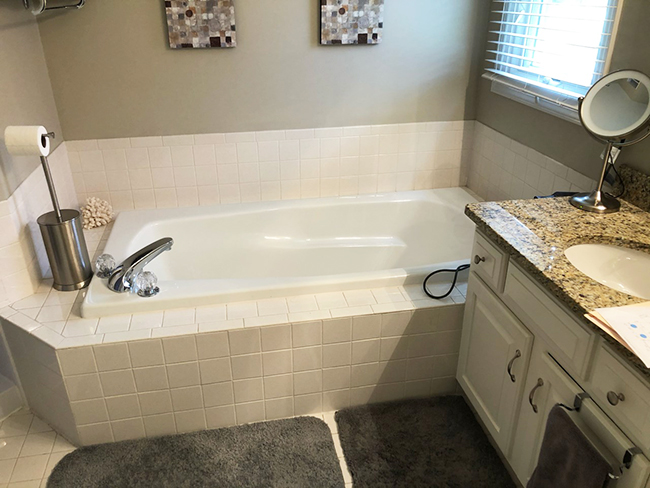
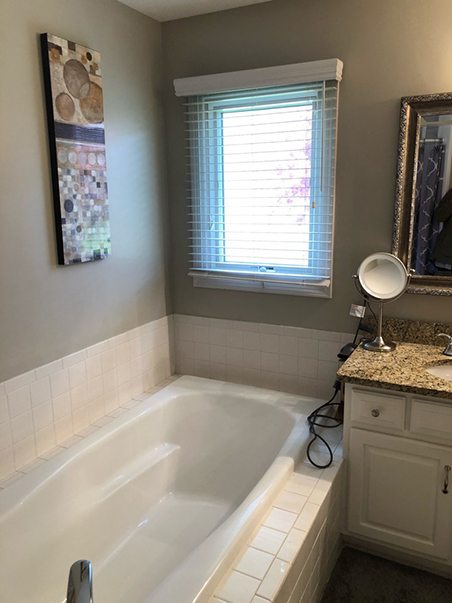
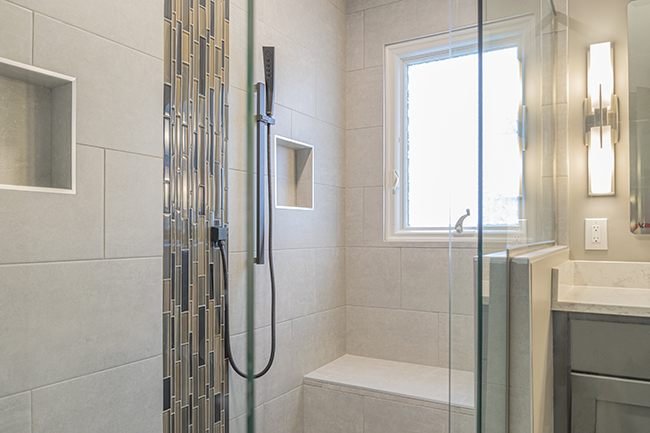
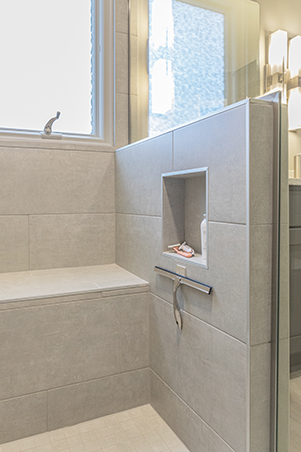
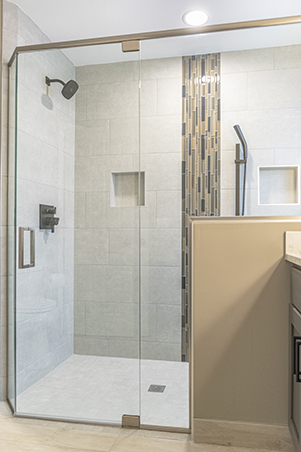
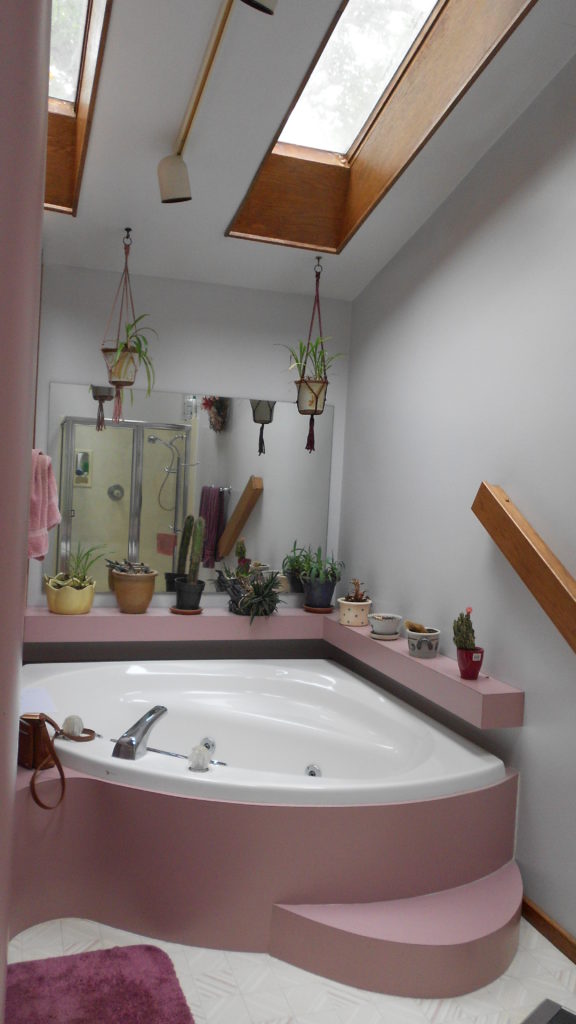
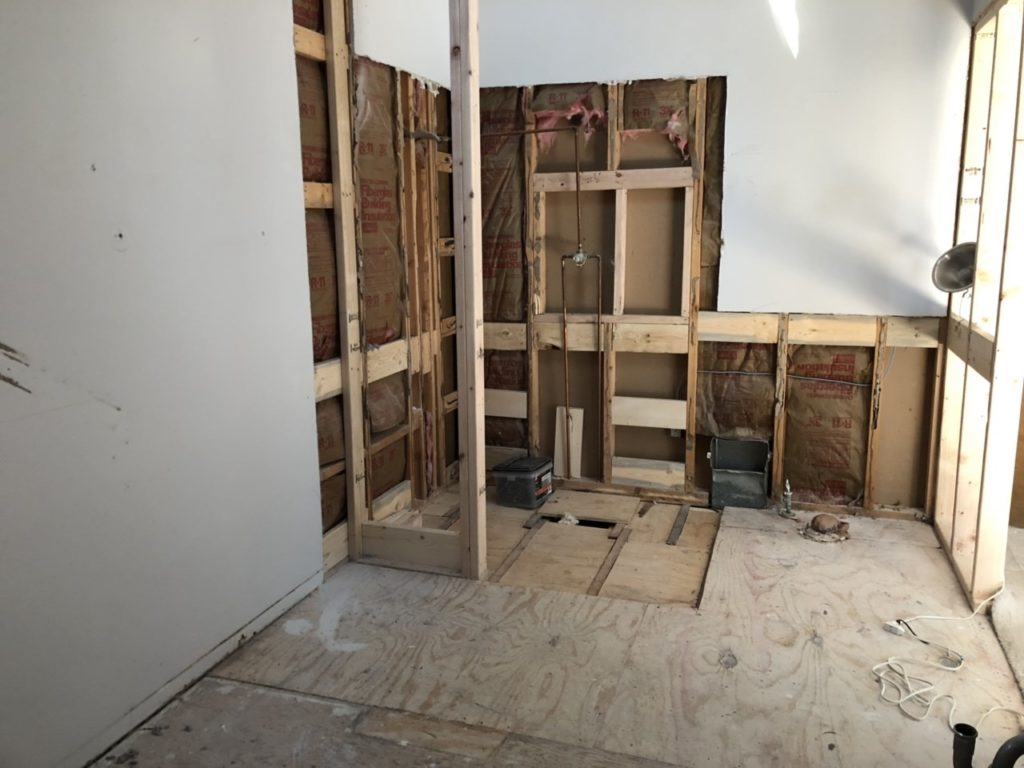
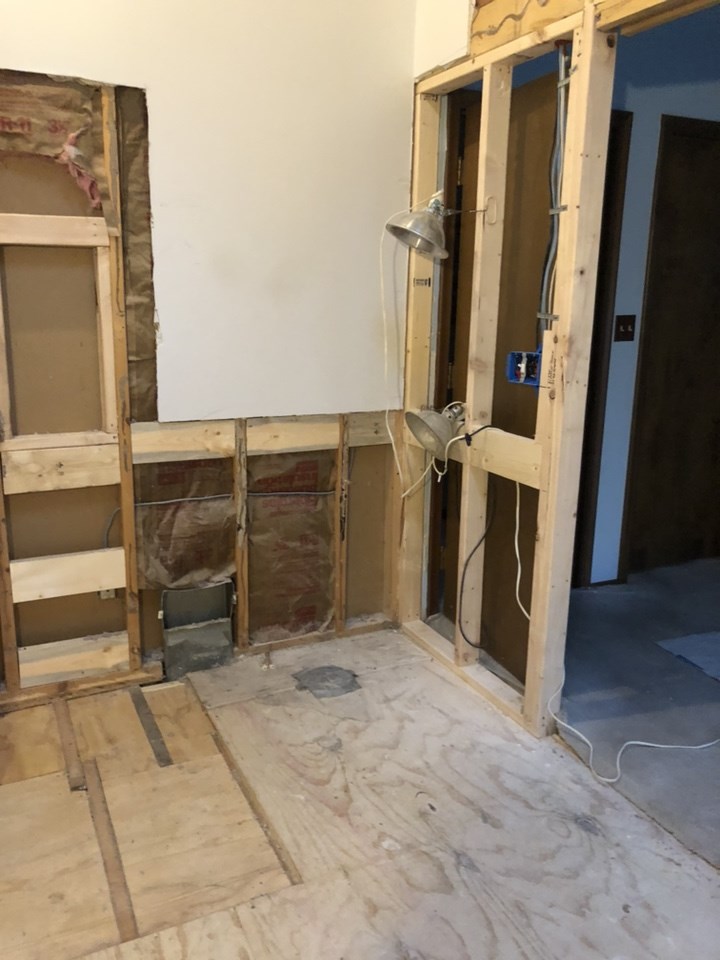
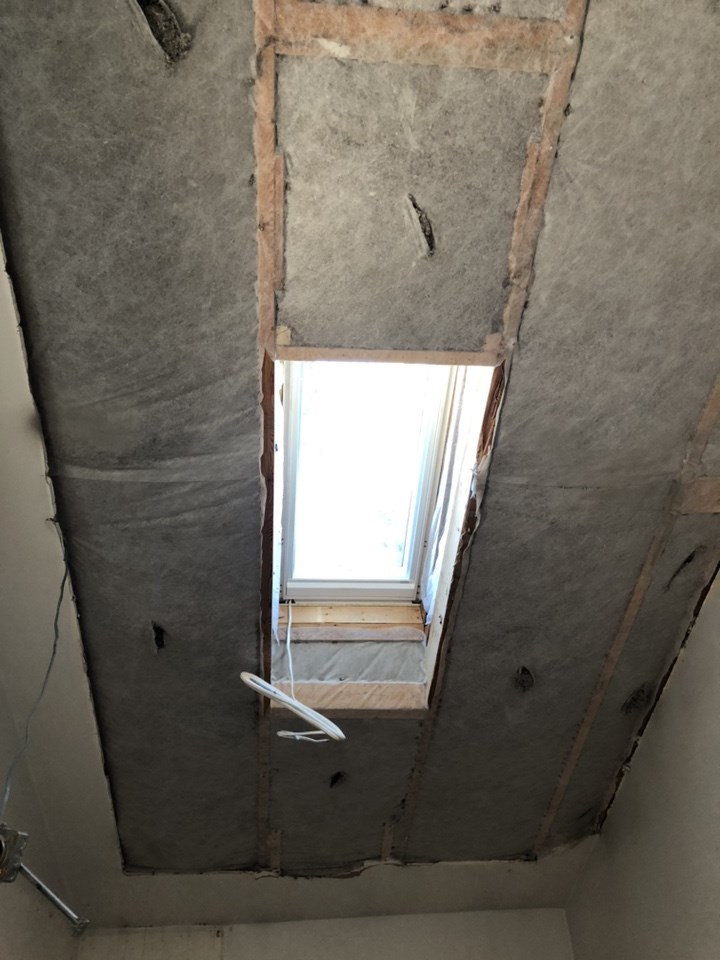
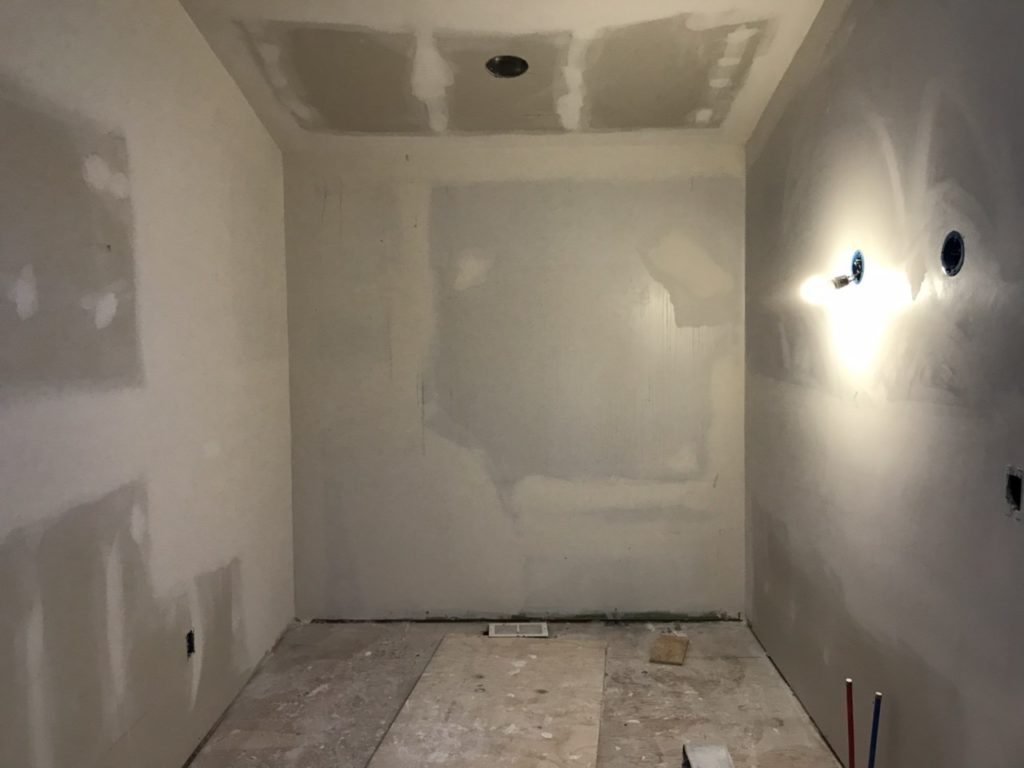
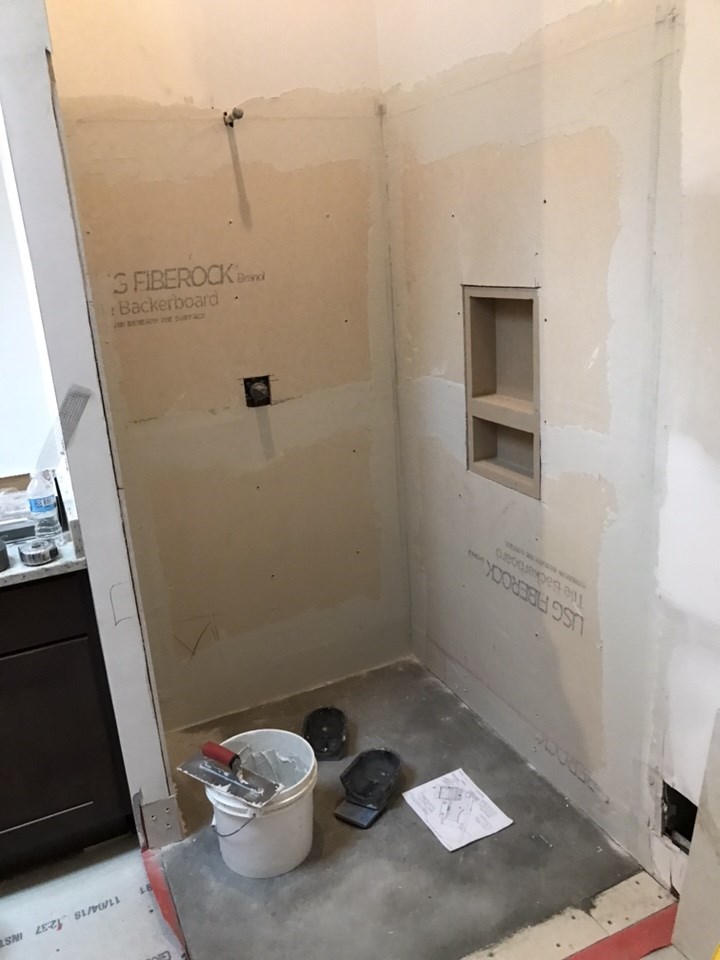
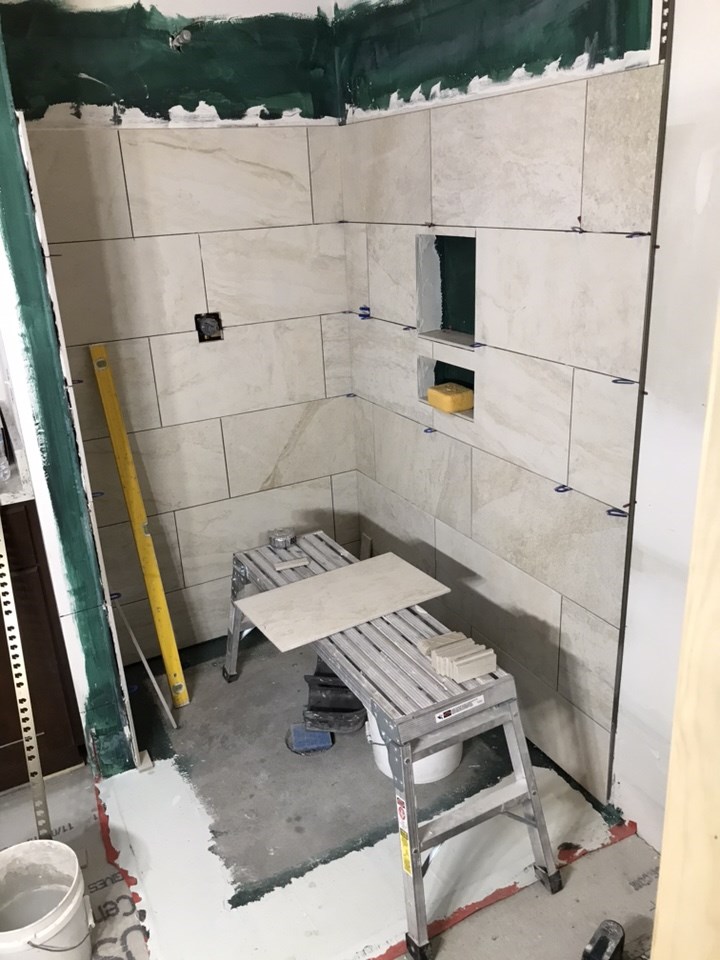
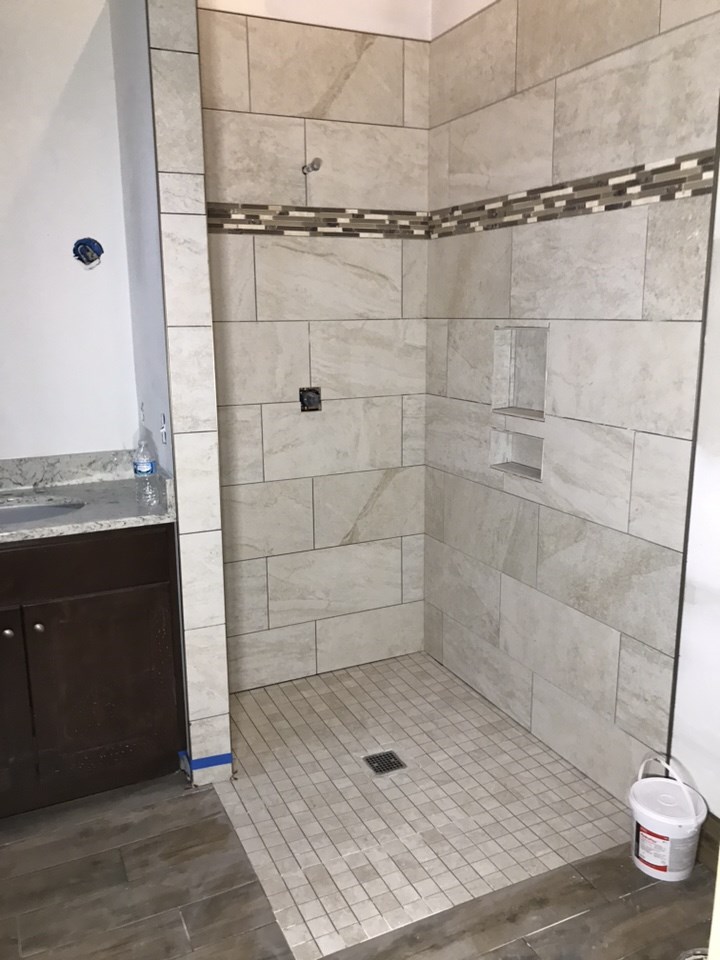
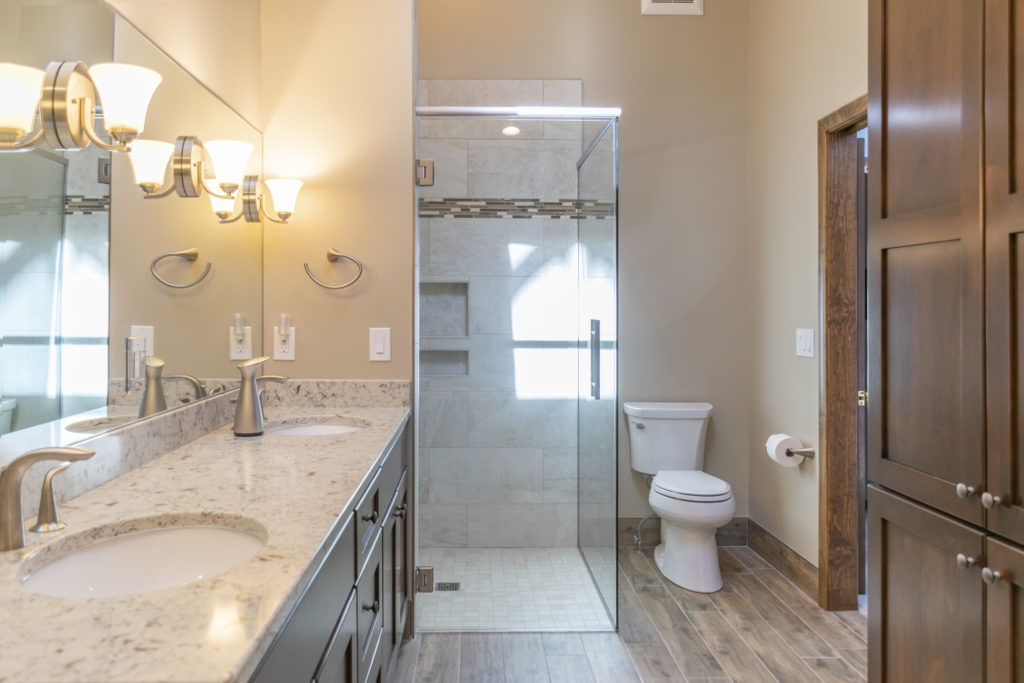
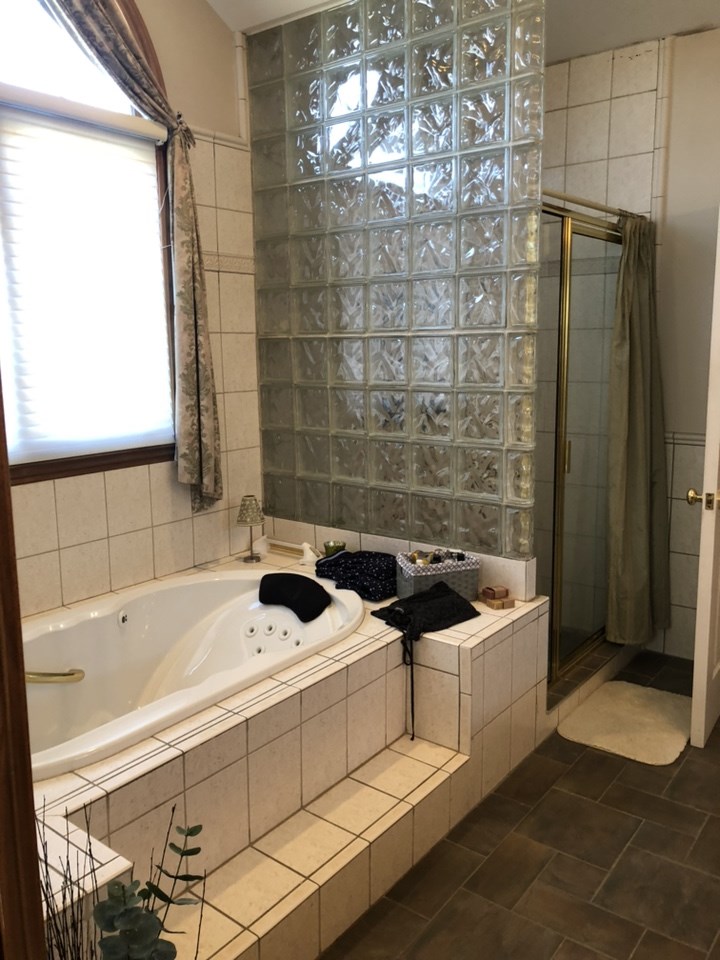
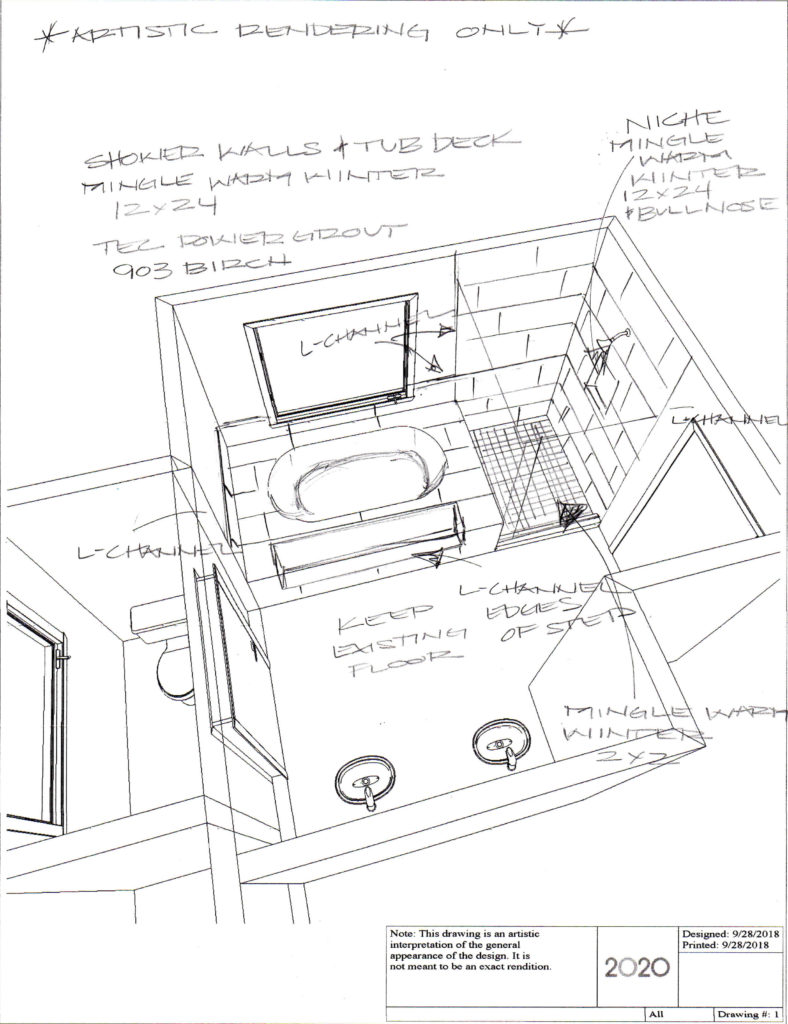
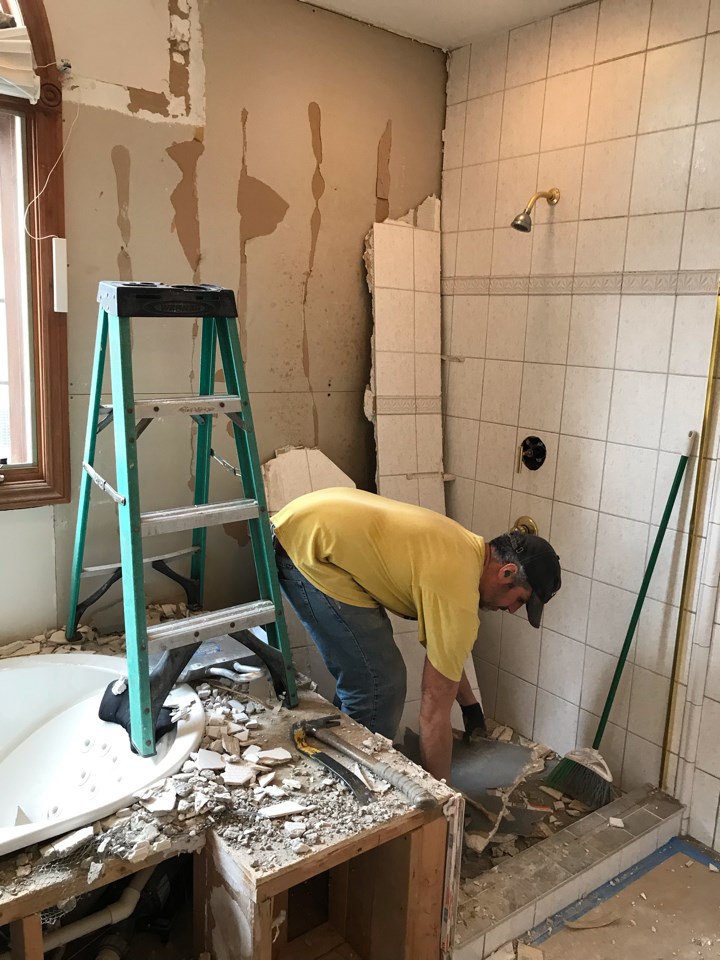
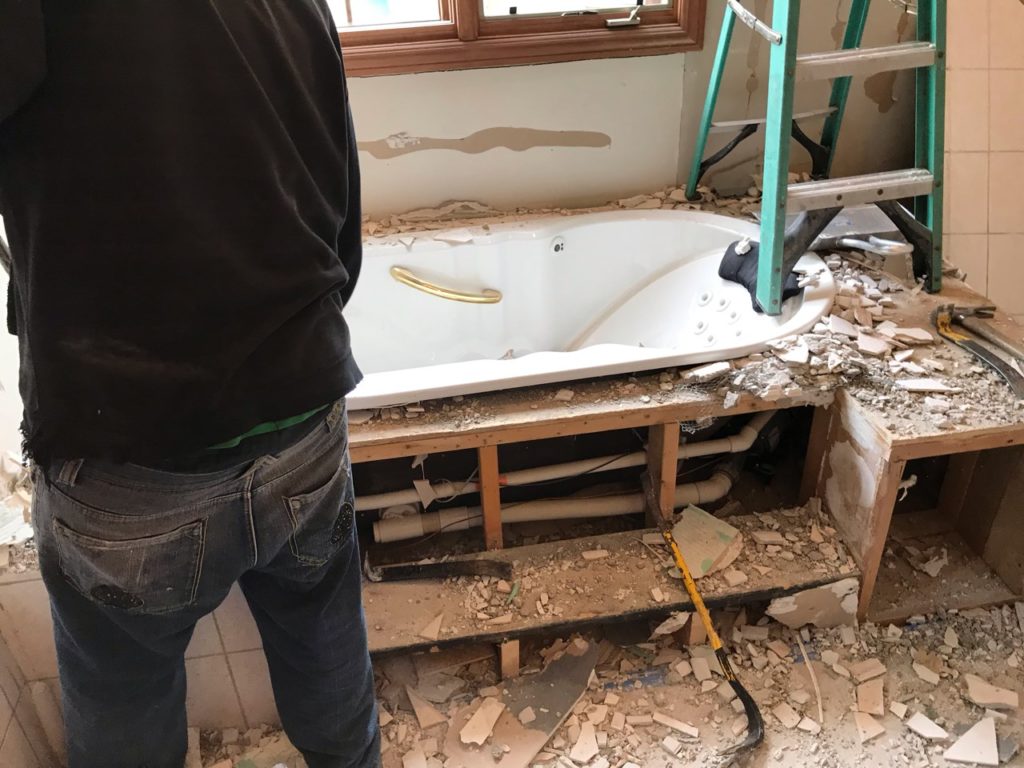
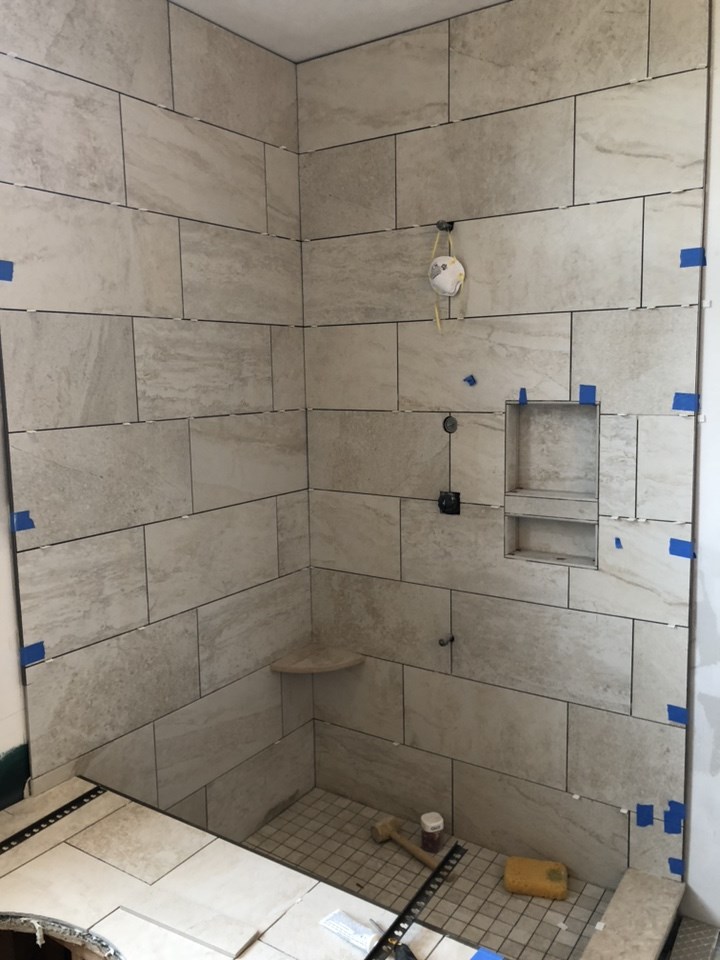
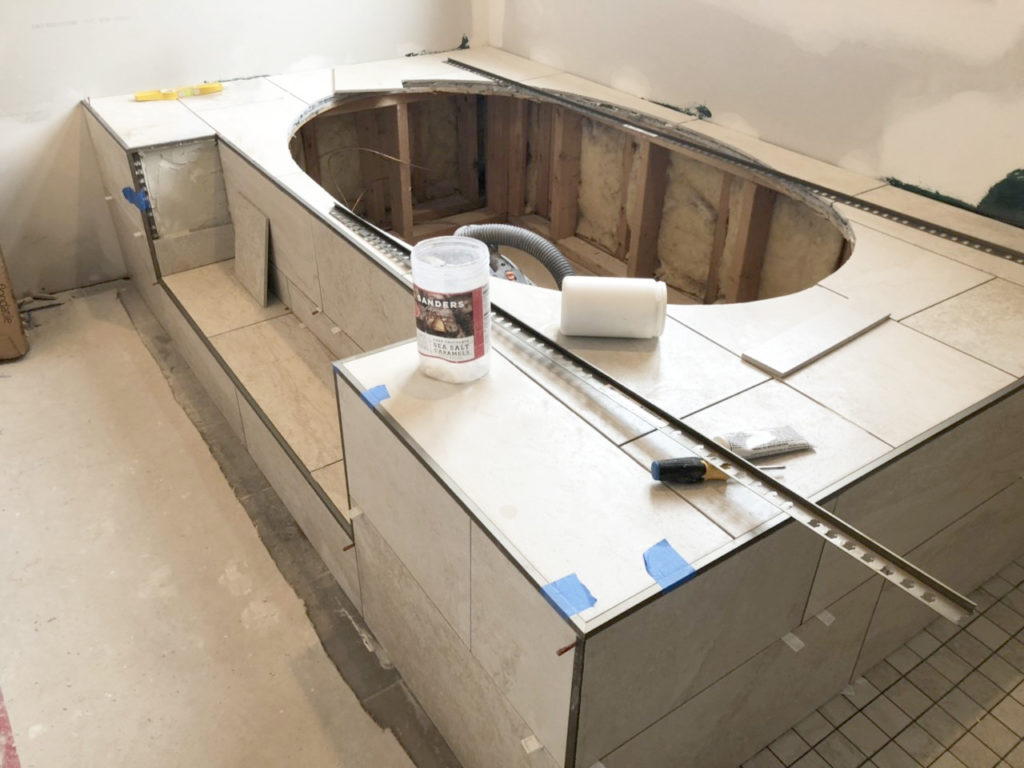
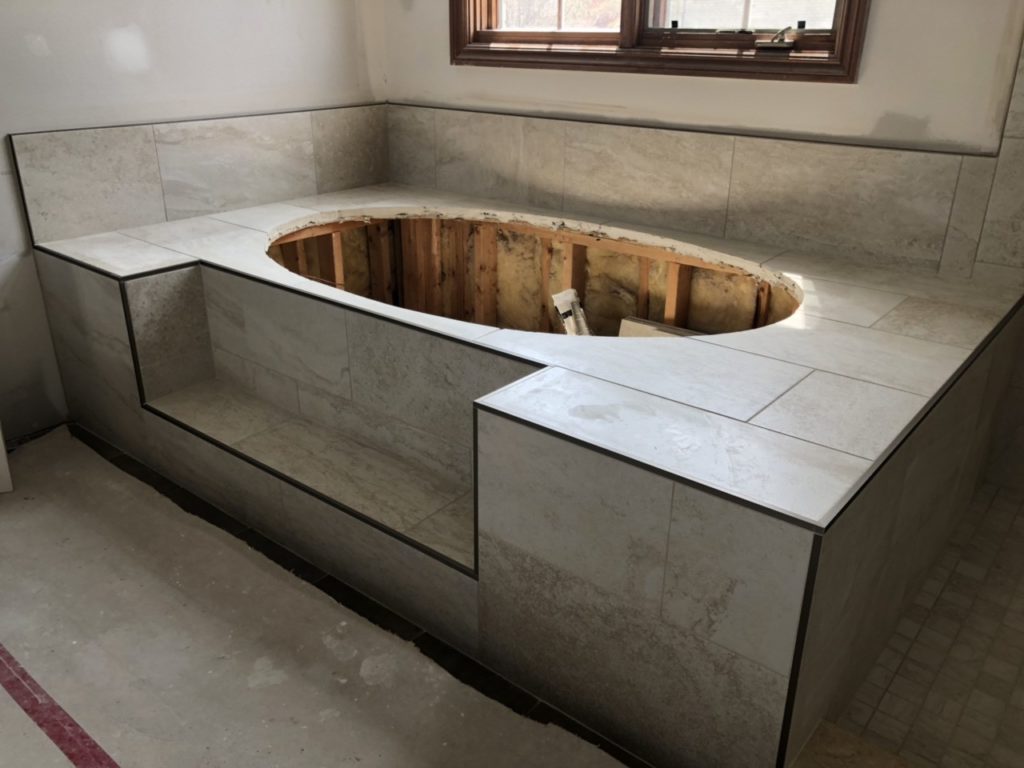
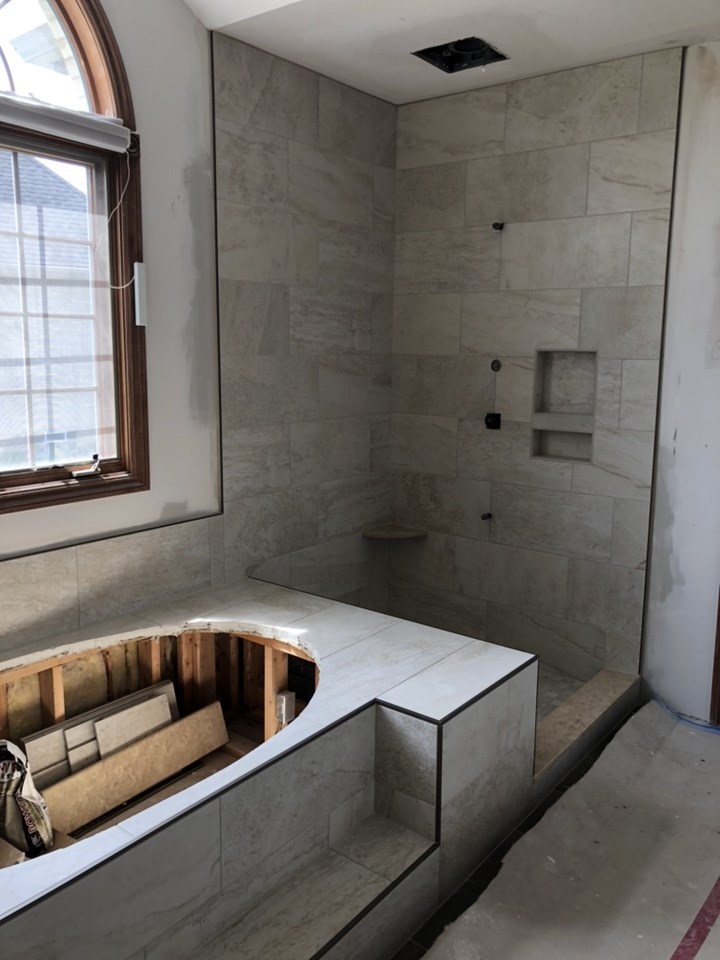
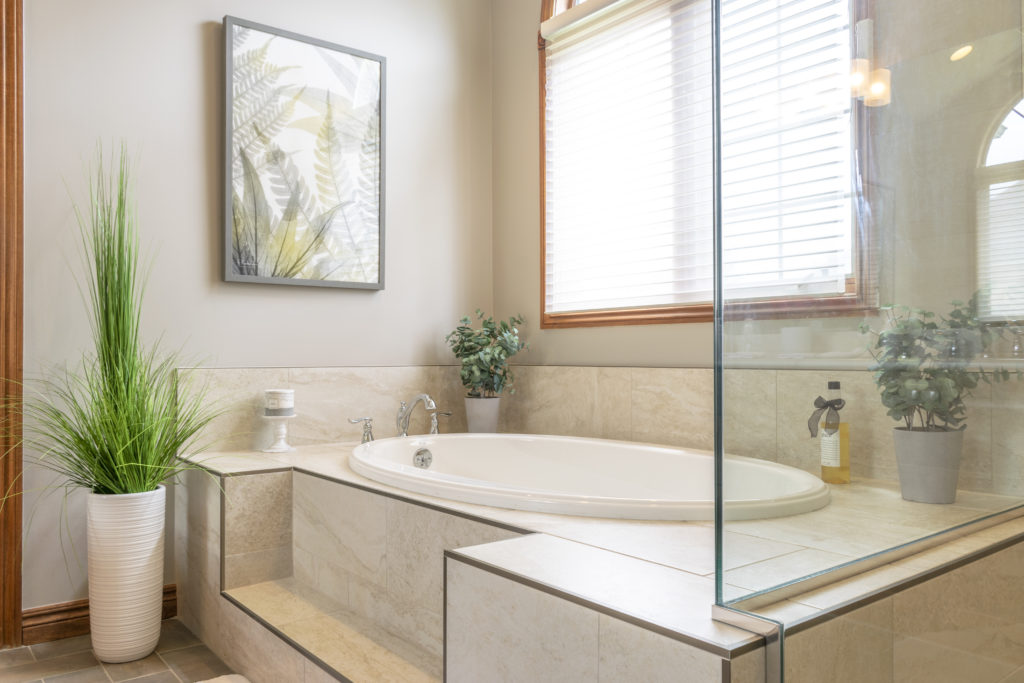
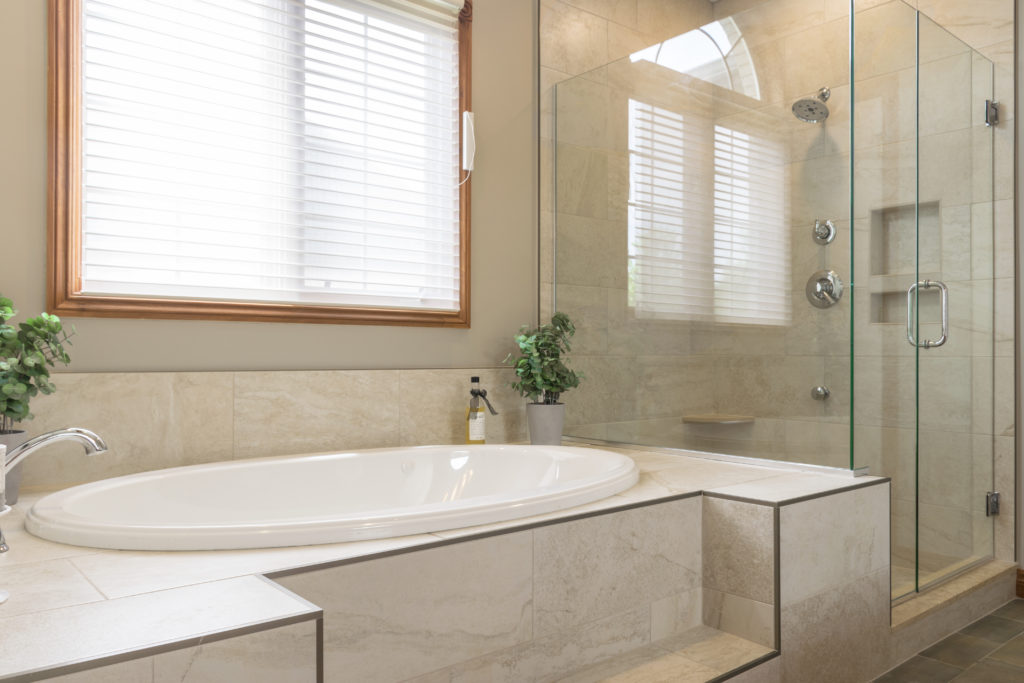
There was a lot of wasted space in the bathtub area and the homeowners never used the tub anyway. Because of this, we removed the bathtub/tub deck and replaced with a nice and large walk in tile shower with a euro glass door. The homeowners will get much more use out of this area now!

Materials used in this portion of the remodel:

Wall Tile: 12″x24″ Genesis Light Grey in a 1/3 offset pattern
Accent Wall Tile: 12″x12″ Fusion Rock
Shower Floor Tile: 2″x2″ Genesis Light Grey
Grout: #542 Gray Stone
Plumbing Materials: Delta Ashlyn Shower Head, Slide Bar, and Diverter
Shower Door: 3/8″ euro style glass door with Brushed Nickel hardware


A before photo showing the old location of the shower in this bathroom remodel.
The newly remodeled area of the bathroom where the shower was removed.

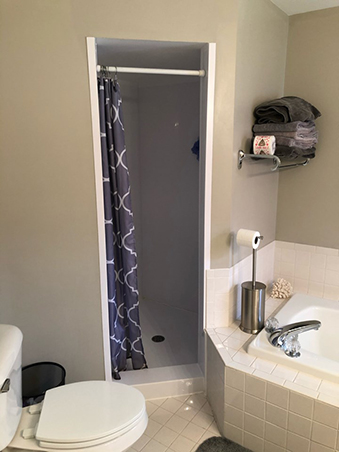
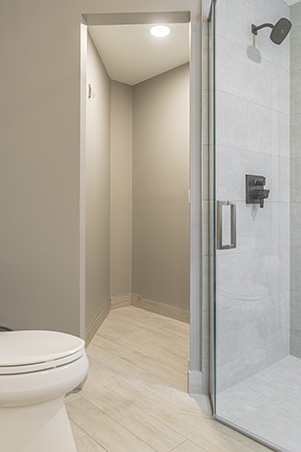
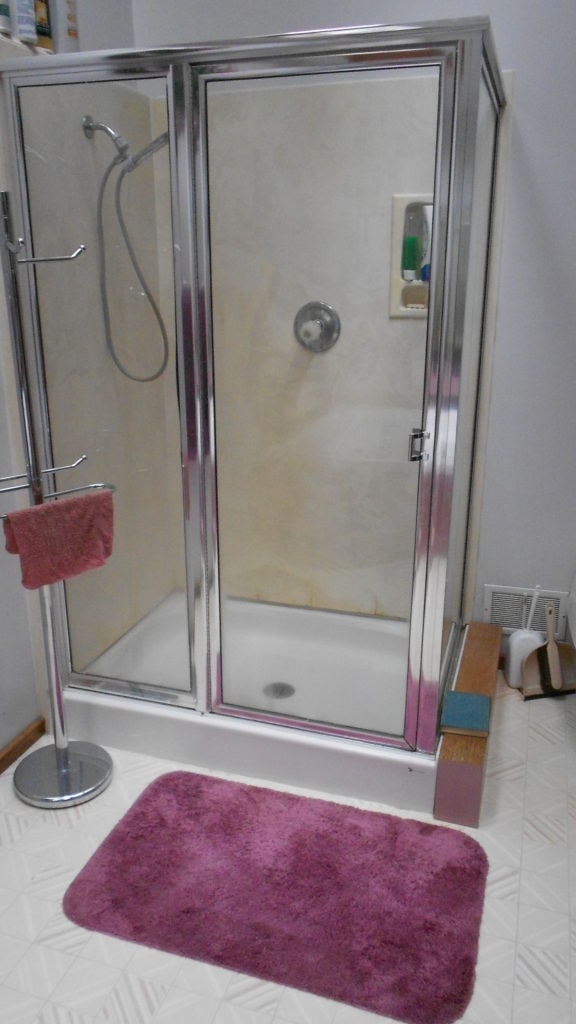
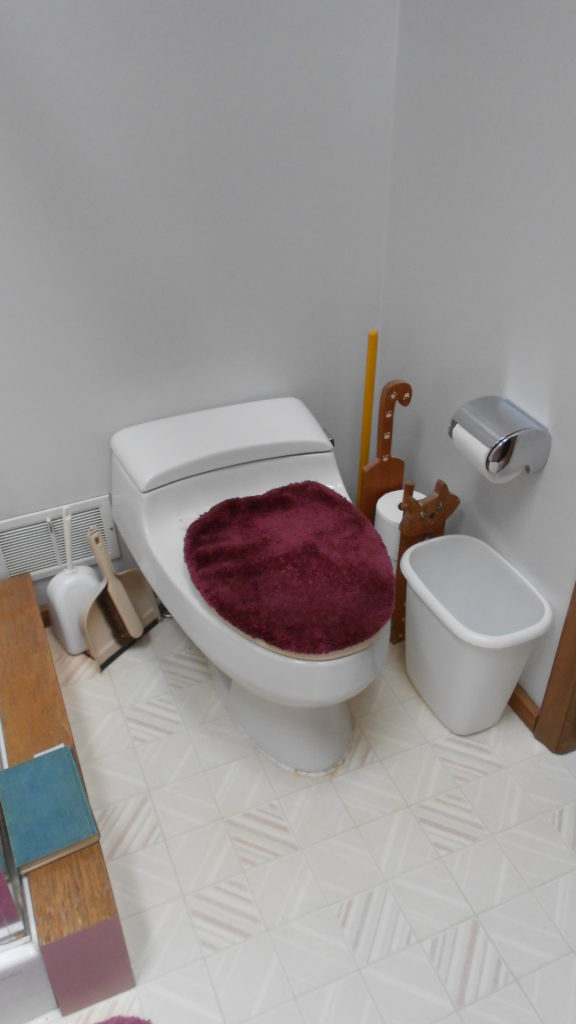
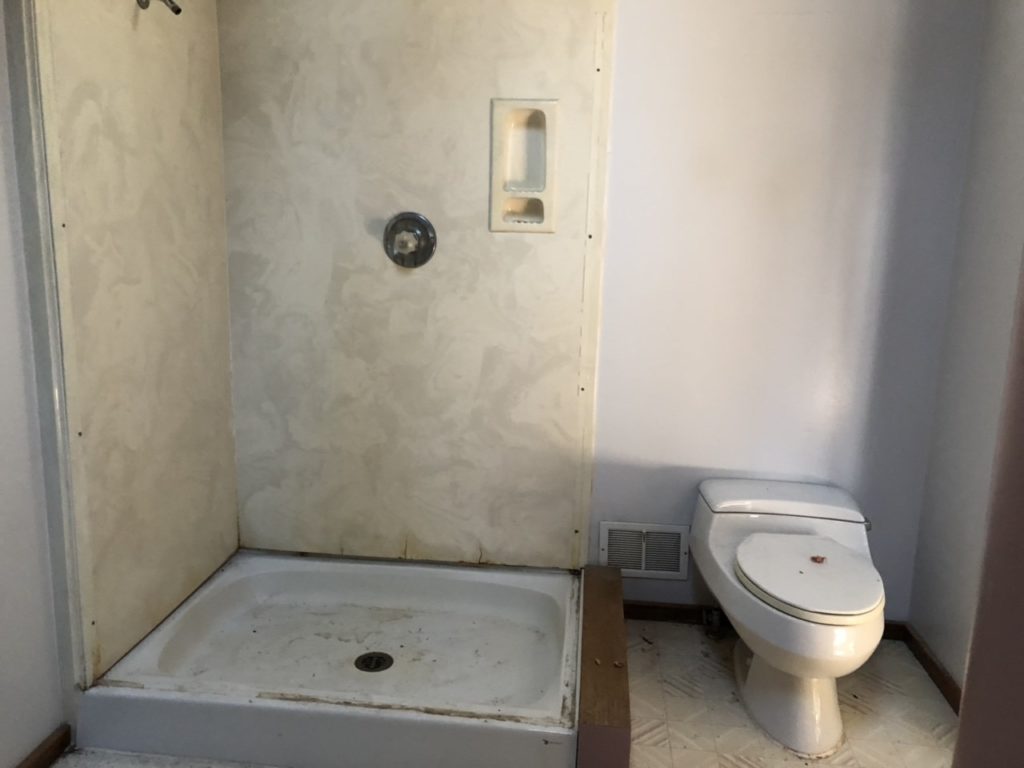
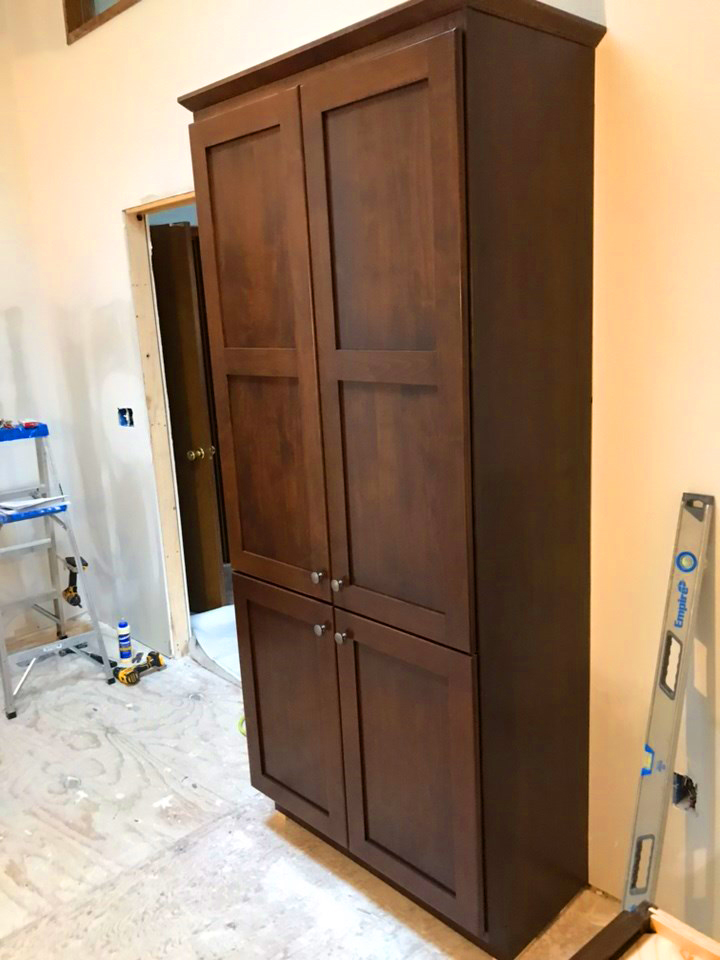
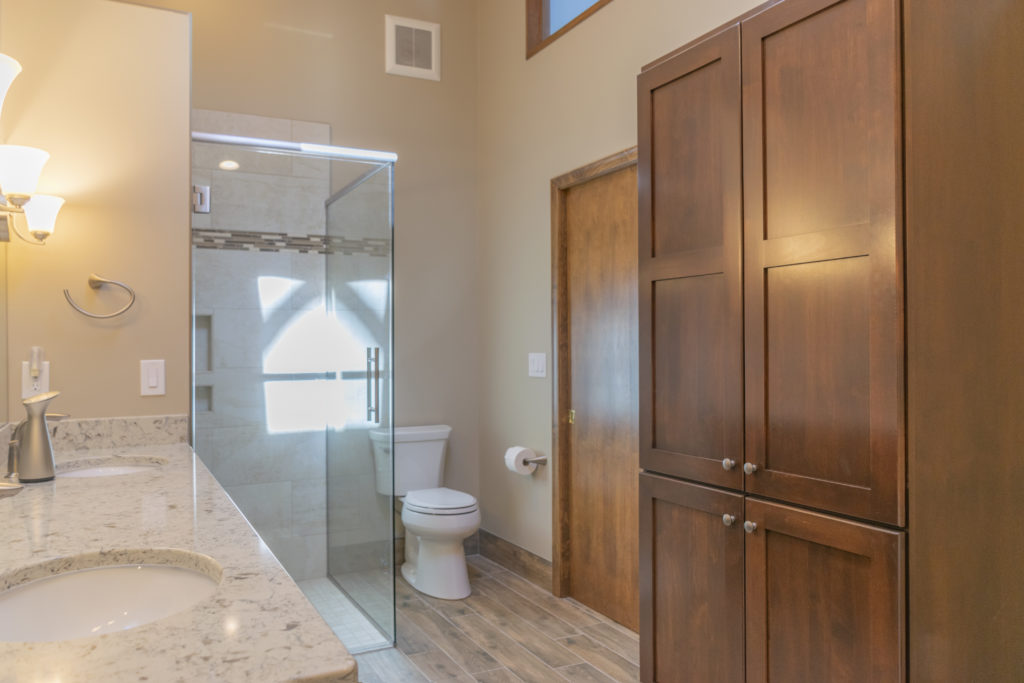
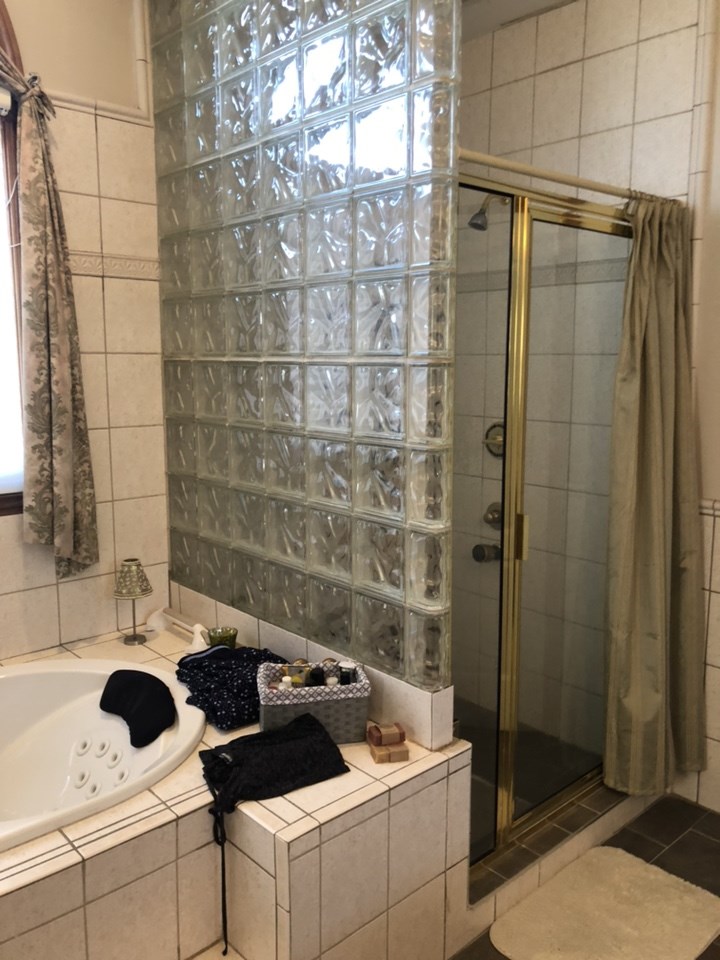
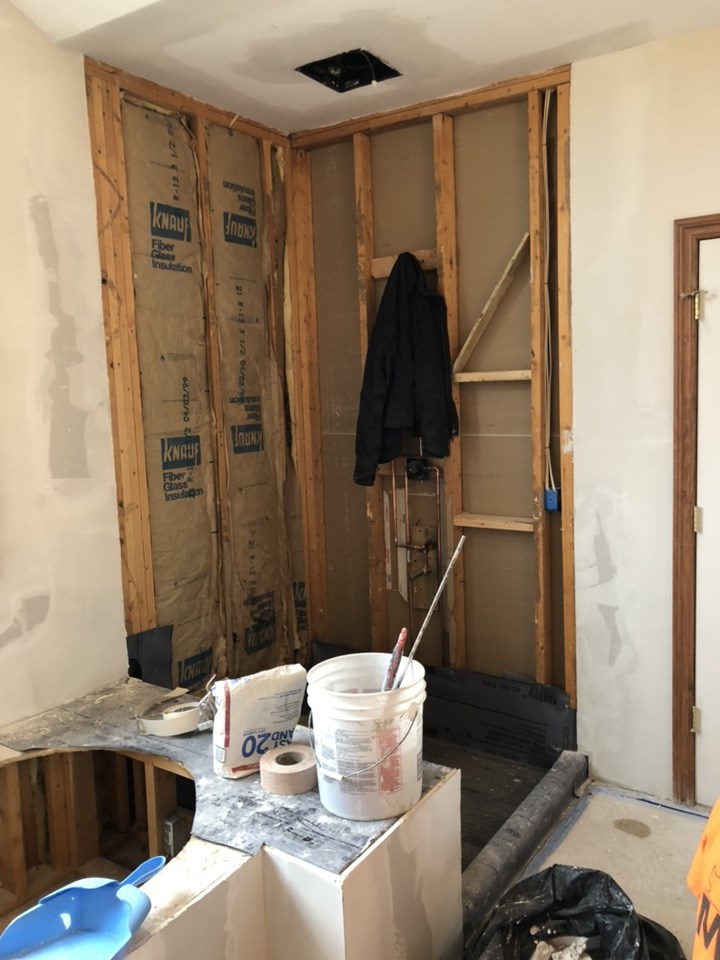
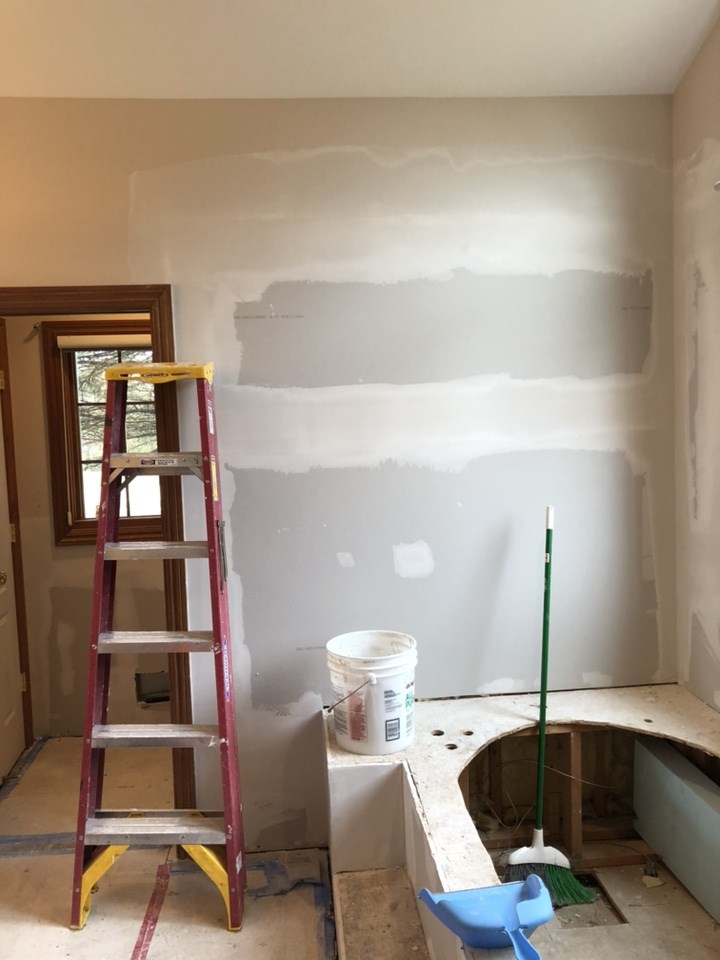
Finally, the old shower that the homeowners used was narrow and just didn’t give them the space that they needed. We removed the shower from the cubby where it was and converted that space to an area where they could hang up towels and store supplies.

Materials used in this portion of the remodel:

Flooring: 6″x36″ Savannah Pearl tile in a staggered pattern
Grout: #543 Driftwood
Toilet: Kohler Highline/Wellworth comfort height


We hope that you’ve enjoyed these before and after photos of this Shelby Township master bathroom remodel. If you have a kitchen or bathroom project of your own that you’d like to discuss with us, feel free to reach out to us here. We’re happy to discuss your project with you!

Interested in more photos of Lincorp/Borchert’s remodels? Follow us on Facebook & Instagram.

Washington Township Master Bathroom Remodel – Completed March 2019

Before

It was clear from the beginning that this Washington Township master bathroom was in need of some work. Wet met with the homeowners who were eager to have us update their dated bathroom.

Design

Our designer met with the homeowners to nail down the design details of the bathroom. She showed them samples and ideas for a functional and modern design for their bathroom. By the end of the design meetings, we had plans and specifications for the construction phase of the project.

Construction

We demolished everything in the bathroom down to the studs in some areas. We then framed the area for the new materials that would be installed. Our plumbers, electricians, and HVAC crews came in to rough in their respective areas.

We drywalled, mudded, and sanded the areas of the walls and ceiling where we had removed it.

We installed the cabinets, which really started to make the bathroom feel like it was coming together.

After the cabinets were installed, we put the countertop on the vanity, cement board on the floor, and waterproofed the shower to get it ready for tile.

We then tiled the shower and the bathroom floor. At this point the bathroom was close to being finished.

We installed the toilet, mirror, tub, and shower door. We then painted and did any minor touch ups that needed to be done. After all that, we presented the homeowners with their new bathroom! As you an see, there is a night and day difference between what the bathroom was and what it is now. The homeowners are thrilled with both the look and functionality of their new bathroom!

If you have a bathroom project of your own in mind, don’t hesitate to contact us to discuss your ideas. We would be happy to help!

Washington Township Master Bathroom Remodel – Completed May 2019

Before

The Washington Township homeowner came to us in need of an update in her master bathroom. It was functional, but was starting to fall apart and had a dated style.

We met with her to discuss her project and what could be done within the space to bring some life to it.

Design

We went to the house and did a full measure of the master bathroom. We then met with the homeowner for some design meetings where we came up with a game plan how the bathroom would be put together. Throughout the design meetings we created specifications and plans for the construction of the bathroom.

Construction

For this project, we kept the existing flooring and vanity as it was. Our main focus was on the bathtub and shower areas. We demolished those areas, but left the frame for the tub deck so we could re-tile it.

We framed for a niche in the shower, roughed in the plumbing, vented the fan, and patched the drywall where needed.

Next, it was time to install the new tile! We had worked with the homeowner during our design phase to come up with a large format tile for the tub and shower. We then installed a smaller tiles on the floor of the shower.

After tile was finished, we installed the new bathtub, finalized the plumbing, and painted the bathroom. We then sent in a cleaning crew to make sure that the bathroom spotless. Everything turned out perfect! The bathroom now has a clean, modern look and functions as it should. The homeonwer is thrilled with her new bathroom!

If you have a project of your own in mind, we’d be happy to discuss it with you!